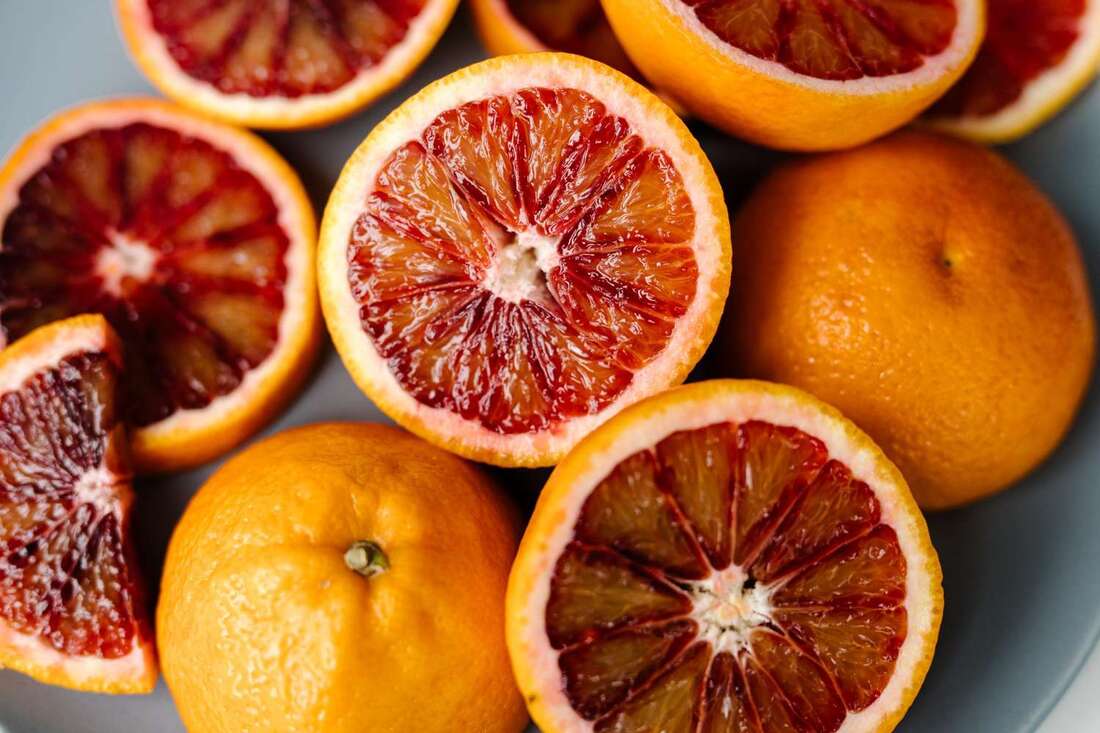
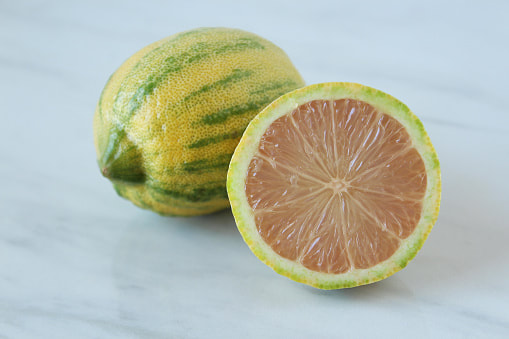
December & January are the height of their availability nationwide– time to scoop up a ton & enjoy them while we can!
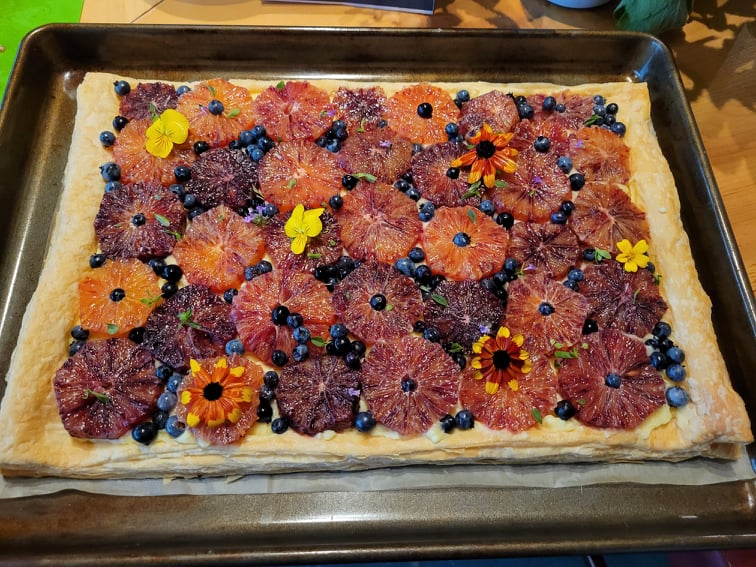
Scented Geranium-Infused Blood Orange Curd
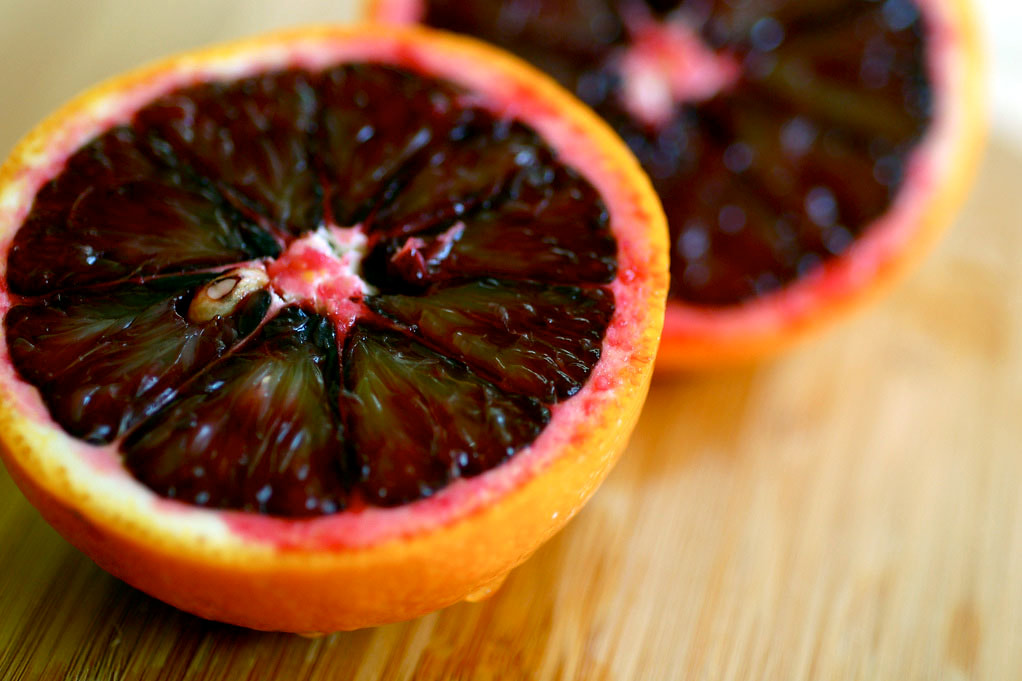
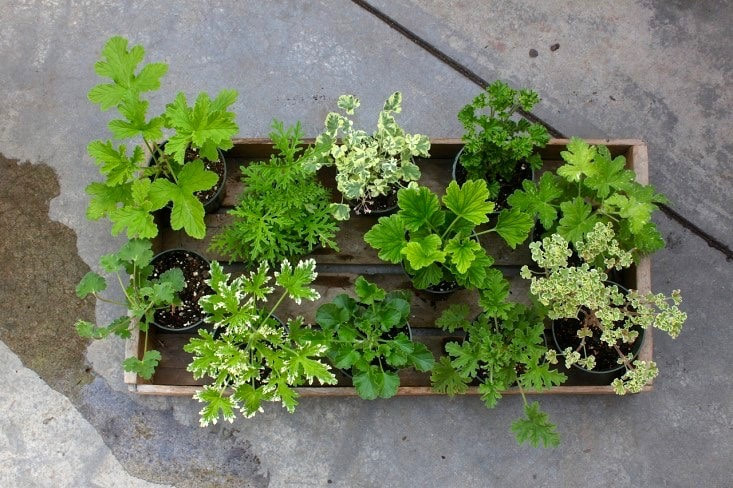
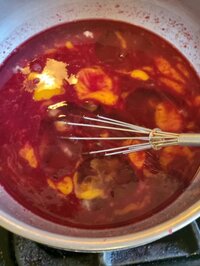
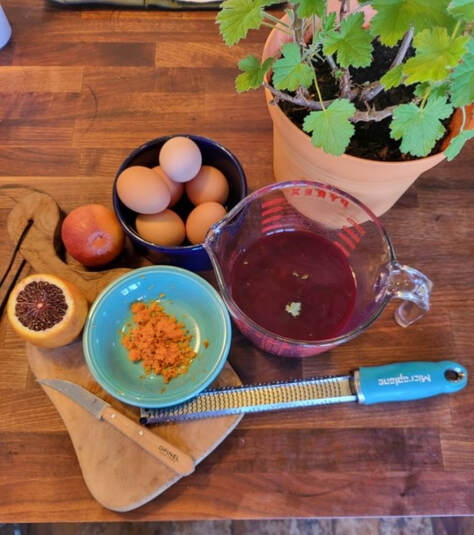 Zest your washed oranges & set aside. Juice your fruit & reserve, removing any seeds. I do not strain out the pulp from the fresh juice, as it adds such lovely flavor. Stir in a small handful of fresh scented geranium leaves & let them infuse in your juice if desired. The scented geranium lends a lovely herbal note that really puts this curd over-the-top. My favorite to use are leaves from our Attar of Rose Geranium, Gerald. [LOCALS: I am always happy to share Gerald cuttings– come see me in store!] I find them to add a particularly tasty floral-herbal flavor that is delicate, but certainly worth this extra step – However, if you do not have any scented geranium at hand, plain Blood Orange Curd is delicious on its own, so no worries! Infuse your juice for 1-2 hours, then pull the leaves out; I do not recommend straining them out as we are looking to keep all the flavorful pulp in our juice.
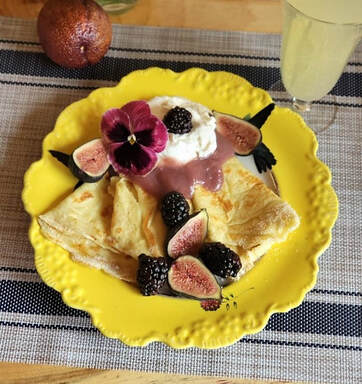
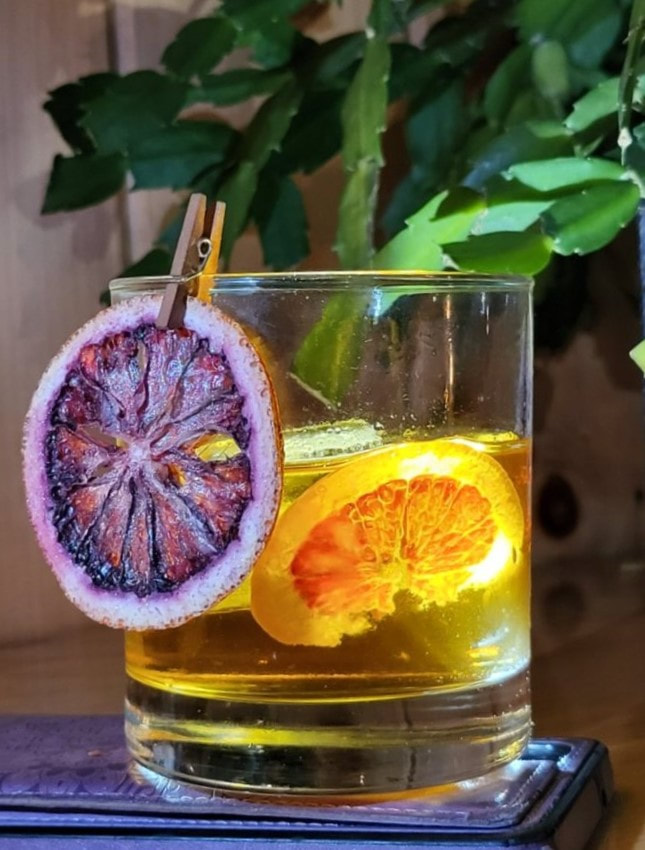
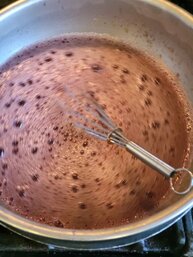
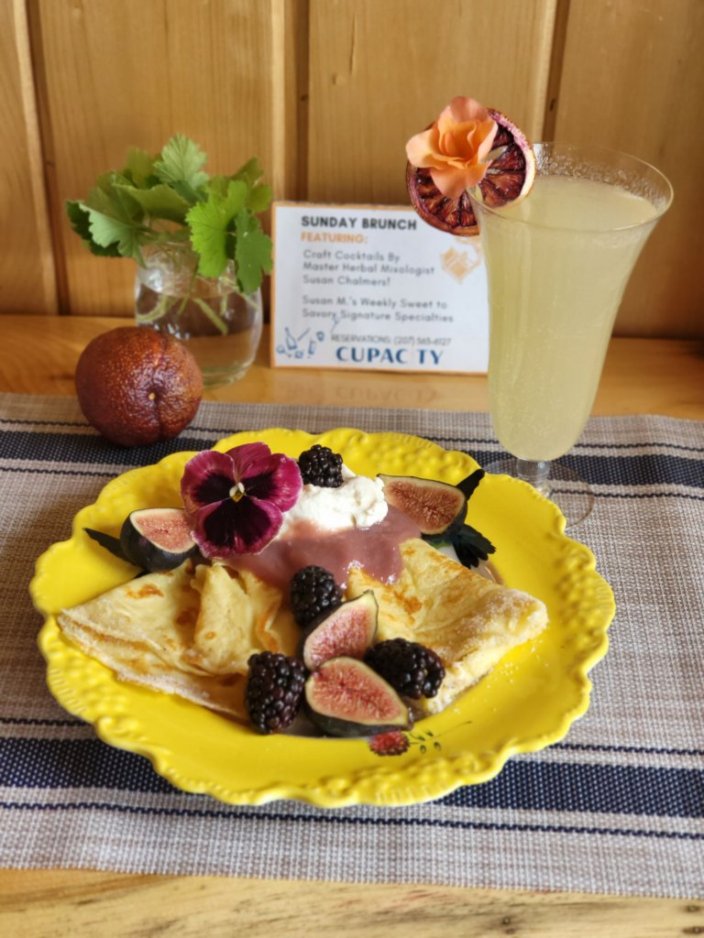
Voila, delicious Blood Orange Curd! 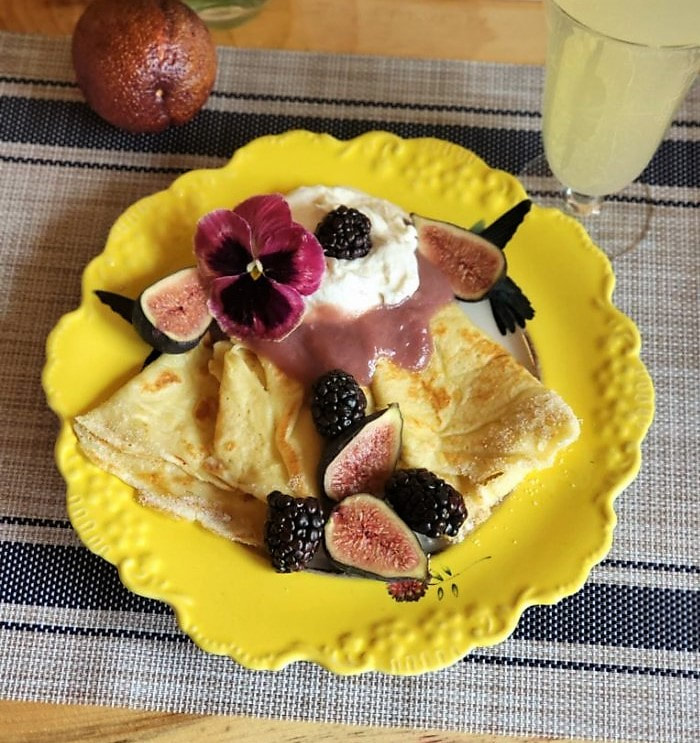 Geranium-Infused Blood Orange Curd Crêpes? YES PLEASE! It will continue to thicken as it cools. This recipe makes about 3 cups of curd. Pop it into mason jars to store in the fridge -- These make lovely gifts if you are feeling generous! If you are planning to use it in tarts, put the curd in the fridge to set-up & cool for at least 30 minutes. Not up to making crusts? Honestly, it is hard to beat simple plain Crêpes, ends dipped in sugar, topped with a heaping spoonful of this curd with sliced figs & blackberries! STUNNING! I hope I have inspired you to grab some blood oranges when the Winter Citrus harvest hits your local grocery store, & try this recipe! And seriously, if you are local, come grab a cutting of my Attar of Rose Geranium to grow! Gerald is DELICIOUS! Please let me know what you make with your curd & share PICTURES! I love to see what you are all up to! Until next time--Stay safe & #StopAndEatTheFlowers
0 Comments
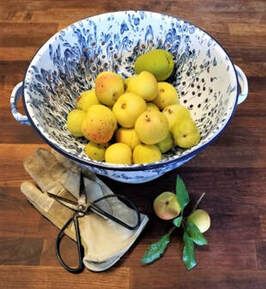
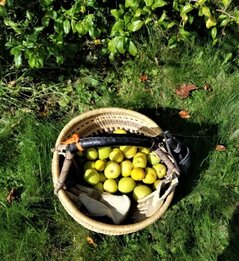
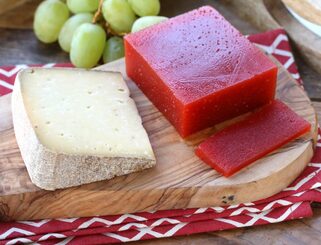
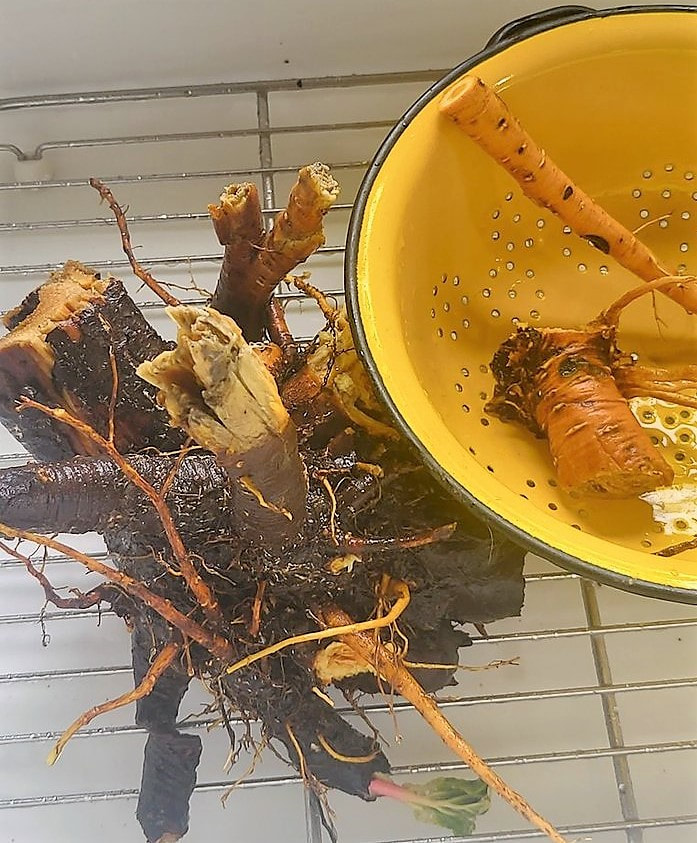
Quince is wonderful in desserts & drinks, jellies & pies, & also with savory items like hard cheese & meats. Why then do we not typically see bushels of them at the grocery store? I believe it is because quince are challenging to work with. Simply put, it’s delicious, but you are going to work for it -- And it will be worth it!
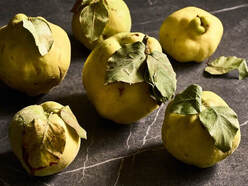
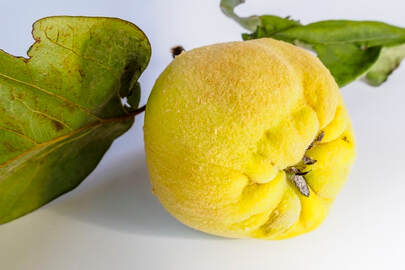
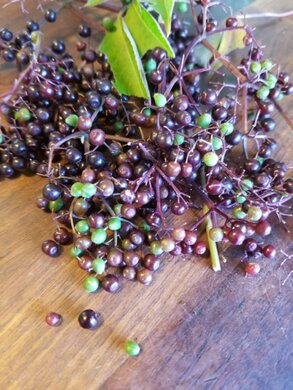
A couple key factors to keep in mind when harvesting-- First off, if they are still green, tuck them aside to ripen fully. Quince grow a beautiful, golden yellow, some with a bit of a blush or small brown spots, when they are perfectly ripe. The riper they are, the more fragrant & delicious they will be. Simply pop unripe fruit in a bowl & place it in a sunny window to ripen; your patience will be rewarded. Second, plan an afternoon of processing, then you can use them at your leisure. A nice, rainy Fall afternoon with pots of quince simmering away on the stovetop filling your home with their fragrance is lovely instead of tedious. Lastly, I suggest poaching most of your haul. Poached quince is truly lovely on its own, baked into a pie, or used to top yogurt or waffles. Once poached, they will keep for about a week in the fridge or can be frozen in their syrup for up to six months. And don’t throw out that poaching liquid -- it is amazing for all manner of cocktails, zero-proof drinks, & as an ice cream or waffle topper! You can even use it to make sorbet.
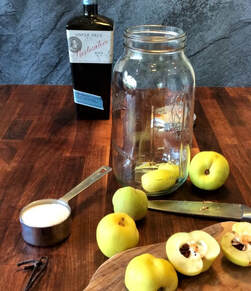
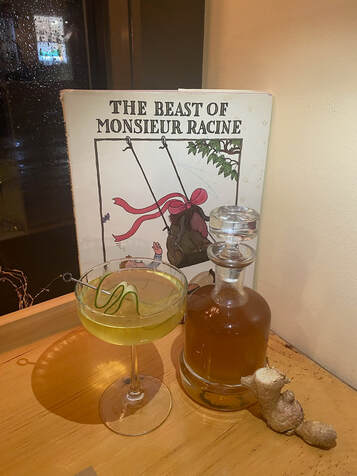
QUINCE-INFUSED GIN
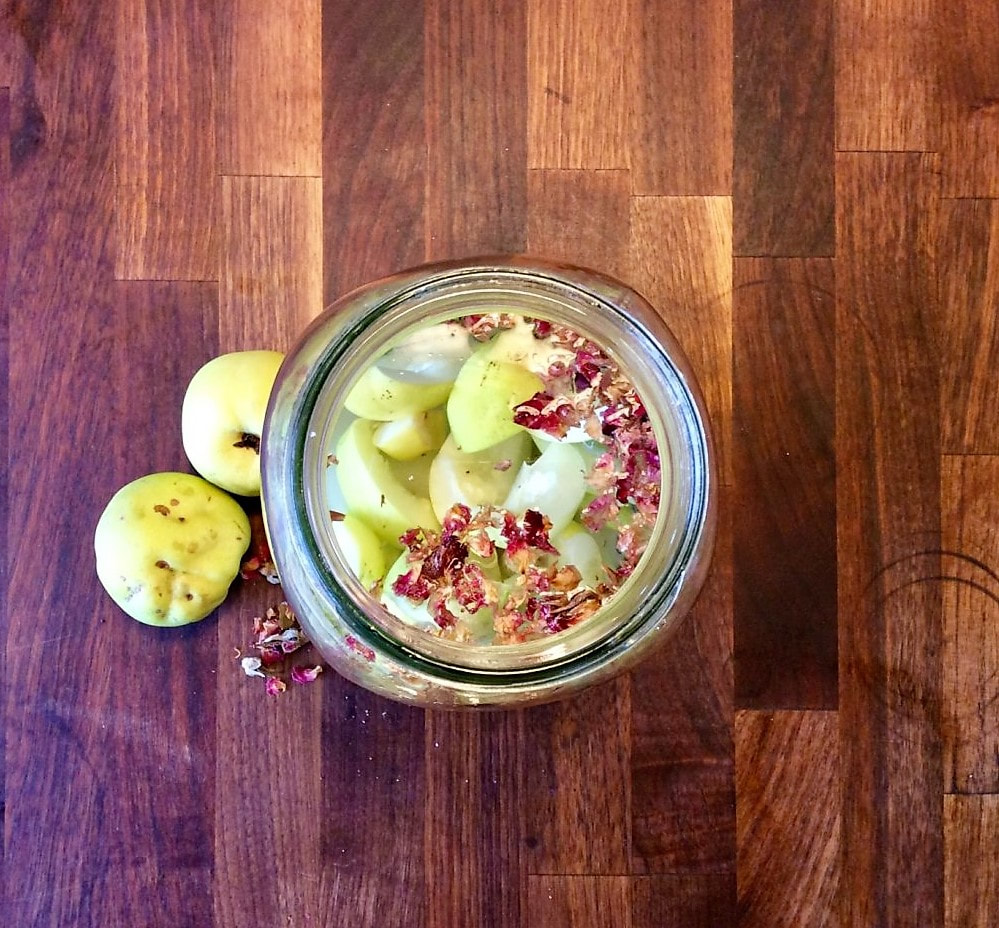
Take a moment to appreciate the fragrance coming off them as you work -- almost like vanilla & roses.
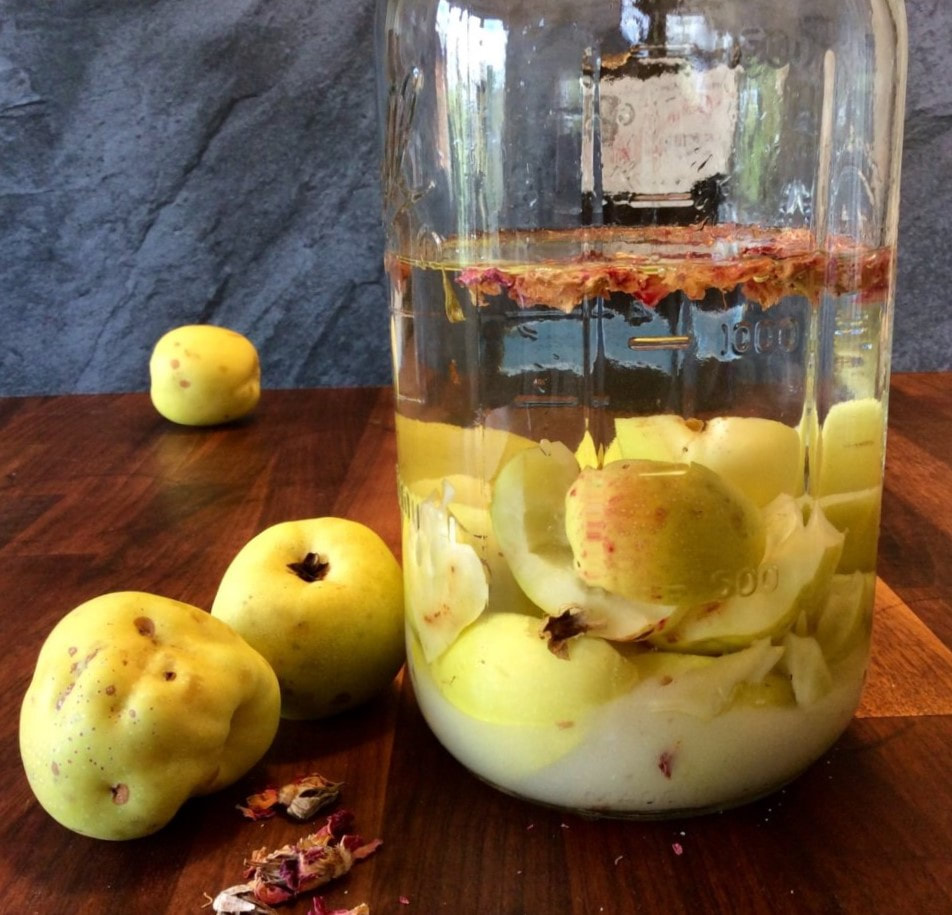
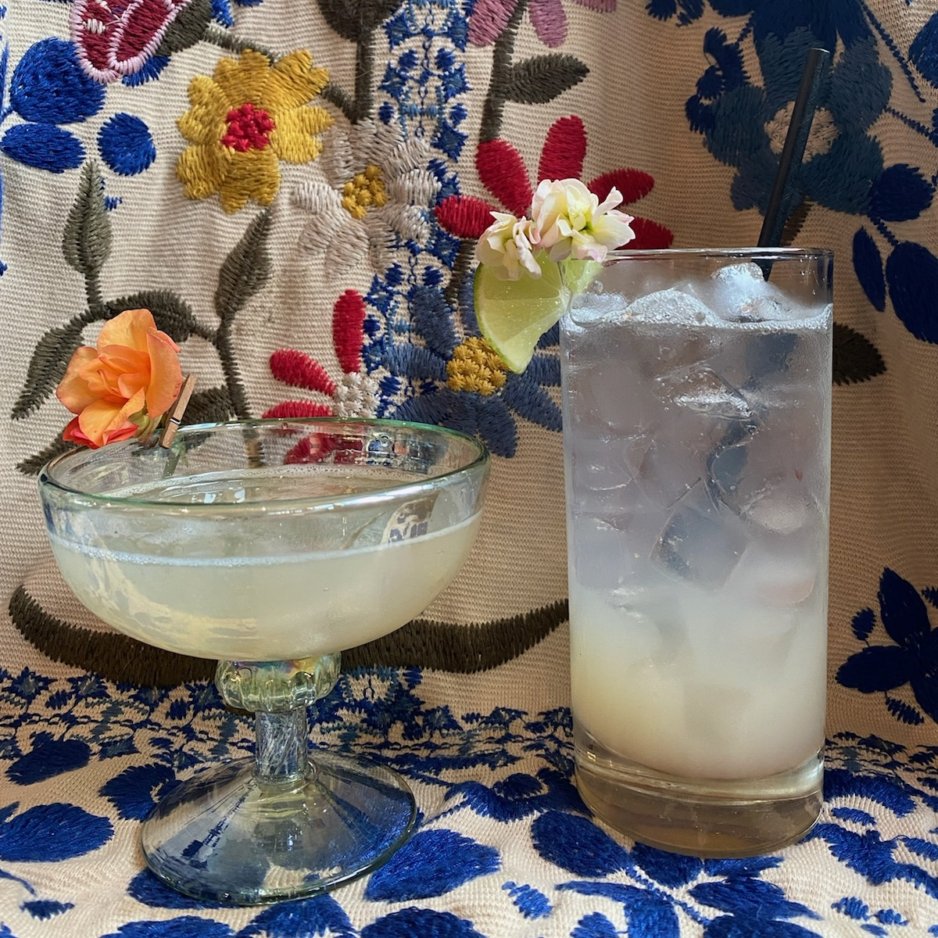
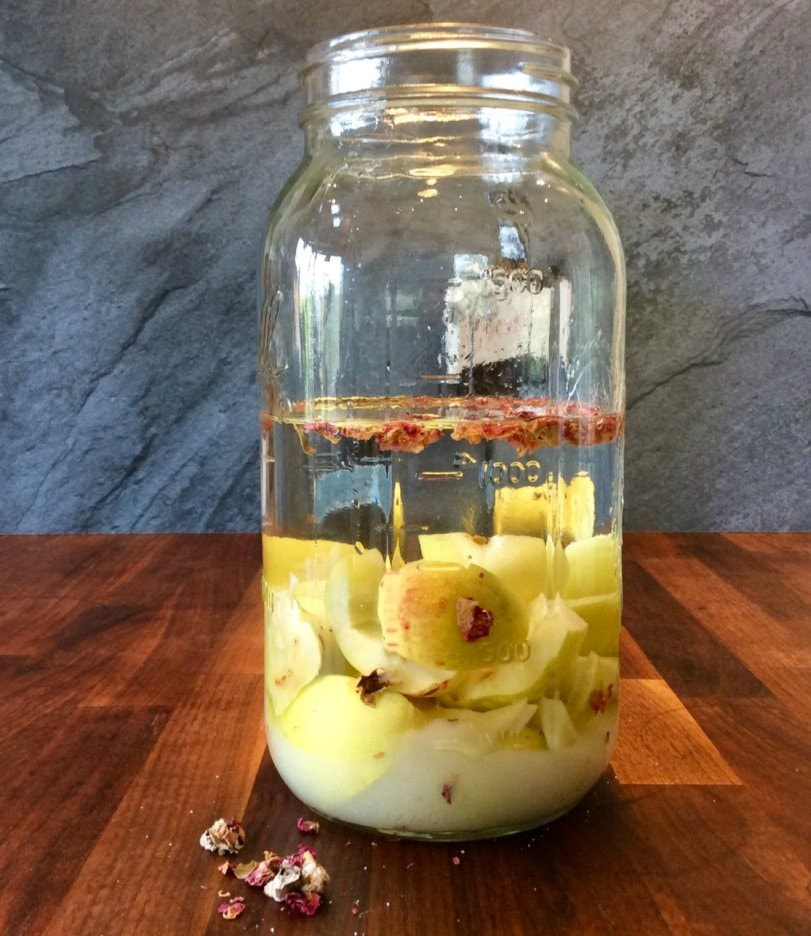
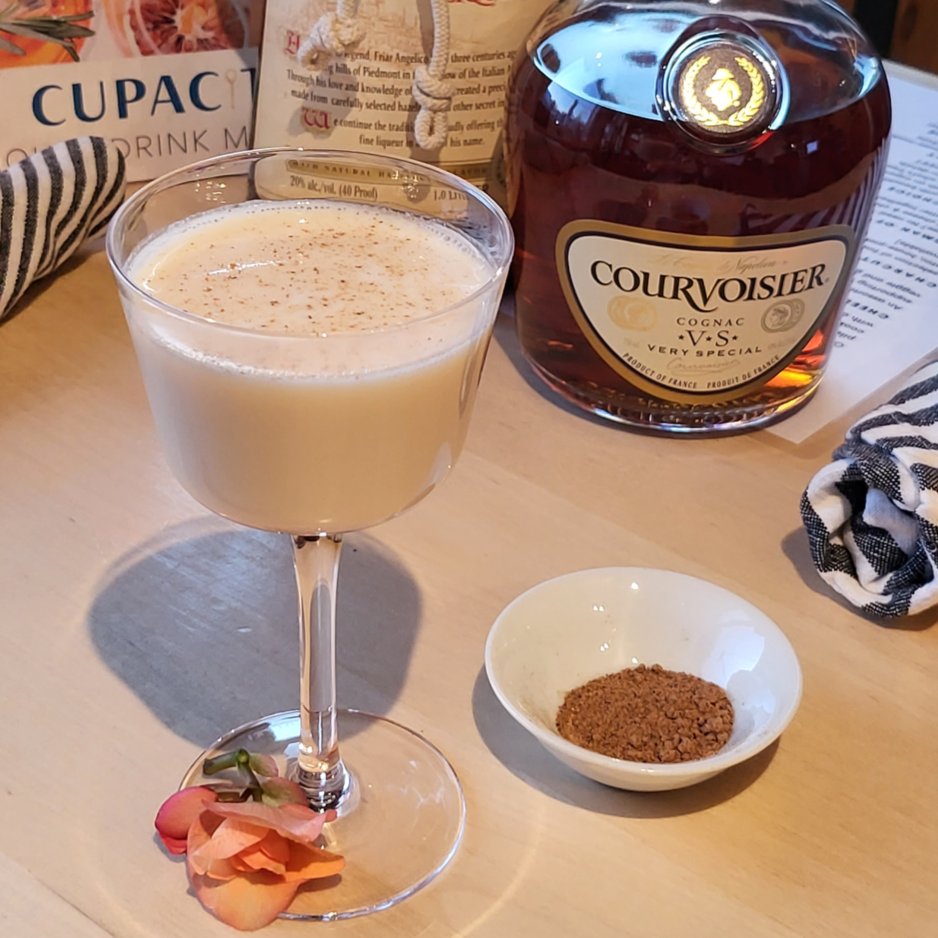
You should plan to infuse this mixture for 3 - 4 weeks. The gin will take on a very pretty, yellow hue as it lifts the flavor from the fruit – if you used the rose petals, it may have a soft peach color instead. Give your bottle a light shake every few days. You will notice the quince pieces beginning to turn brown as your gin turns yellow. This is normal & not a concern. After 3 weeks, you can give it a try– you may be happy with the flavor at that time & finish it off. If you’d prefer a stronger flavor, let it go another week. Once the flavor is where you’d like it, double strain it to remove all fruit/petals. Your Quince-Infused Gin is now ready to enjoy! Pour it into a decanter [or that empty bottle from before] & enjoy it! No need to refrigerate it & I have not found it to go bad once infused, although to be fair, it never lasts too long around here, so I haven't truly tested the time….. As I mentioned before, it is nice to sip on its own, but also works well in mixed drinks, both cocktails & zero-proofs. One of my favorite ways to use it is in a Quince riff on a Brandy Alexander. Have fun with it. I am sure you will have fun getting creative! There you have it! We are heading into prime quince season-- Hop on out there, pick yours & give ‘em a try! Infusing gin with them is absolutely the easiest way to enjoy their unique, delicious flavor; I think you will be thrilled with the results. That is all for this week-- Stay safe & don’t forget to #StopAndEatTheFlowers
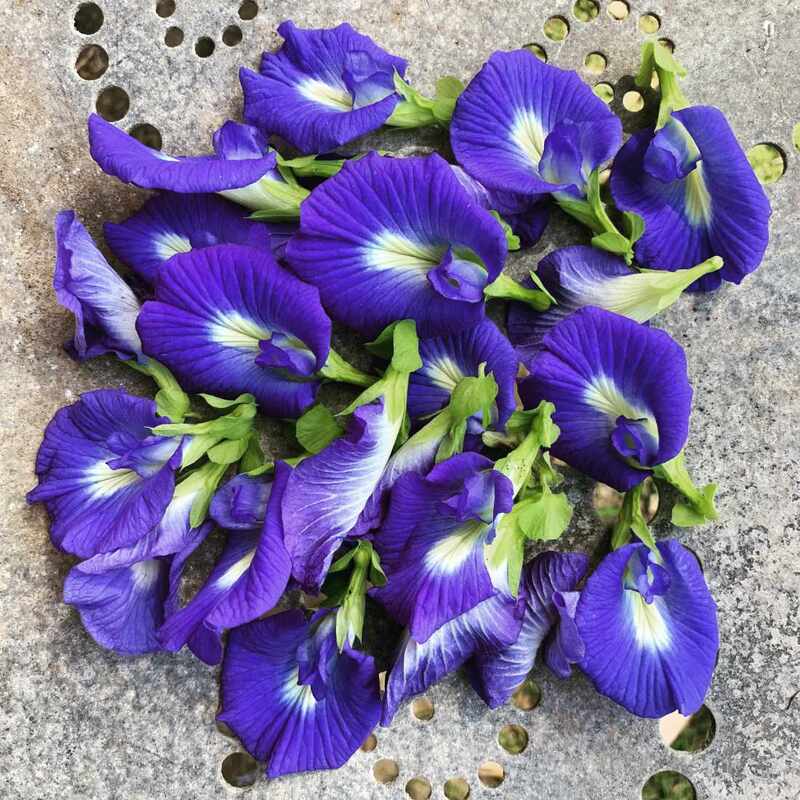
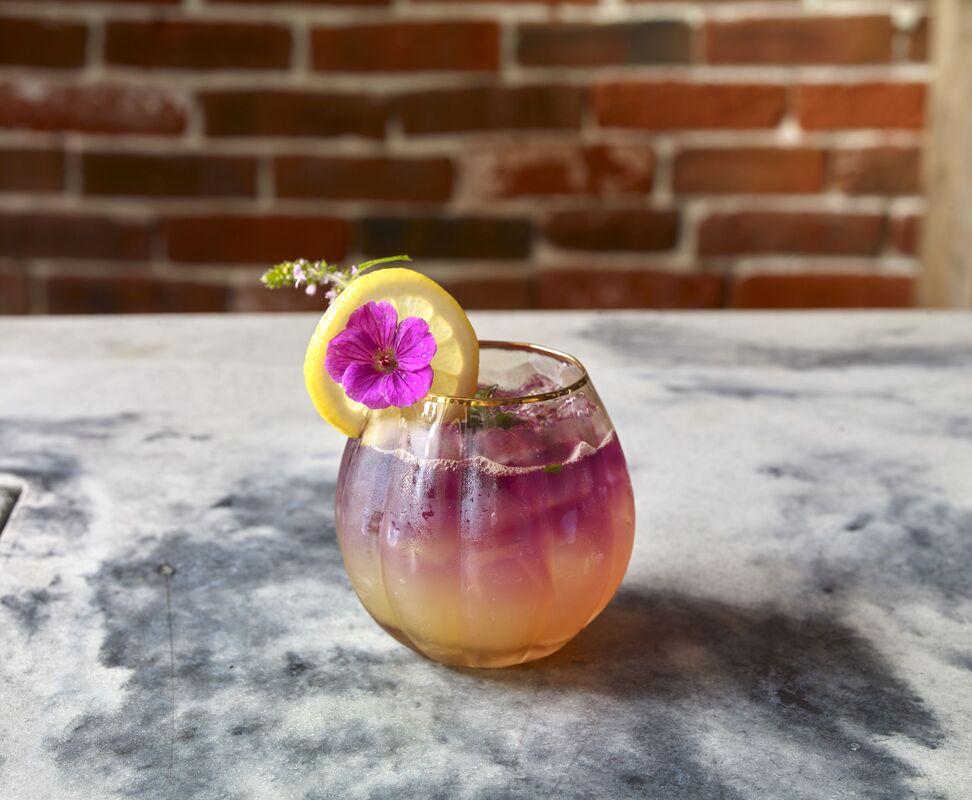
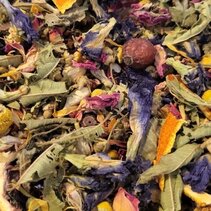
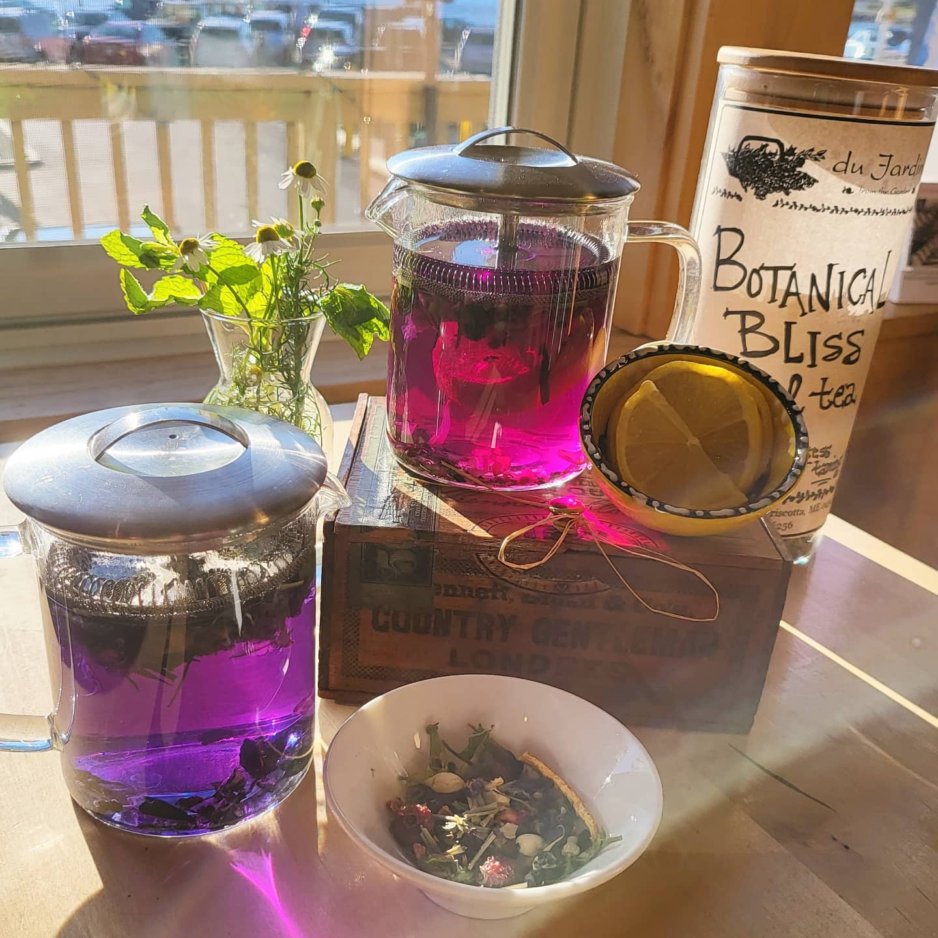
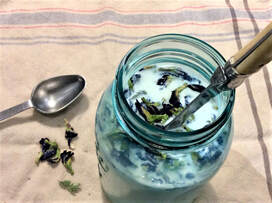
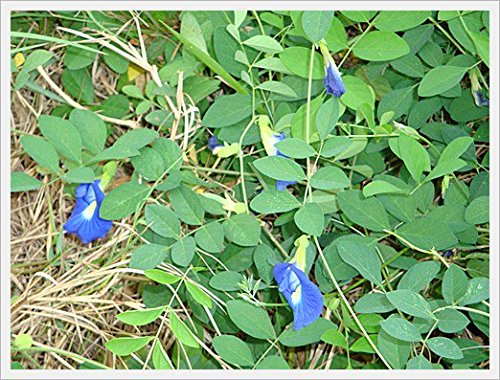
 Butterfly Pea Flowers [Clitoria ternatea] provide gorgeous natural color, as well as many benefits for the mind and body. Add some natural Botanical Blue to your routine & brighten things up as we explore these amazing flowers & their benefits, & their uses.
They also contain catechins, which are said to be instrumental in burning belly fat, aiding weight loss as well as helping to control blood sugar. Drinking butterfly-pea flower tea is purported to rev up your metabolism, making the body burn more calories.
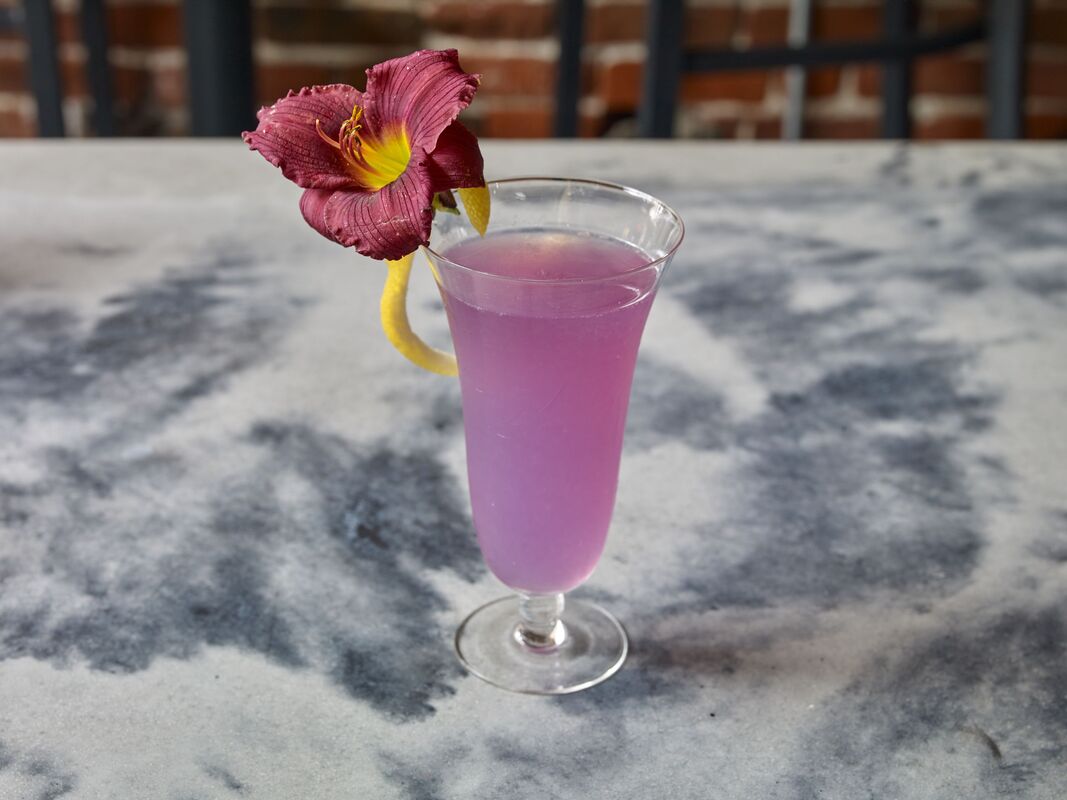
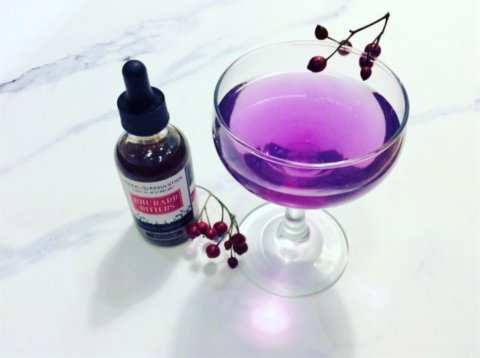
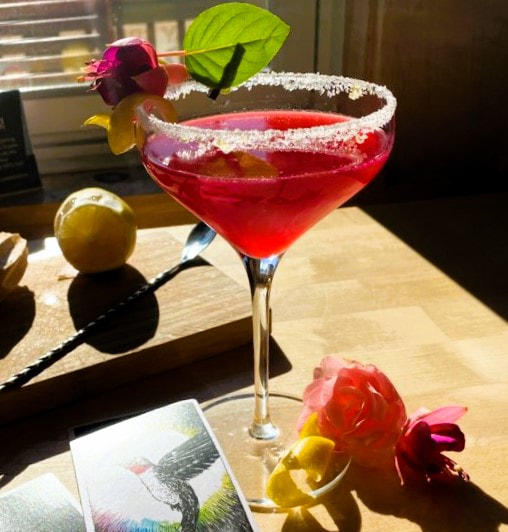
This makes the herb VERY popular for cocktails! As anyone who knows me would expect, I have had quite a lot of fun playing with their effects & use them frequently in the drinks I craft.
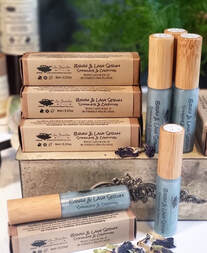
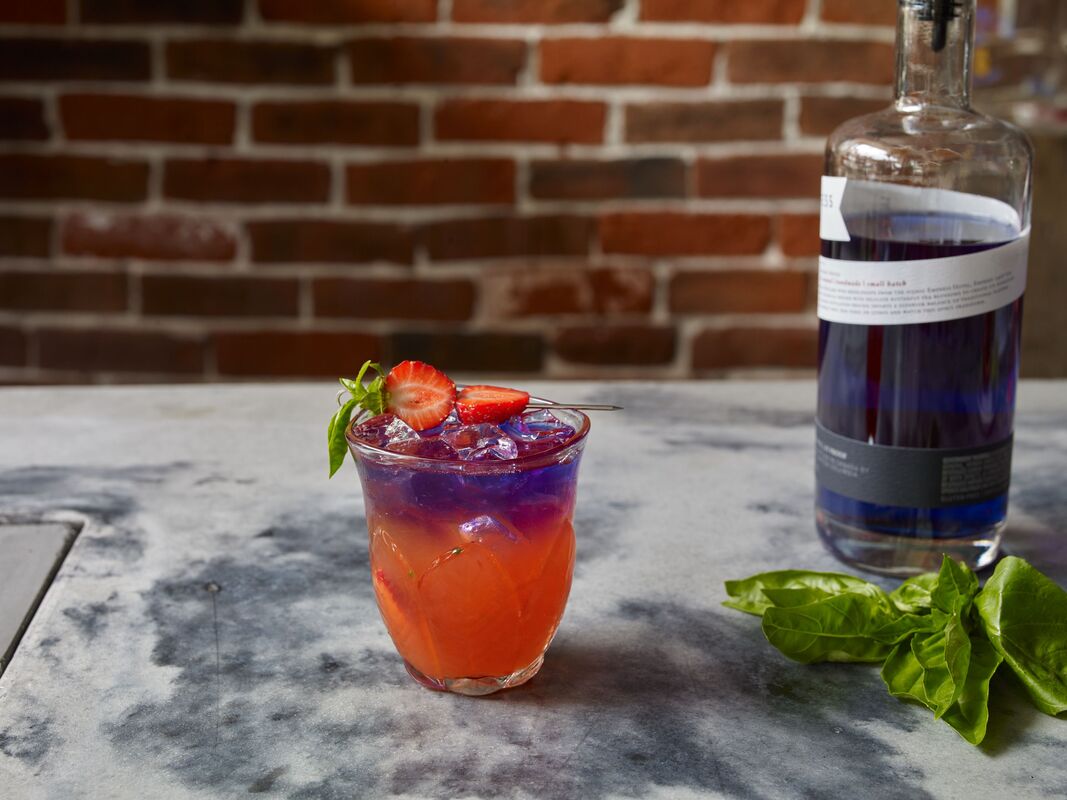
Want to play with them yourself? We also offer individual herbs, including butterfly pea flowers, for sale bulk here in store & online. Organic Butterfly Pea Flowers, Hand Foraged
$3.95 - $12.95
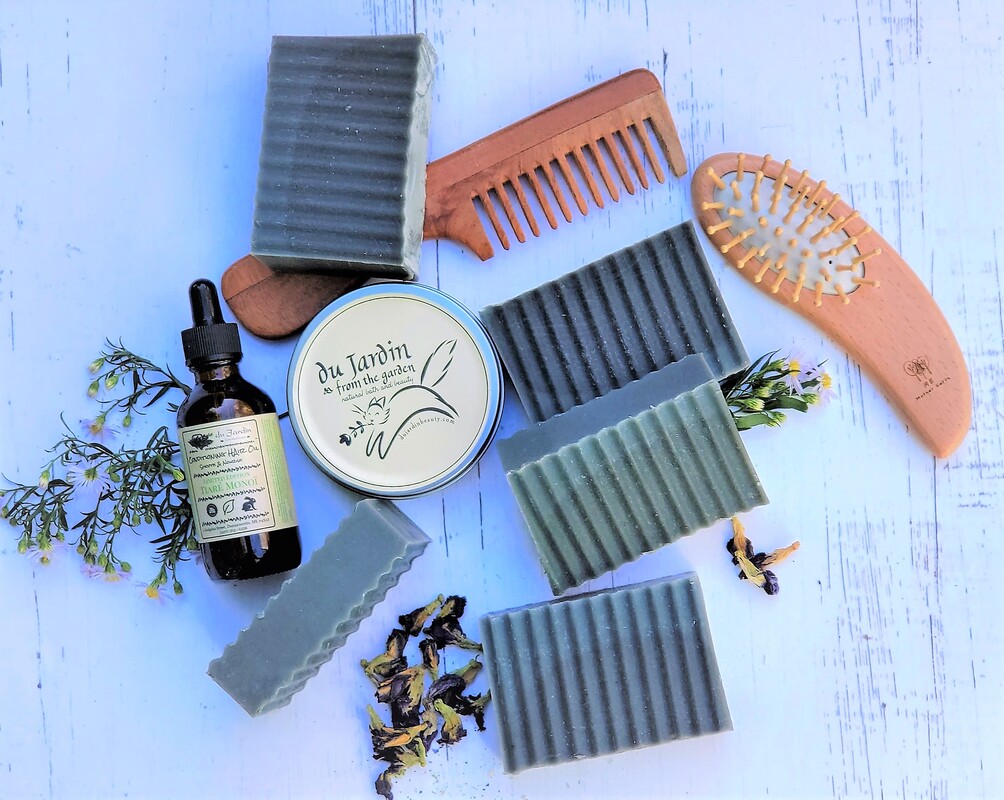
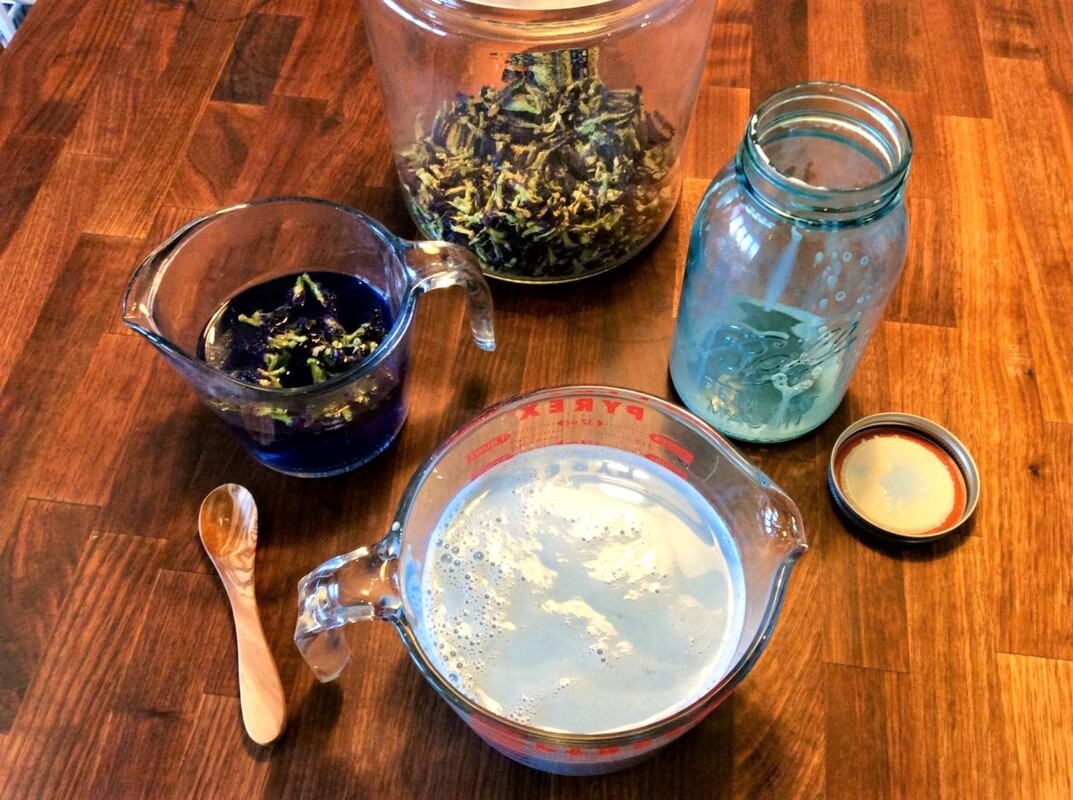
Sold out Wild harvested & carefully dried to preserve the whole flower heads. Our butterfly pea flowers are collected by hand in Thailand by Supanij Farm. 100% organic & wildcrafted. Dried flowers can be used in tea, cordials, tinctures, & syrups, as well as in cooking & beauty products. Delightfully pH sensitive, on their own they provide a deep indigo blue color, add an acid [like lemon juice] & watch it turn a vibrant purple-fuchsia! Flavor is an earthy floral-green note. Sold by volume in 1 oz [about 5g] & 2 oz [10g] bags or 4 oz bail-jars that contain 3 ounces by volume [15g] of dried herbs.
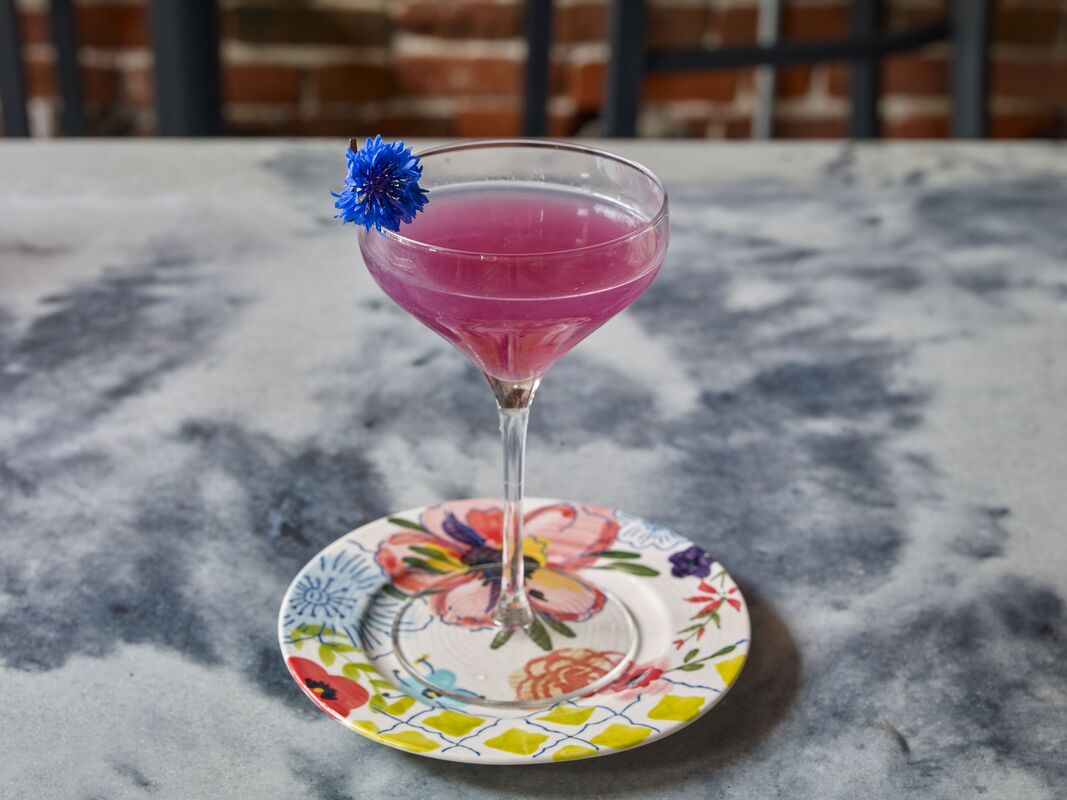
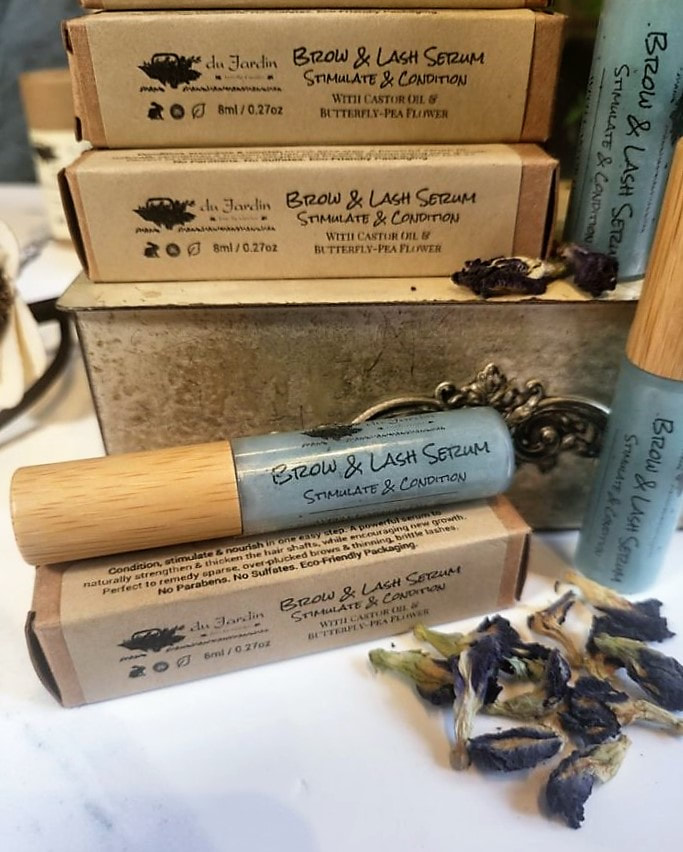
More than just the sheer strangeness of the colors, remember you are getting the herbal benefits of the butterfly pea flowers. This Herbal Ally provides so many benefits for mind & body. It is definitely worth adding to your own tea selection or Herbal Apothecary. I hope you enjoyed this look at these amazing flowers. Let me know how you like to use Butterfly Flowers & what color combo you create! Until next time--Stay safe & #StopAndEatTheFlowers
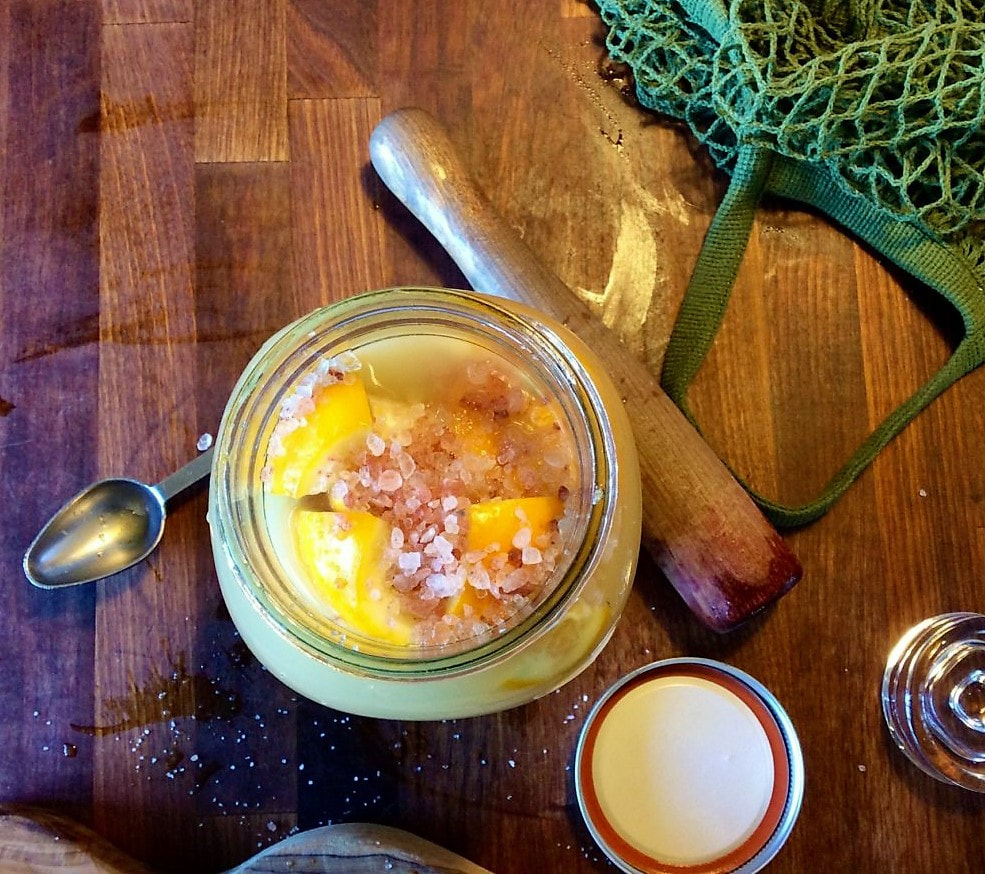
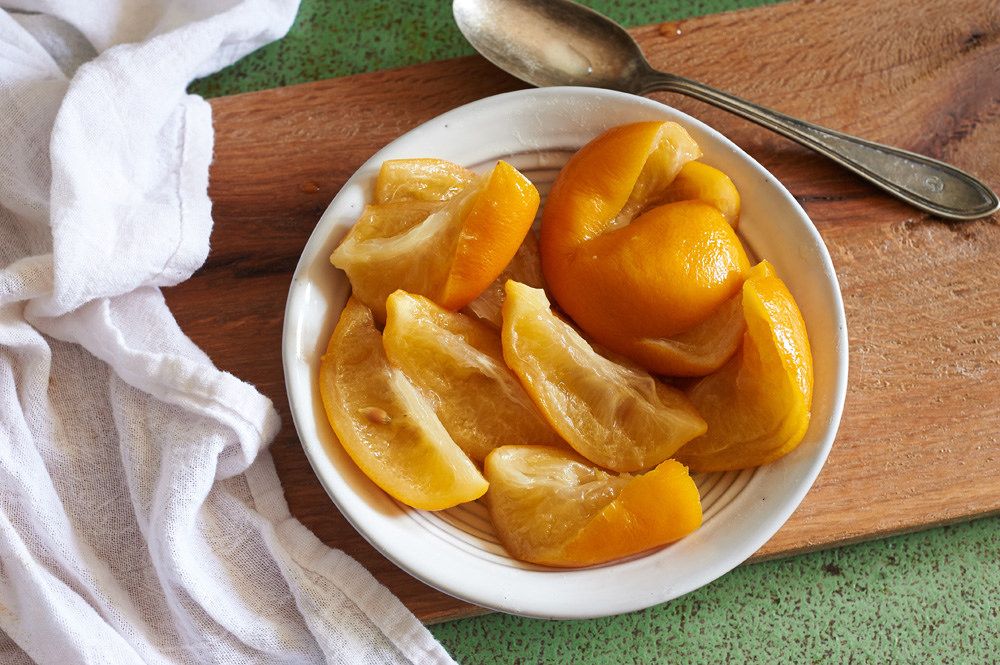
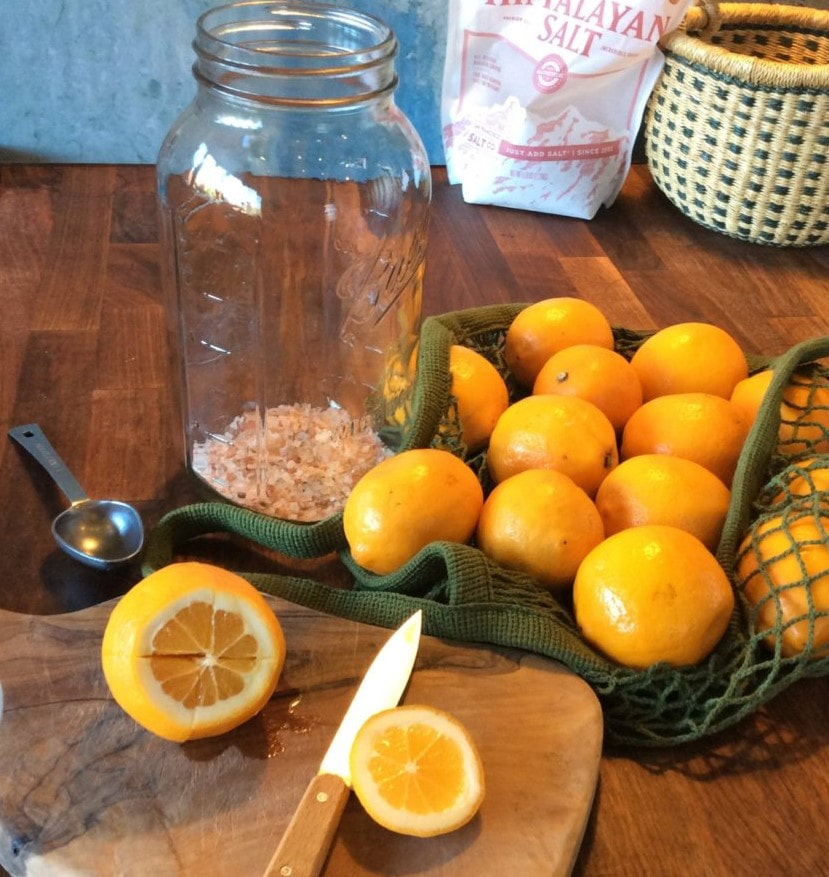
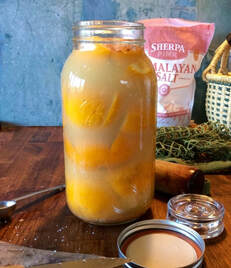
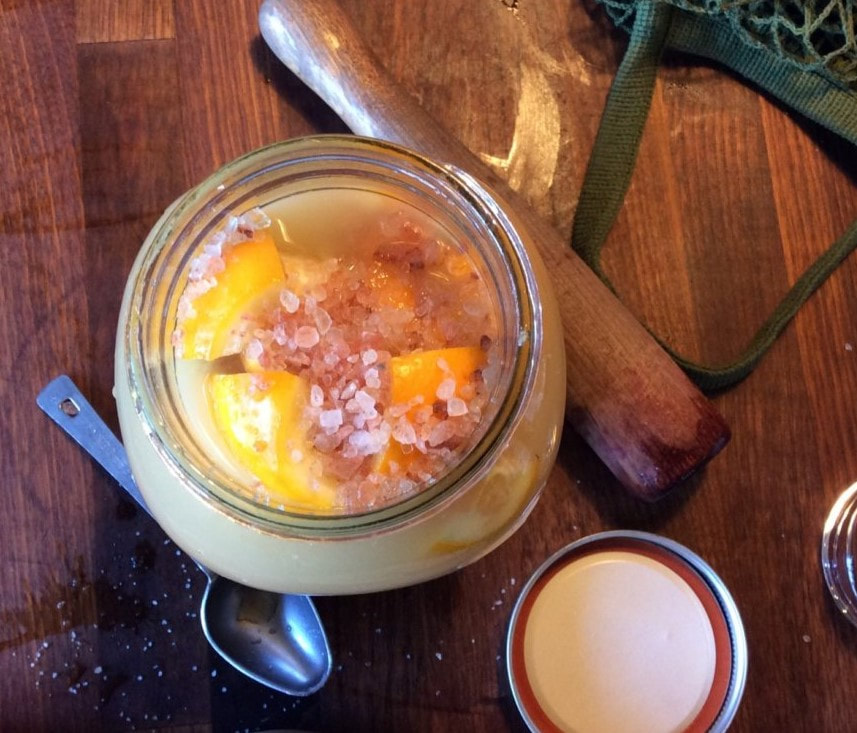
Give a Moroccan, umami lift to your cheese & charcutierie boards! These preserved lemons are easy to make & will be ready in just 3 weeks---
Again, I like to buck tradition a bit & generally use Pink Himalayan Salt for mine, adding more unique notes as well as lovely health benefits. Lastly, it is important to be sure all of your fruit is completely submerged under lemon juice. Pickle stones are helpful for this. [seen in my pictures, they are simple, round glass weights] If fruit remains uncovered by the liquid, you run the chance of bacteria or mold occurring, which will ruin your batch. That is really all there is to it. One final note-- be sure to RINSE your lemon pieces as you use them! Rather obvious in hind-sight, the sheer amount of salt used to preserve the fruit will overwhelm & mask the flavors you are creating if used directly from the bottle! I find these lemons ready to eat after 3 weeks, but they will continue to develop flavor the longer they are left to pickle & will last rather indefinitely if they remain submerged & your jar is tucked into the back of your refrigerator.
Please let me know how yours come out & what you make with them-- I love to hear from you all! Wishing you all a lovely & safe Holiday Season! Until next time, take care & don’t forget to #StopAndEatTheFlowers
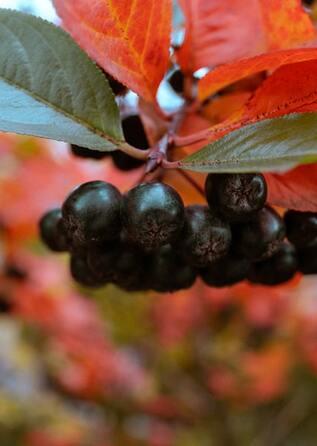
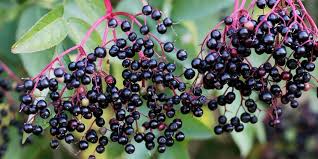
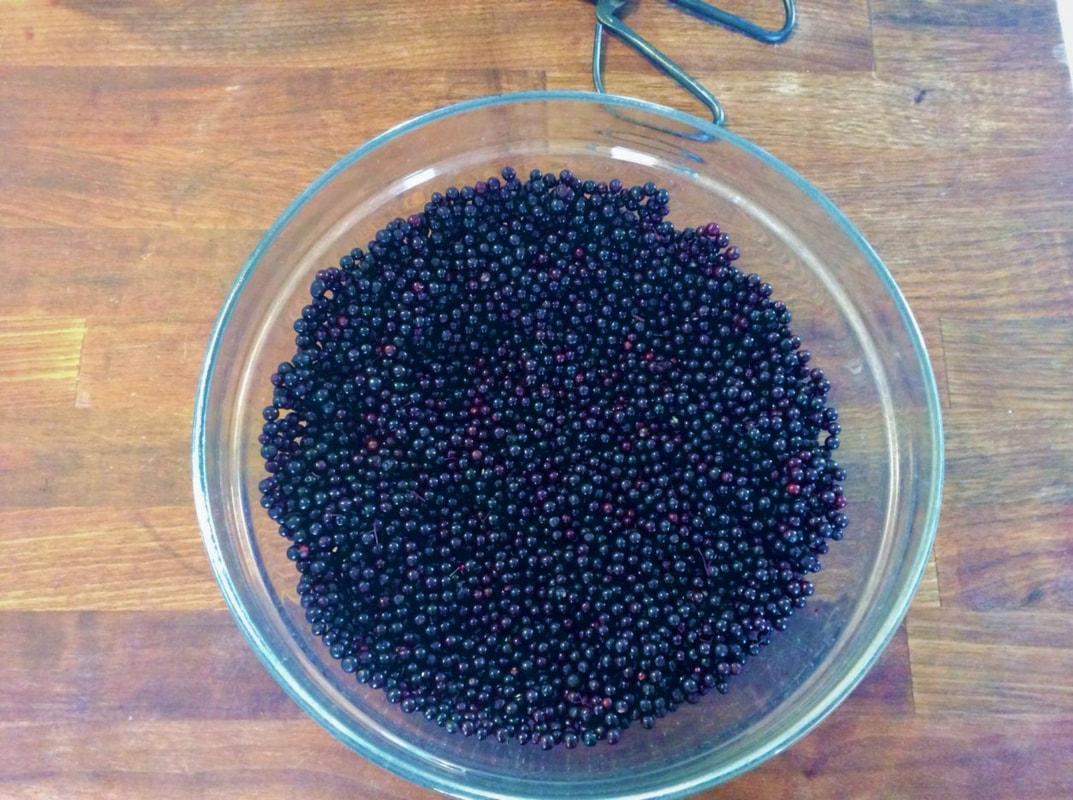
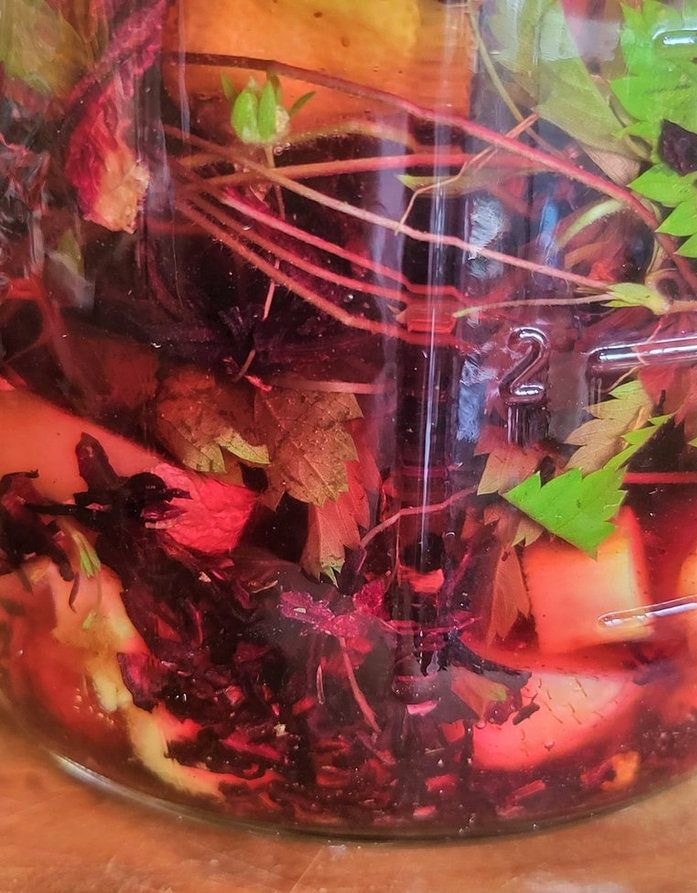
Delicious & just as immune-supportive as the Elderberry, Chokeberries are in season now & are fabulous! Join me as we discuss their growing habits, traditional uses, & I make a simple syrup & craft some delicious drinks with their bright, tart flavor---
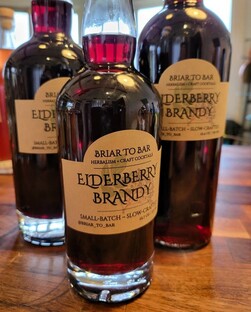
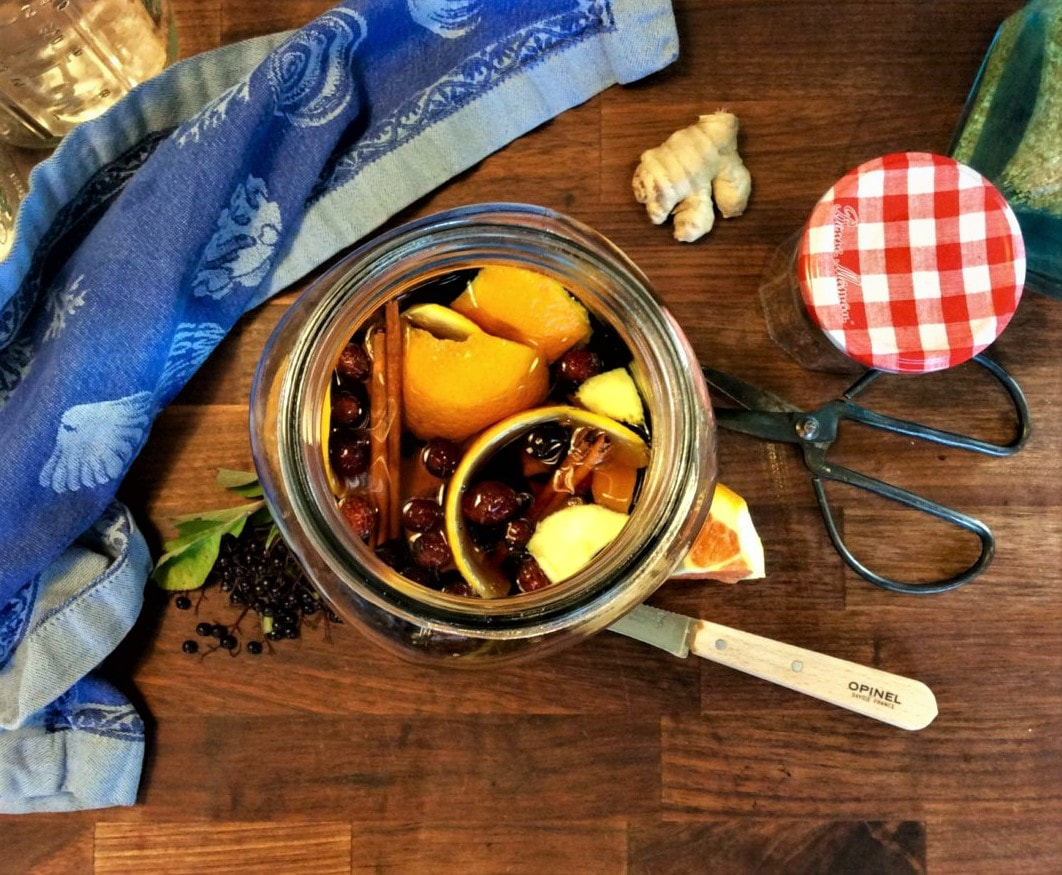
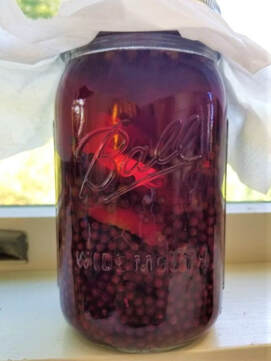
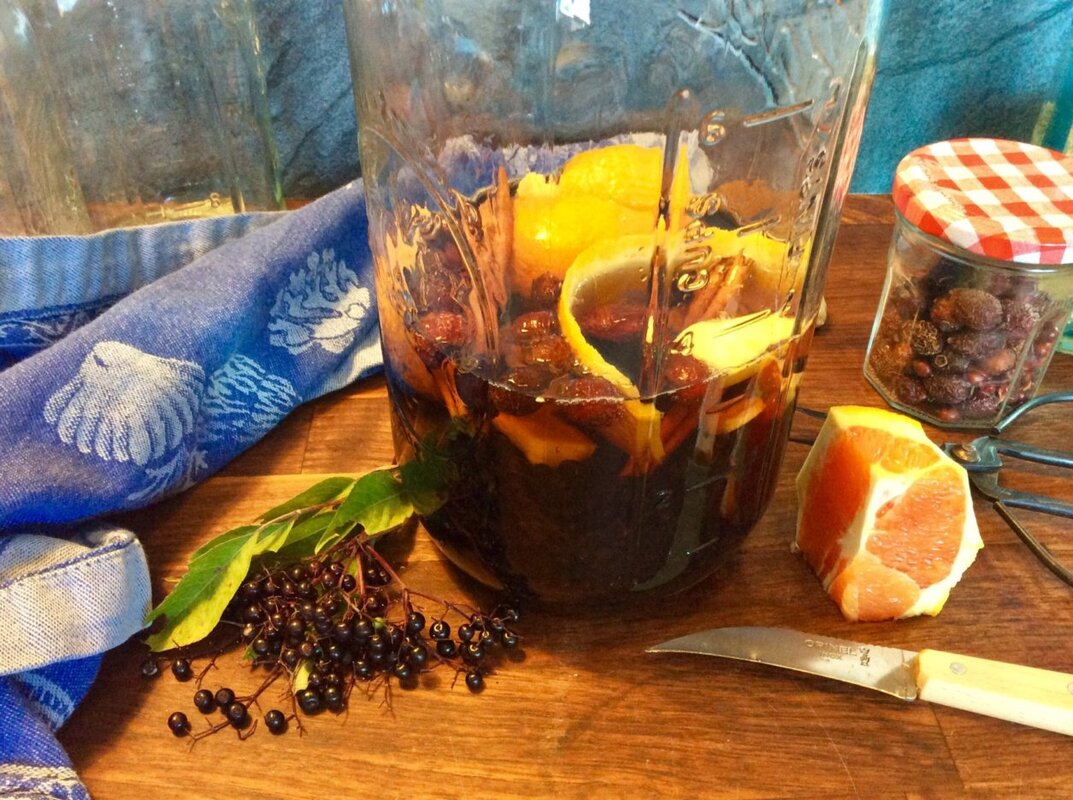
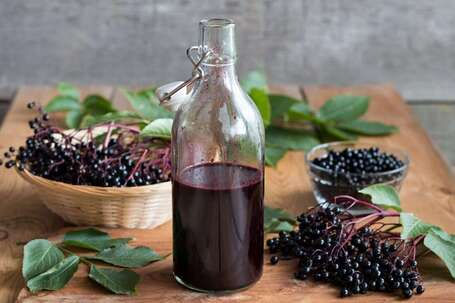
Elderberry Brandy Cordial A quart sized Mason Jar 2 cups fresh elderberries [or 1/2 cup dried] Peel of an orange [organic preferred] 2 TBS rose hips [dried or fresh] 1” - 2” peeled ginger 1 or 2 cinammon sticks 2 TBS dried elderflowers [optional] 1 quart brandy 1 cup sugar or honey 1 cup water 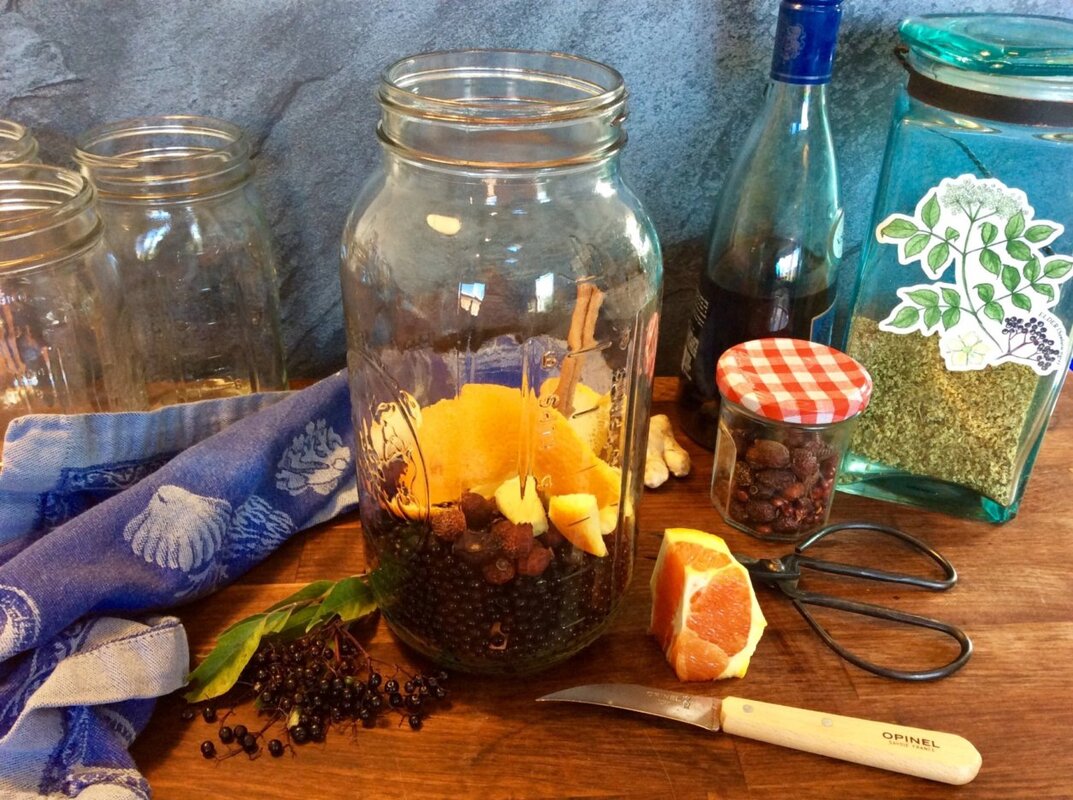
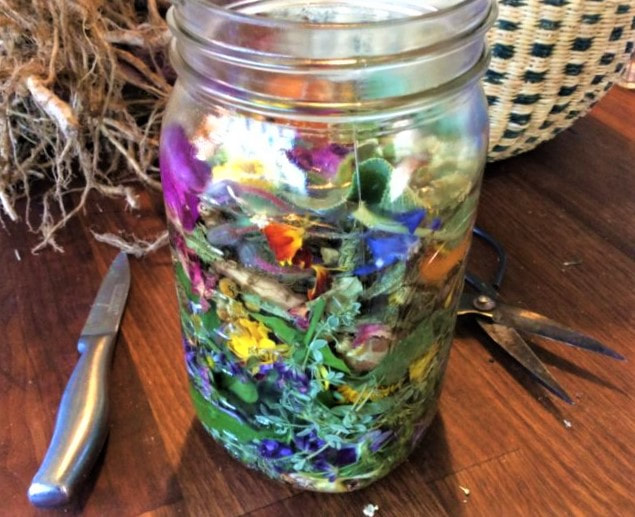
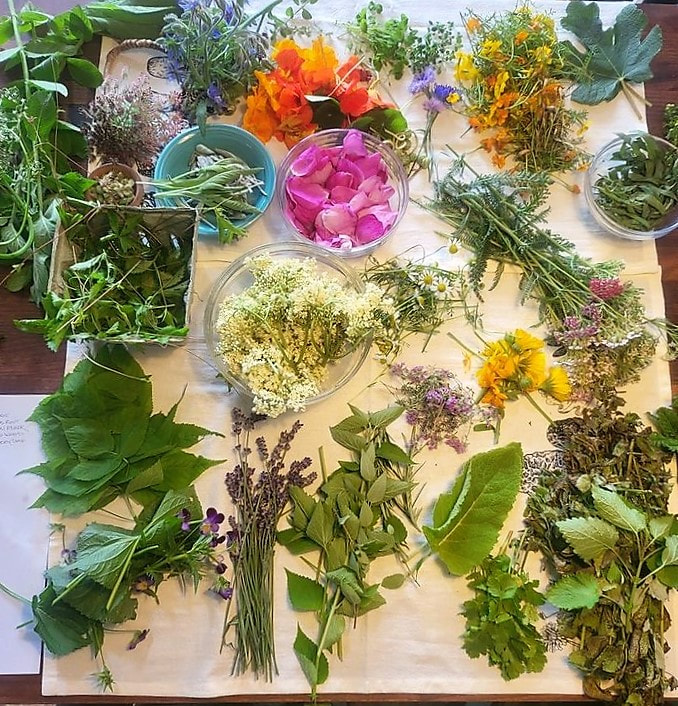
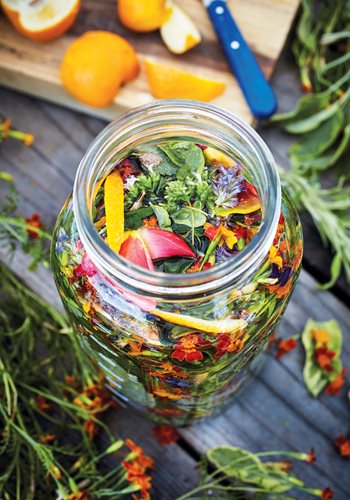
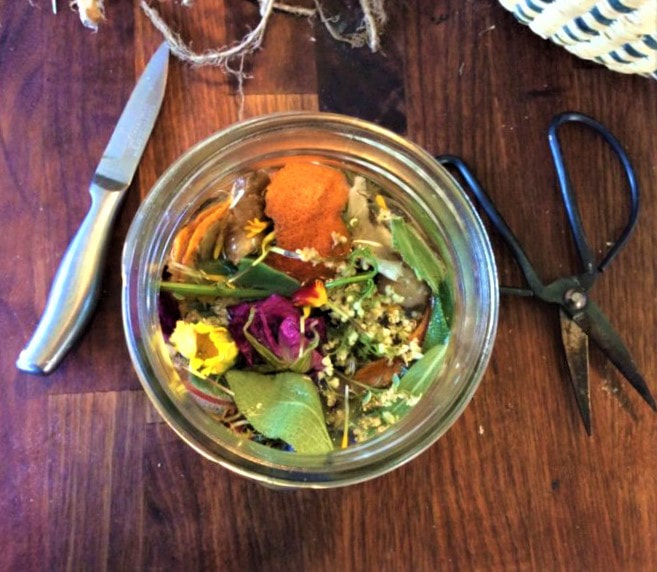
Craft Your Own Amaro ~ Makes about 32 ounces ~ Takes at least 6 weeks ~A blend of herbs & spices including flowers, leaves, & barks, fresh or dried, Enough plant material to fill a quart-sized mason jar. ~5-8 sprigs of strong culinary herb [such as rosemary or thyme] ~Citrus Peels, grapefruit/orange/lemon or a combination equivalent to that of 2 oranges. ~Enough 80-proof neutral spirit to cover it,vodka is the easiest to source. If you have access to high proof neutral, you will get deeper flavor results. ~1 cup sugar [or sugar substitute] ~1 cup water 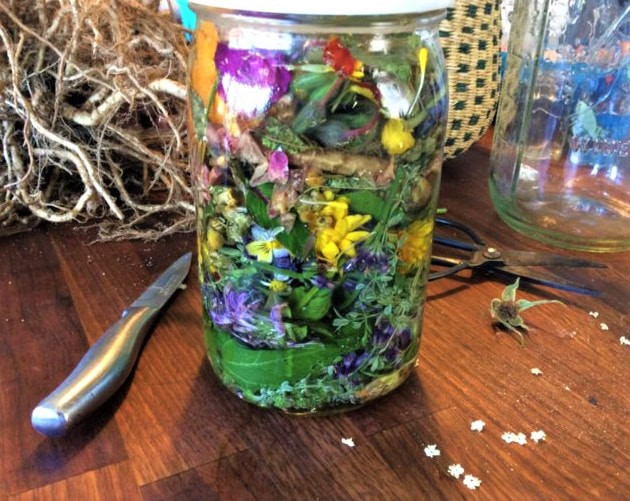 Leave the flowers whole to incorporate their bitter reporductive parts in your mix.
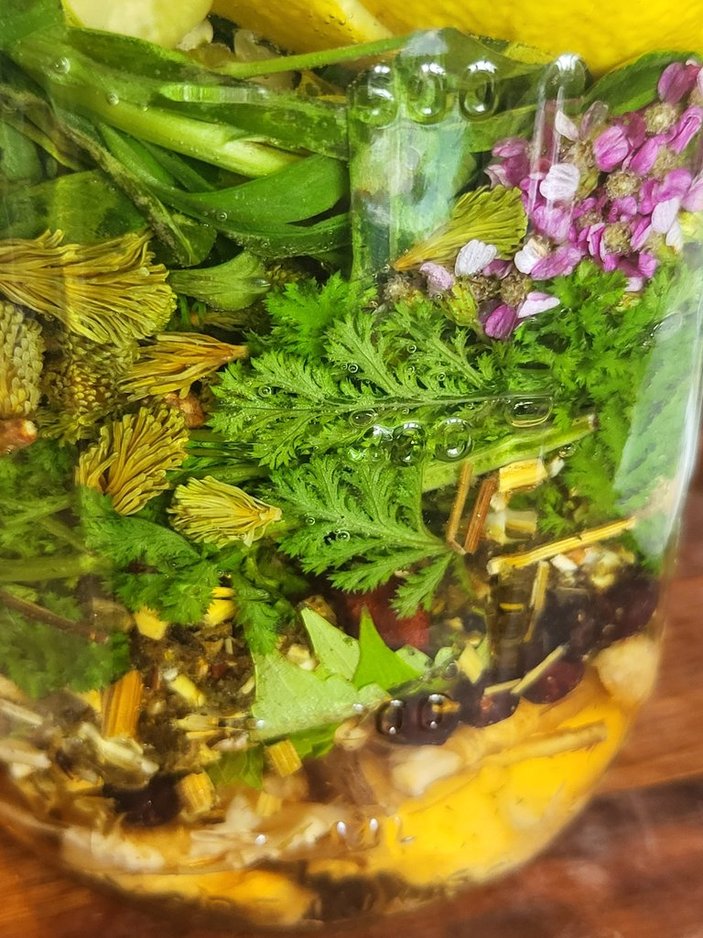
Slowly pour the plain vodka/alcohol over the herbs, filling the jar all the way to the very top to ensure all the materials are covered & nothing is sticking up above the surface. Put a piece of wax paper over the jar mouth & seal with a lid. Pop your jar away somewhere out of direct sunlight.
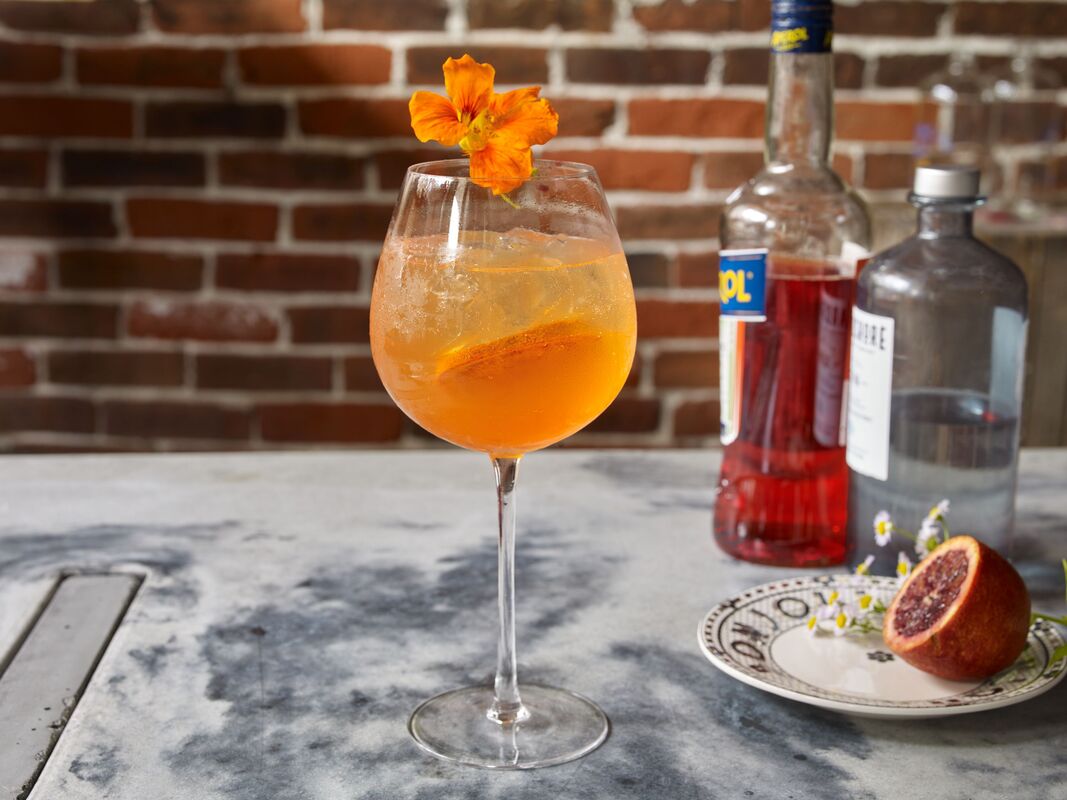
Again, how sweet you make it is up to the individual! I added all of my 1:1 syrup, knowing I had included many very bitter ingredients in my mix. Reseal up your jar & set it aside again to age with the sweetener added, at least another 2 weeks. During this time, the amaro will mellow & incorporate the sweet with the other extracted flavors. If you are impatient to taste your creation, remember some amaros are aged for a year or more at this point! You will be rewarded by a fuller, balanced flavor by waiting!
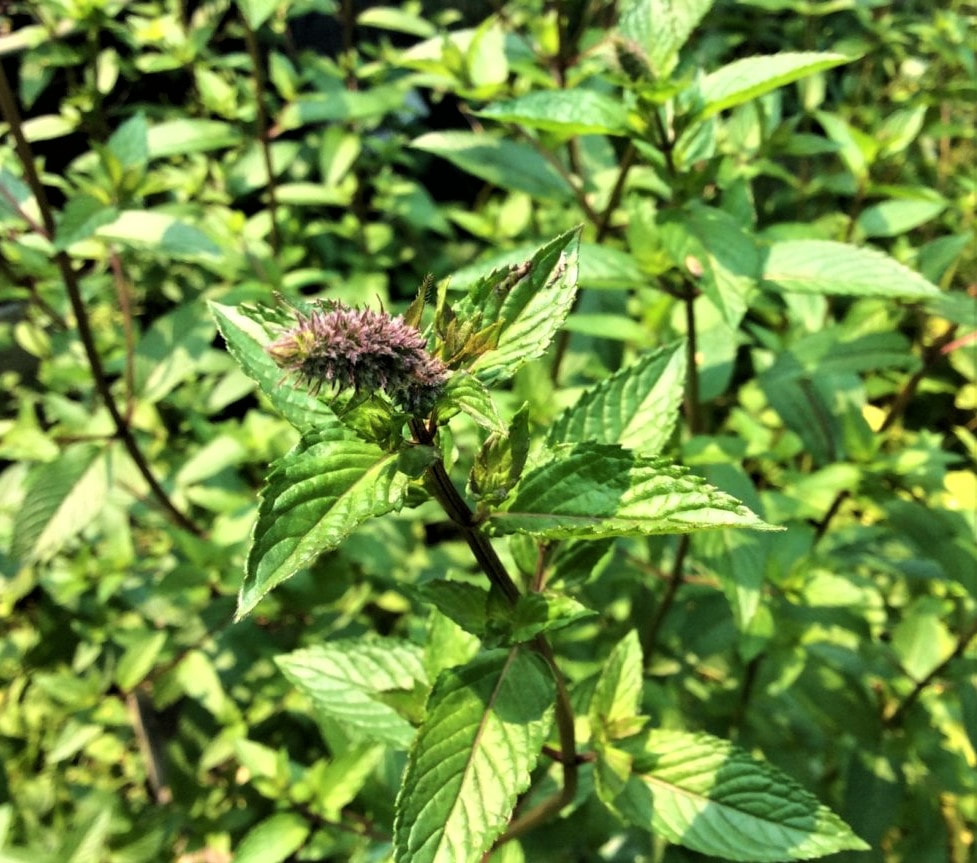
That is it for this post. PLEASE let me know what you get up to; I adore hearing from you all & trying your creations! I hope you enjoy the process here as well as your results! Don’t forget to #StopAndEatTheFlowers With her striking purple stems & killer flavor, Chocolate Mint is one to grow. Join me as we discuss this beautiful mint cultivar & a bunch of options for using your harvest!
|
Categories
All
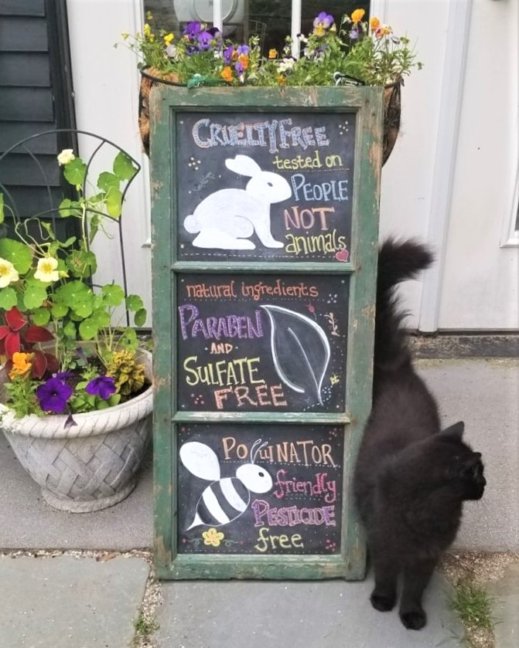
Beautiful AND Responsible
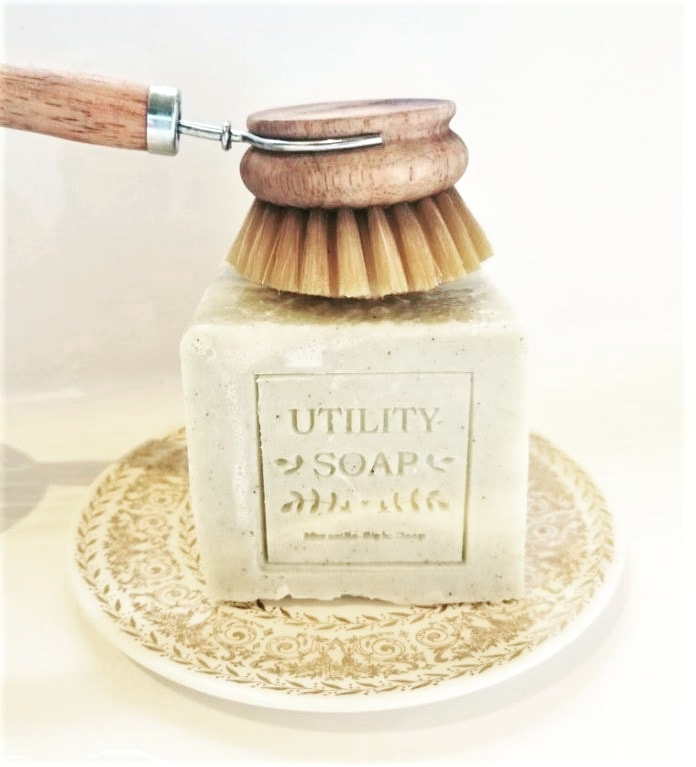
Meet the Centuries-Old, French Cleaning Classic with A Modern Twist
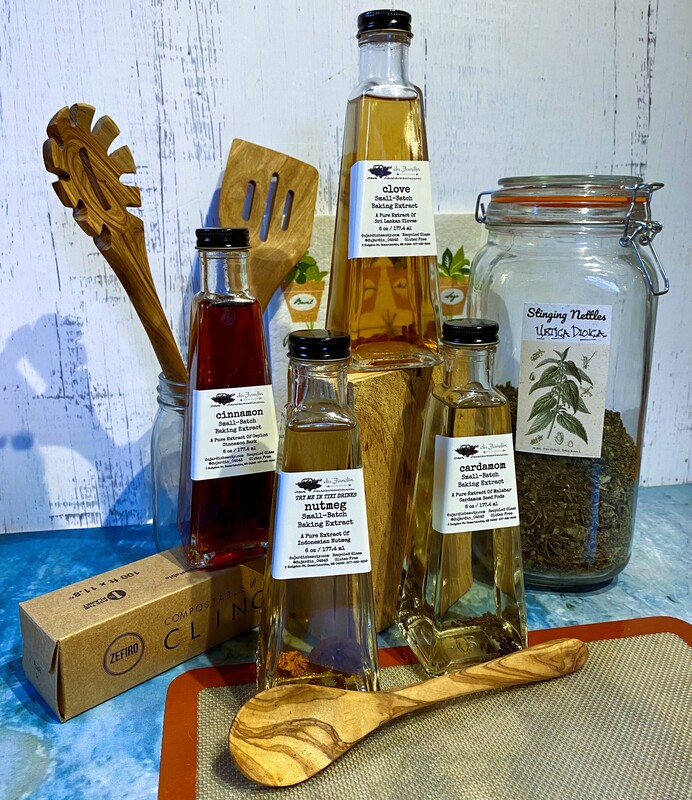
Treat Yourself To Our Amazing, Handcrafted Extracts
Archives
May 2024
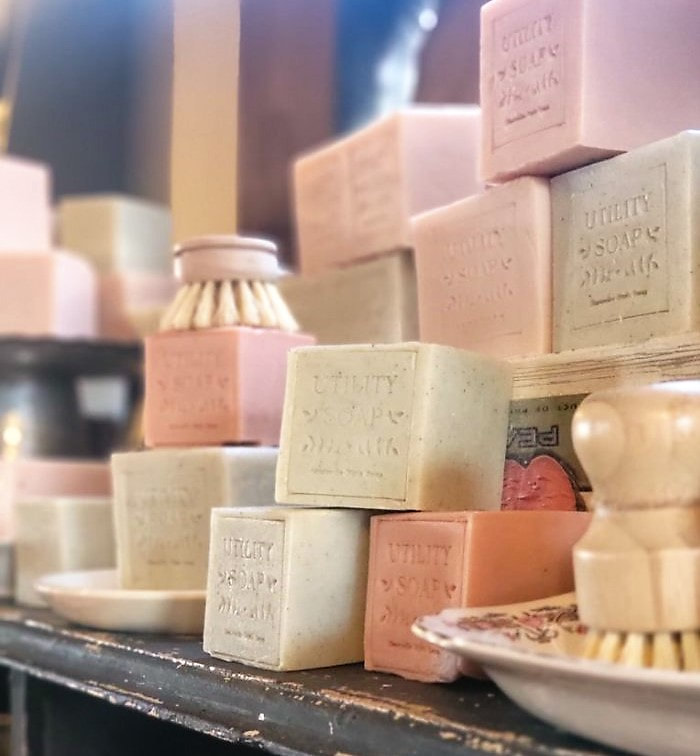
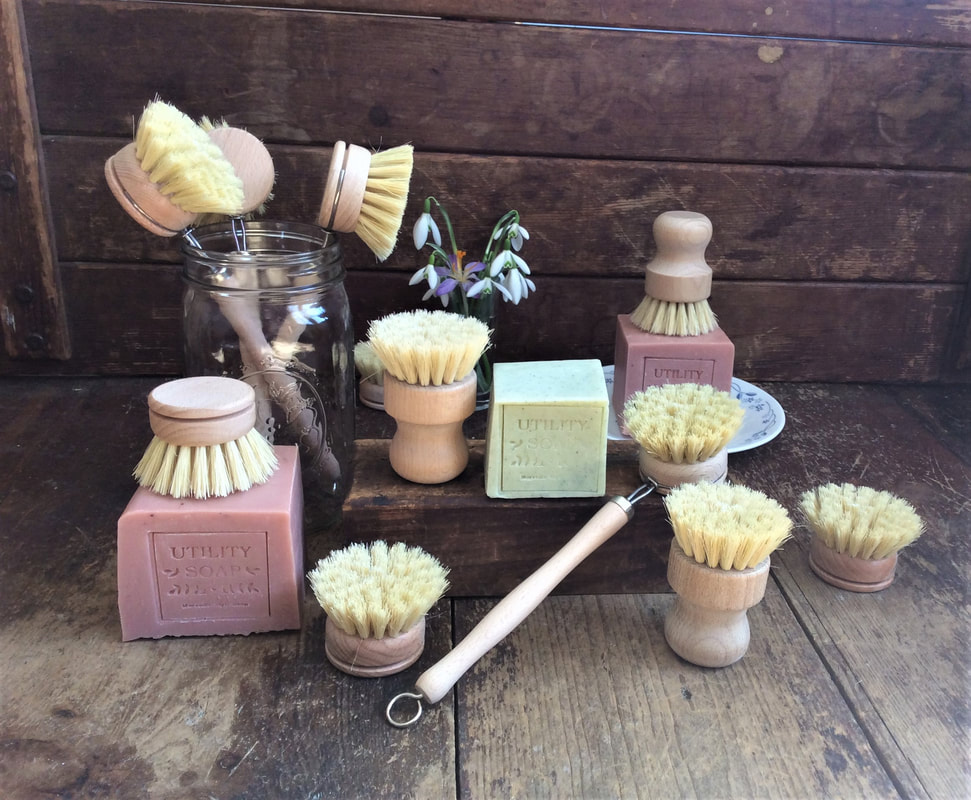
Our Multi-Purpose Utility Soaps Are Our Best Sellers For A Reason! Find Out For Yourself!
|


|
|
'Beautiful & responsible' Online: Ship or Pick-Up
Store Hours: Wednesday 11 am - 4 pm Thursday 11 am - 4 pm Saturday 11 am - 3 pm Damariscotta Farmers Market: May 17 - Oct 25 2024 |

|
207-563-6256 [email protected] © Du Jardin 2019
In the Smitten Barn - 2 Hodgdon Street - Damariscotta, Maine 04543