
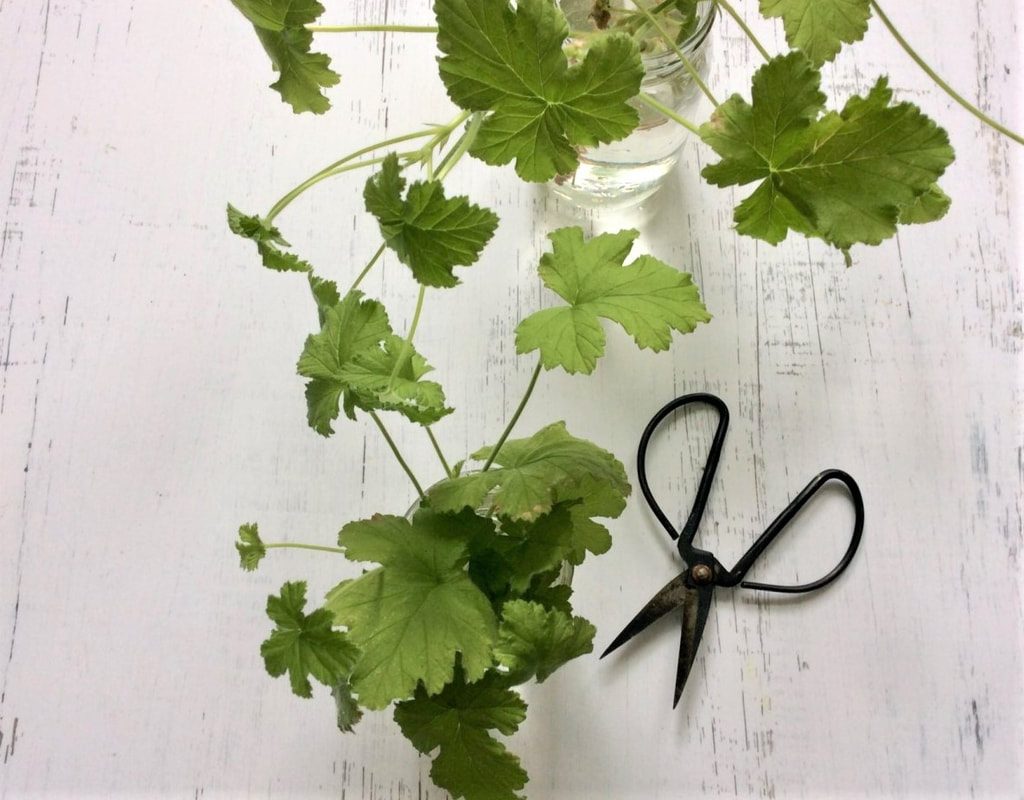
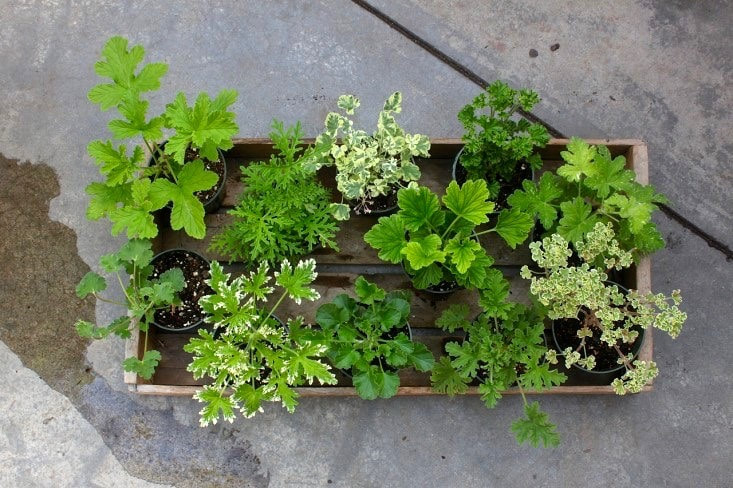
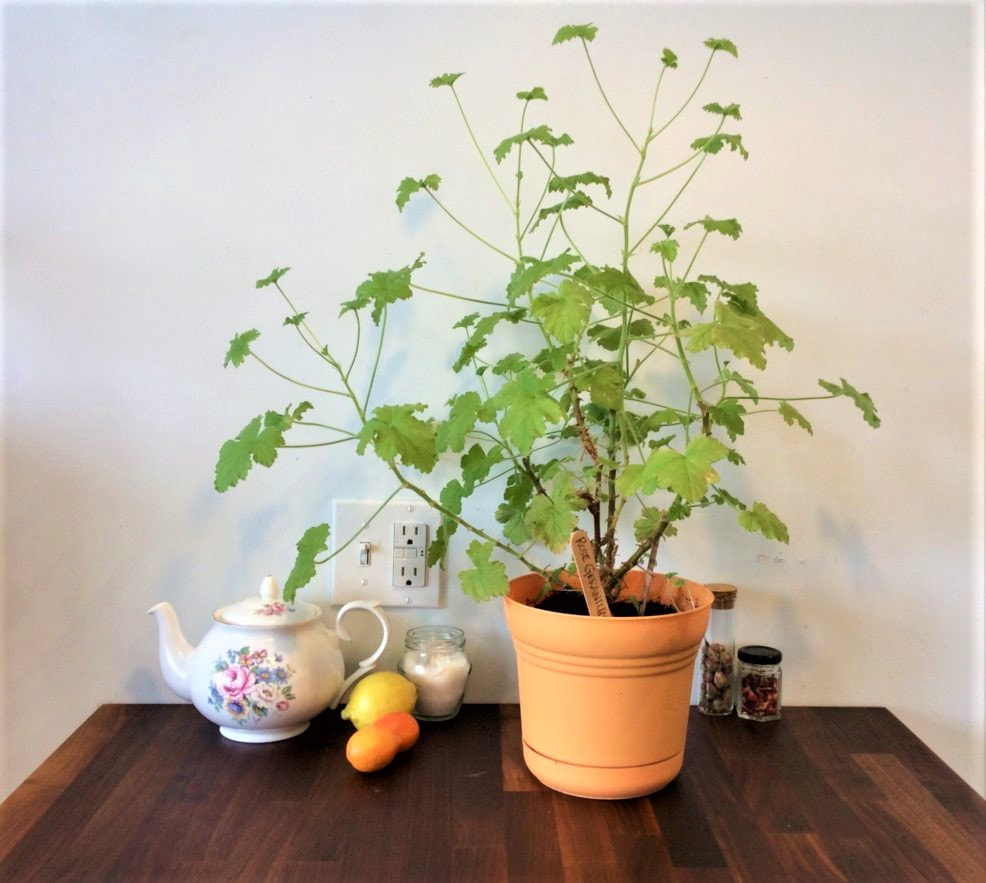
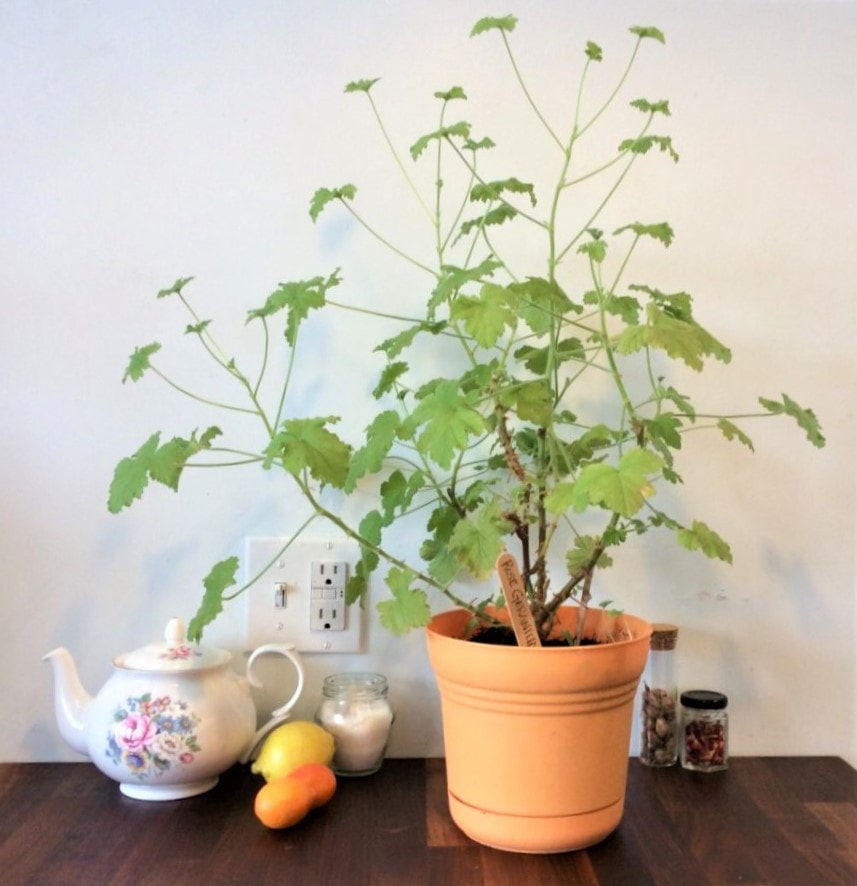
Hardy in zones 9 - 11, scented geraniums will not tolerate frost, but make lovely houseplants in lower zones & have no issues living in containers. Indoors, they will need some sun & will tend to get leggy when not regularly pinched back. Pinching them back also encourages flowering, & is rather a joy as a fresh leaf or 2 added to your morning cup of tea is lovely. I like to let ours get quite leggy, then give him a good haircut when the urge to make something strikes me. My favorites to make with the cuttings are Geranium Lemoncello, Geranium Blood Orange Curd, & the sorbet recipe I will share here -- which leads me to Gerald, our ‘Attar of Rose’ scented geranium.
Having just given Gerald a major haircut, we have plenty to go around -- if you’d like a cutting, pop on in to the store & I will gladly give you one free of charge! All we ask in return is that you give your plant a name starting with ‘G’ to keep Gerald’s line going! :D Tag your baby on instagram with #GeraldIsLegion so we cansee your results!
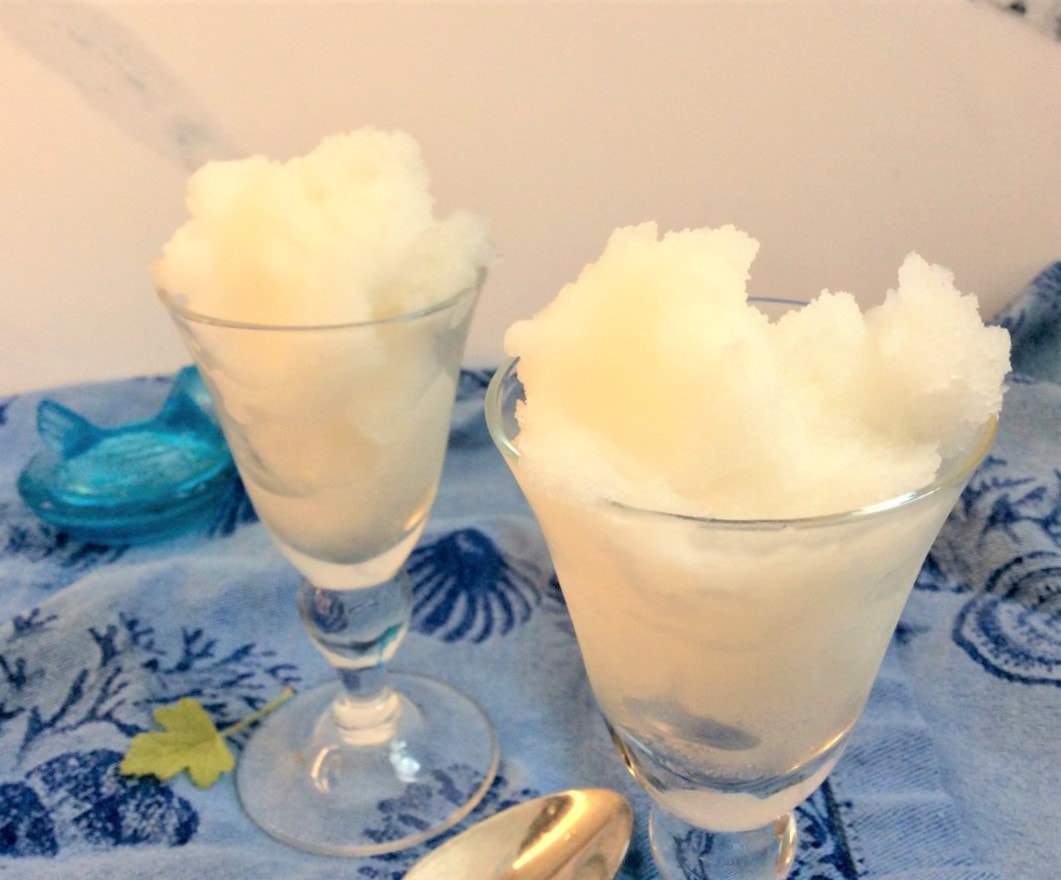
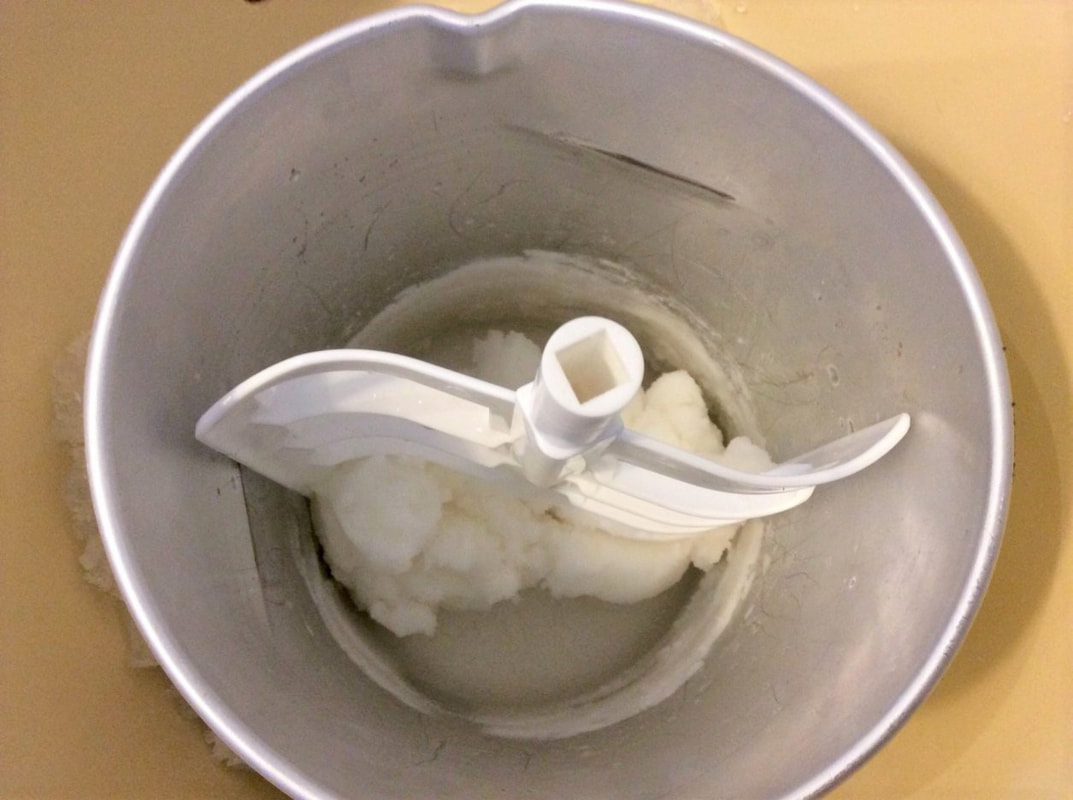
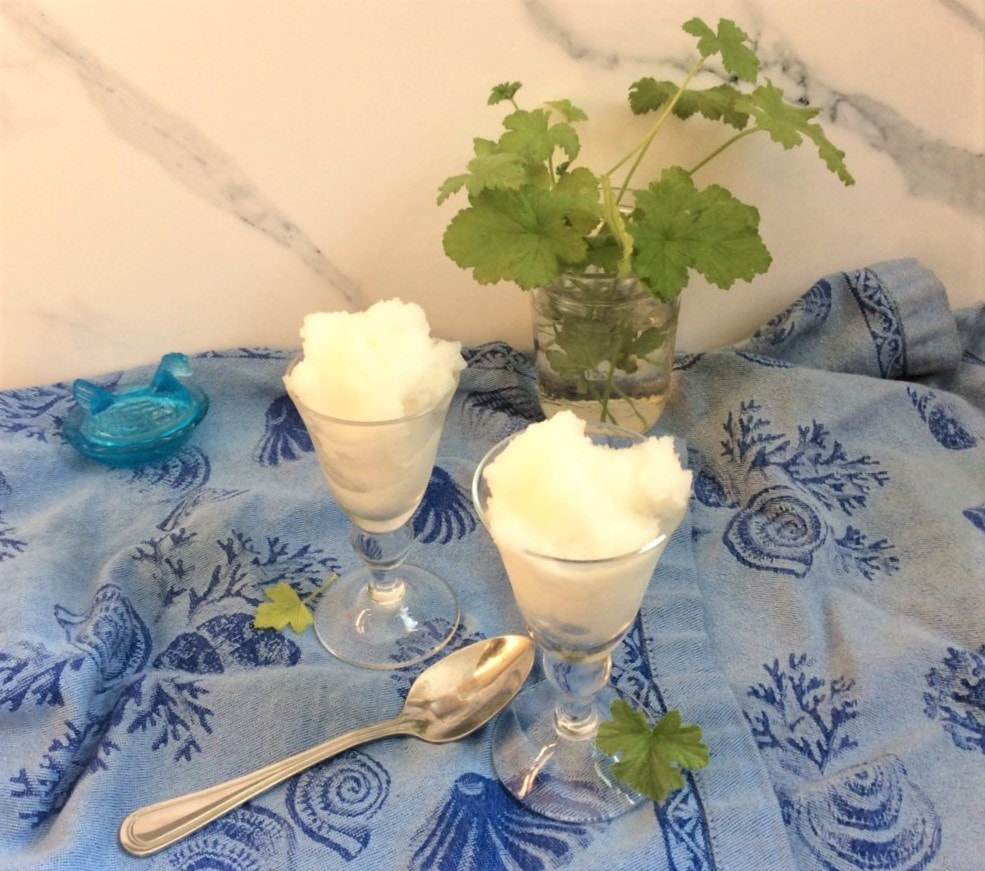
It isn’t mandatory, but consistently helps to provide the best results. I use vodka to avoid affecting the taste. Additionally, you can substitute honey, maple syrup, or agave for the sugar, but it will affect the overall flavor. Second, churning your base really is crucial to achieving the creamy texture we’re after. If you don’t own [or want to own] an ice cream maker, you can use this recipe & freeze your base into granita, which is icier in texture but equally delicious. I will run through ‘No-Churn’ instructions as well. Third, this recipe will make about 3 cups of sorbet, which should be more than enough for 8-10 small servings. It can easily be scaled up if you need, but keep in mind it is meant to be served in small portions. We find it keeps well in the freezer for about a month, staying smooth & easily scoop-able. My final note is that you can absolutely use any scented geranium to flavor your batch. Gerald is not the only game in town in this matter [although he does make an exquisite sorbet!] Okay--Let’s do it! Rose-Geranium Sorbet
Ice Cream Machine Directions: Add to chilled machine & follow machine directions [about 20-30 minutes usually.] Scoop into freezer container, smoothing with a spatula. I prefer a long, shallow container so I can get nice curls when serving. ENJOY! Freezer Method: Pour base into container, cover & place in your freezer. After a couple hours [semi-solid state,] take it out & hand-churn it up with a fork. Place it back in the freezer. Once it has refrozen, scoop it all out & put it in a blender or food processor. Run it until it is mostly smooth. This version will be more like a granita, icier than true churned sorbet. Cover & refreeze until serving. This version should stay scoop-able for about 3 days. ENJOY! 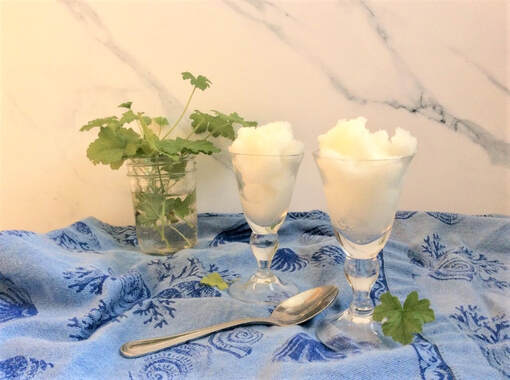 There it is! I hope you enjoy the post & give this lovely, herbal sorbet a try. This recipe is super-easy to make & always a hit. It is so unusual & elegant. Please let me know what you think if you make it! I am 100% serious about coming in for free cuttings of Gerald. And about sharing your results with #GeraldIsLegion. This is definitely a cultivar we want to keep around! Until next time--Stay safe & remember to #StopAndEatTheFlowers [or leaves as the case may be!]
1 Comment
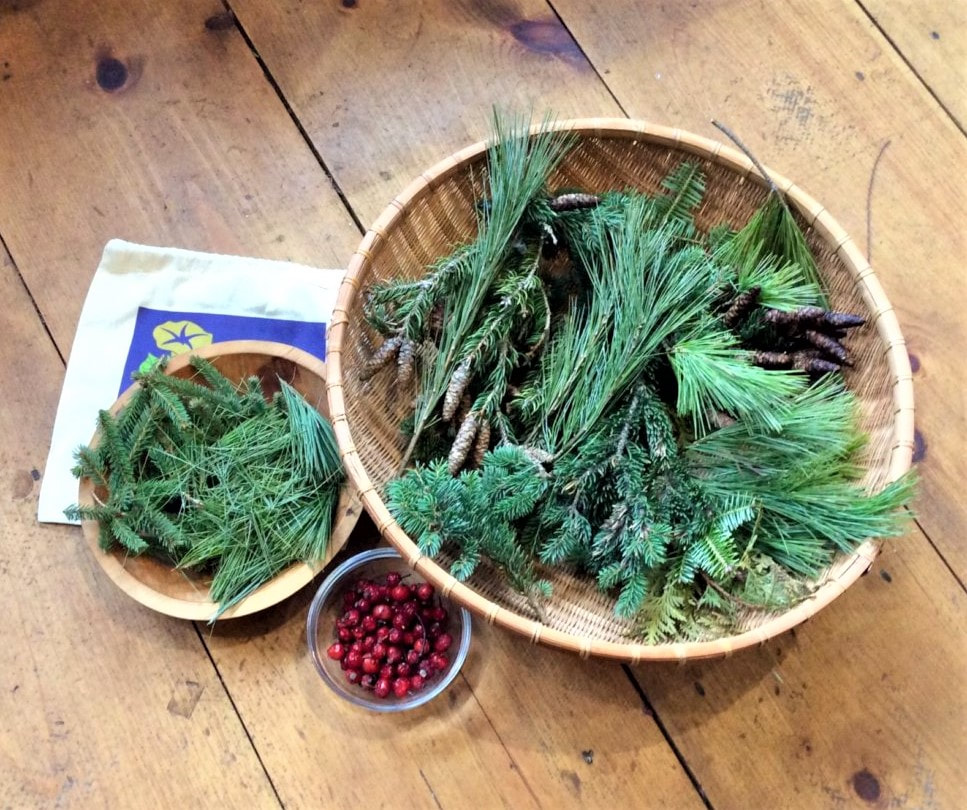
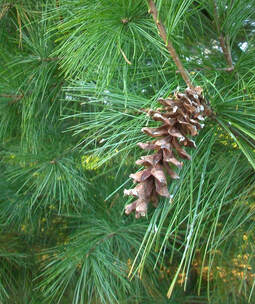
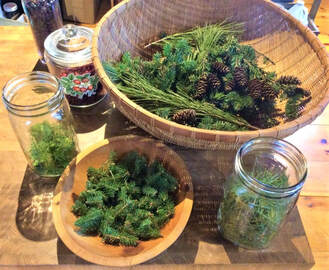
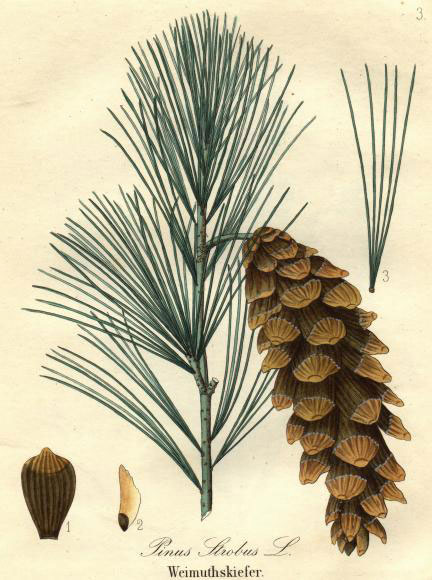
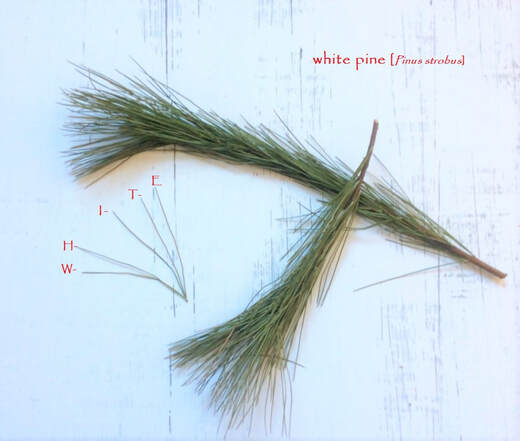 The Eastern White Pine [Pinus strobus] has coniferous needles which typically grow in bundles of 5 Here in the dead of Winter, our year-round Herbal Allies in the evergreen family are a perfect way to entice yourself to get out into the cold, fresh air! With so many members & so many edible & medicinal ways to use them, it is hard to know where to start. They have been used in traditional Nordic & Indigenous Peoples cooking for centuries. Loaded with Vitamins C & A, as well as healing & pain-soothing properties, evergreens are main staple plants, especially for winter foraging. Easy to identify & available in nearly every climate, evergreens are a great place to start if you’re new to foraging as well.
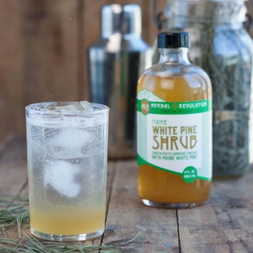
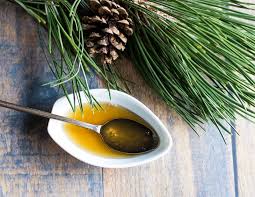
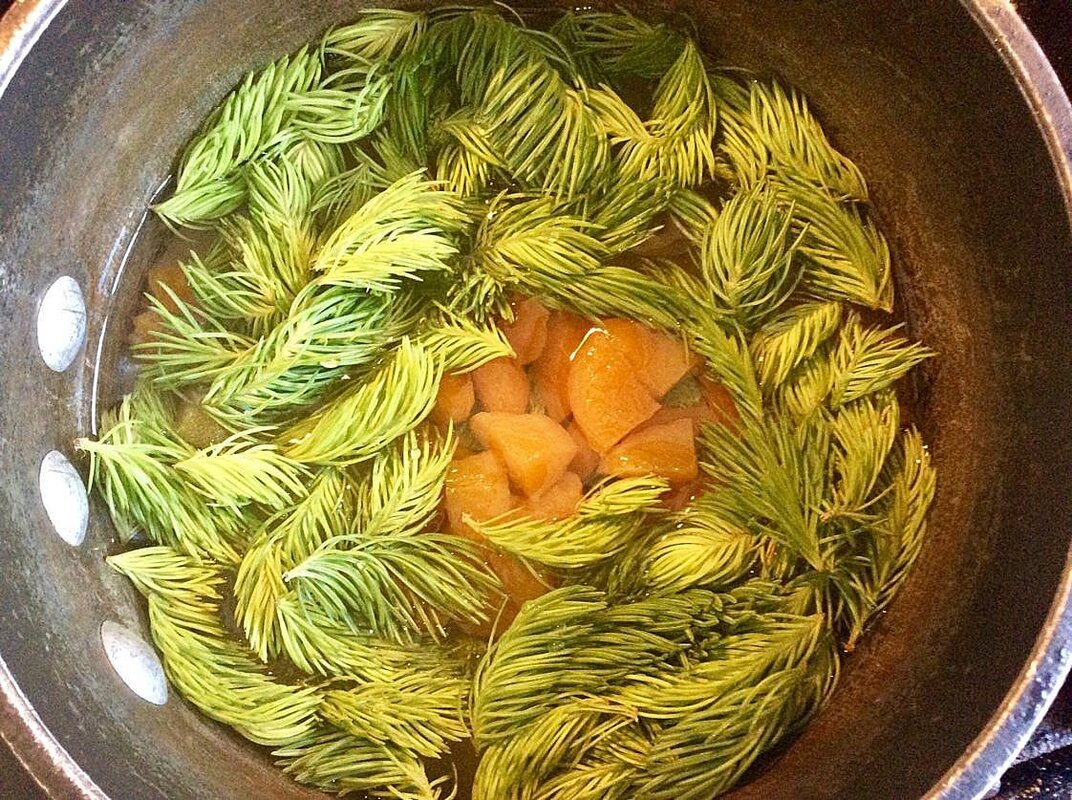
Most conifer needles are edible, with the exception of the toxic yew [Taxus spp.] tree. Spruce, pine, fir, & redwood all have wonderful herbal & edible uses. Conifer needles are particularly useful in teas & steams, but are also used in applications varying from healing-salves to flavoring infusions. In order to protect the Vitamin C, these needles are often cold-infused. Boiling, or heat infusion will result in less Vitamin C, but a deeper, more intense flavor. Both methods of extraction are used depending on the desired result. I love to add spruce tips to my daily tea where flavor, not vitamins, are my main focus. Try Maine's Delicious White Pine In This Small-Batch Shrub
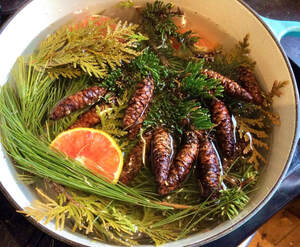
Set the pot on your stovetop on high heat & bring to a boil. Lower the heat to maintain a slow simmer as long as desired, adding more water if needed, as you diffuse the fresh scent through your home & add moisture to the dry Winter air. Heavenly! Bring the scent of evergreen's into your home
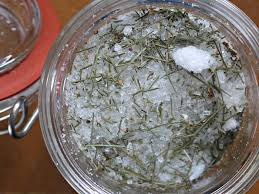
combine. Allow to infuse for at least an hour before use--but this mixture will keep for a couple of months. If you have them, crushed juniper berries are a lovely addition to this soak, or even a few drops of cypress, orange, &/or cedarwood essential oils [up to 12 drops total per 3 cups of salt.] Incredibly soothing for the mind & the body, this soak is a Wintertime must! Be sure to place a small strainer or piece of cheesecloth over your drain at the end to catch the plant material when draining, or place your salts in a bath infuser or muslin bath-bag to start with.
In the Winter, I tend to favor teas with spruce, adding tiny cuttings to my herbal tea blends almost daily. I have also been playing around with them in a zero-proof ‘gin’ alternative with very positive results, but that is also a post for another time.
I hope you have enjoyed this post & that it has encouraged you to get out & enjoy the outdoors during this slower-paced time of year. There is always something to learn & something to do in the Herbal World. If you are just beginning to explore foraging, evergreens are a wonderful [& delicious] starting point. Let me know what you are foraging & how you are using it-- I love to hear from you! Until next time--Stay safe & remember to #StopAndEatTheFlowers
cardiovascular health. They are also traditionally used cosmetically to stimulate hair growth, & to support glowing skin & graceful ageing. Try them yourself in these popular products
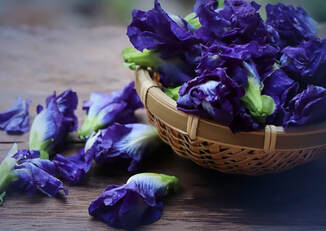
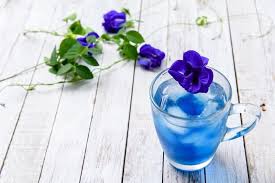
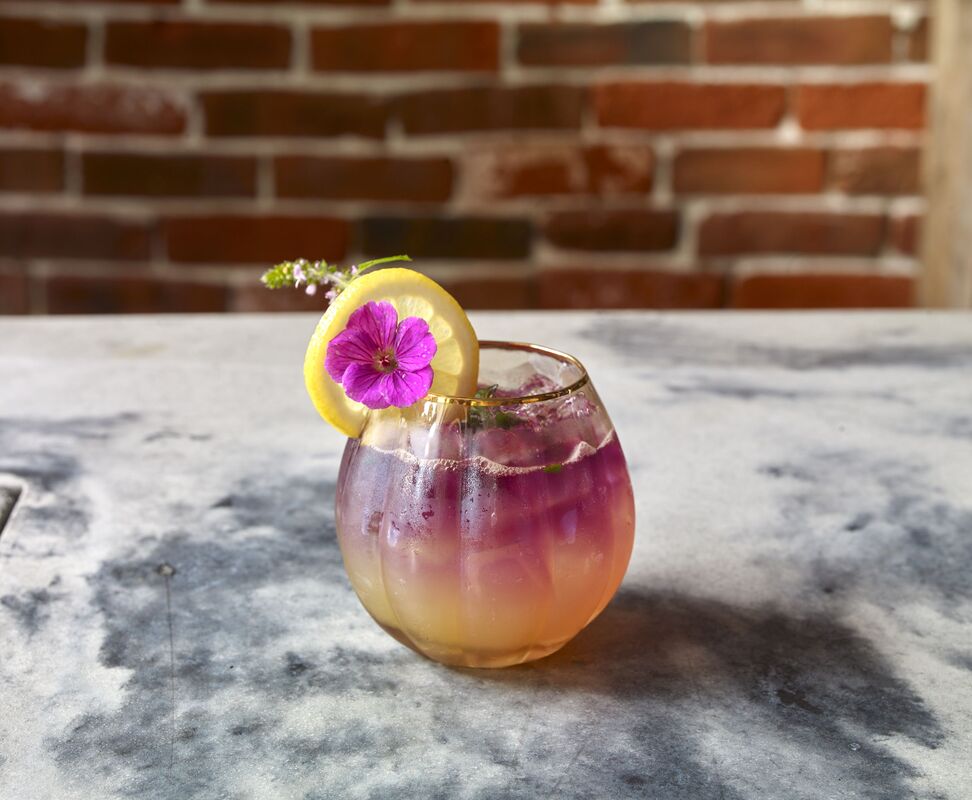
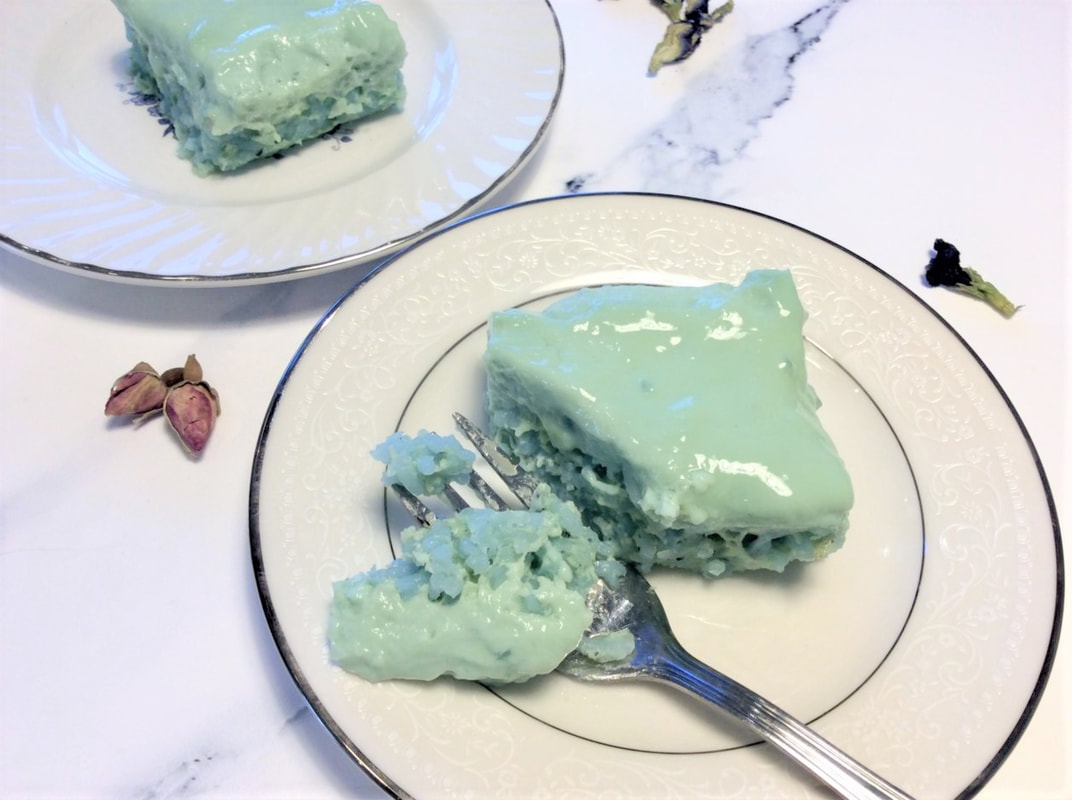
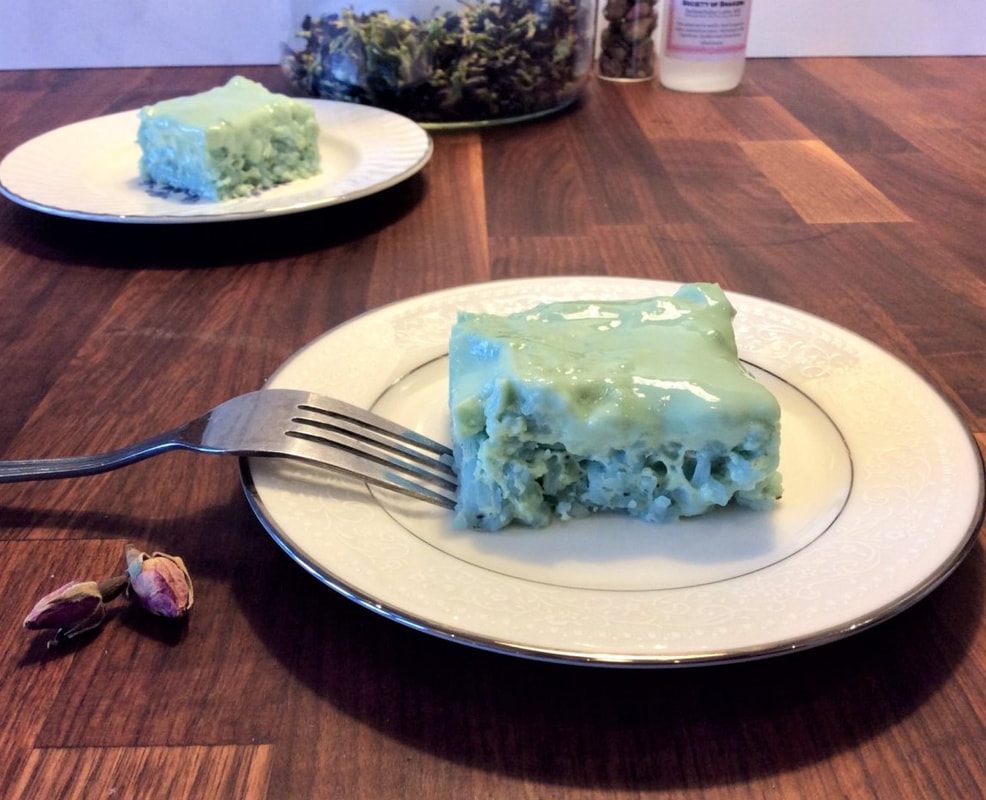
BUT, as butterfly pea flowers are most often used for drinks, I decided to present you with a non-beverage recipe in this post, instead sharing a recipe for a wild-looking rice custard pie with rose & cardamom. It is super-easy to make, absolutely delicious, & outrageously colored! Seriously, you will not believe it is achieved with a natural colorant when you see it-- the color is not properly captured by my pictures!
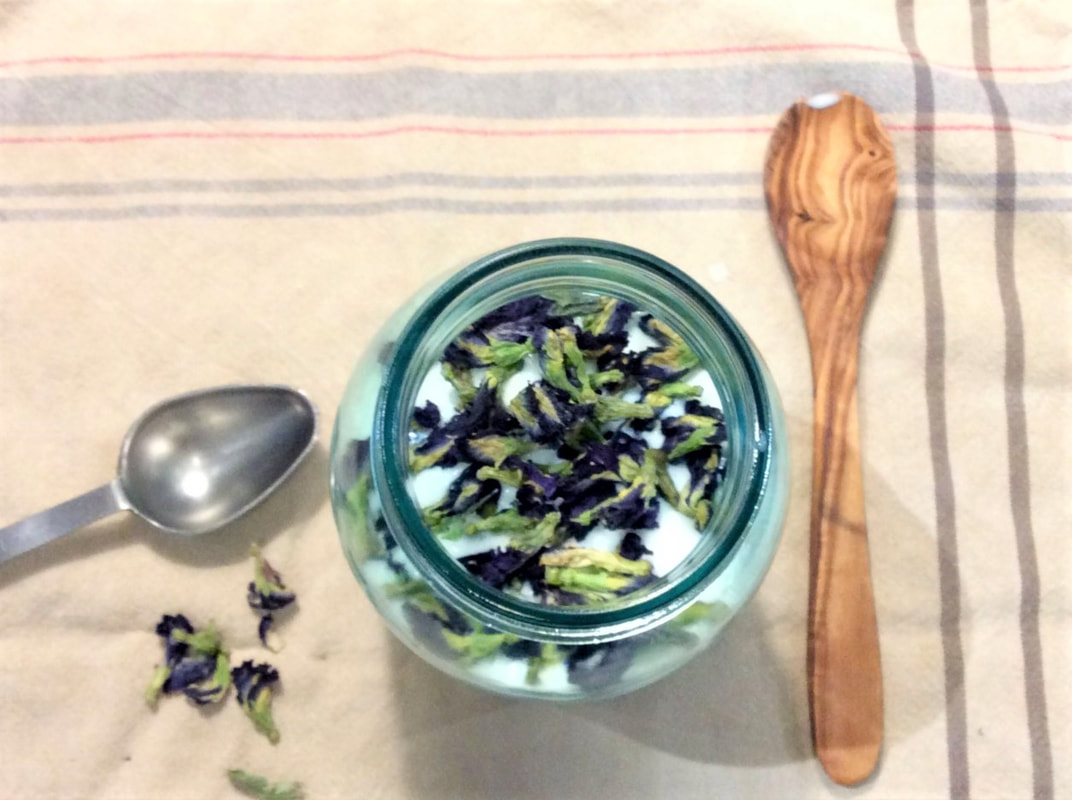
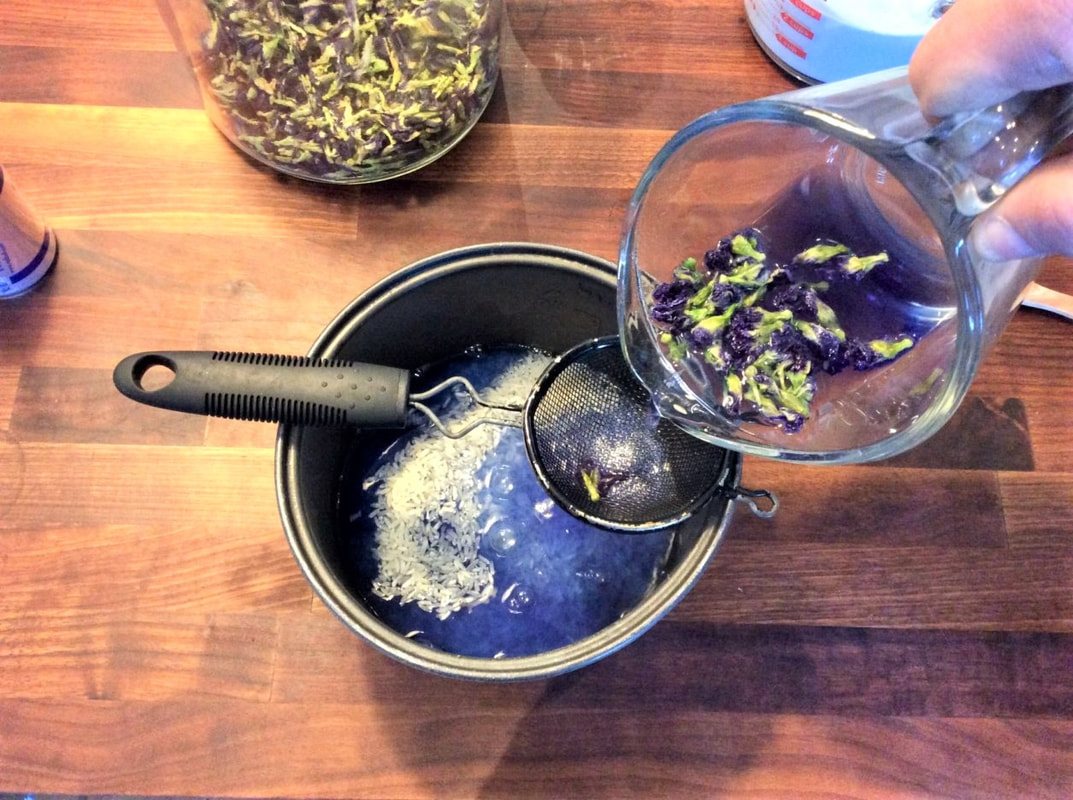
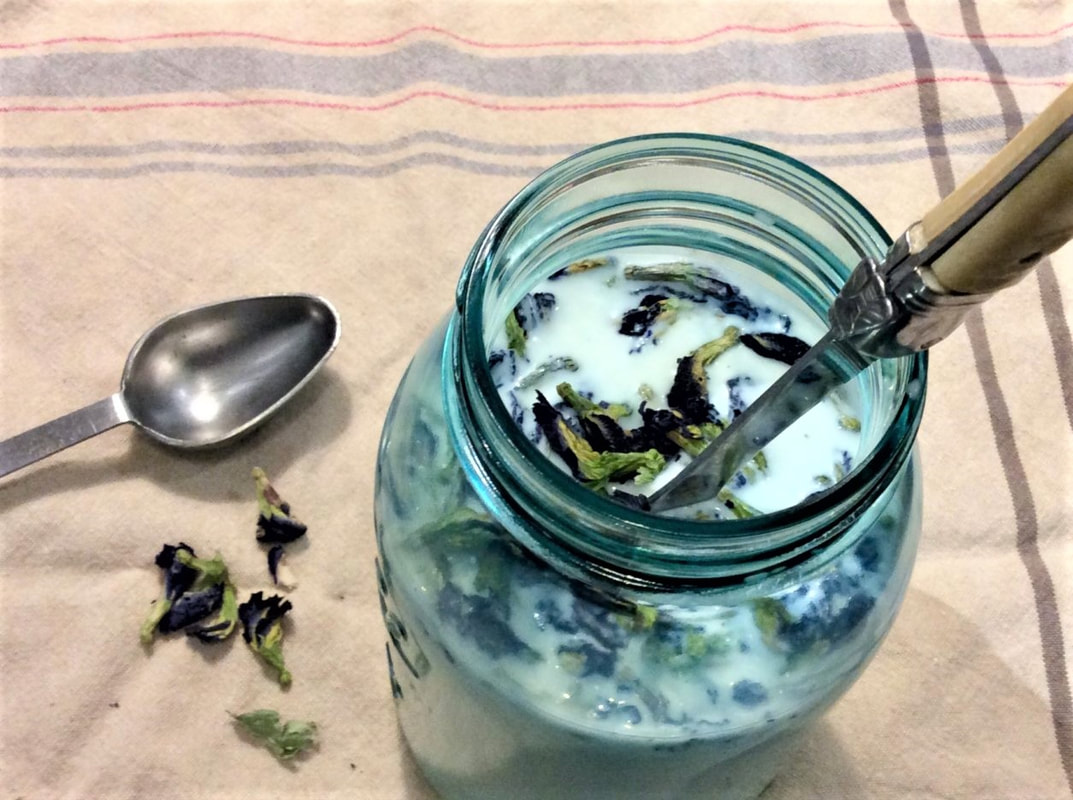
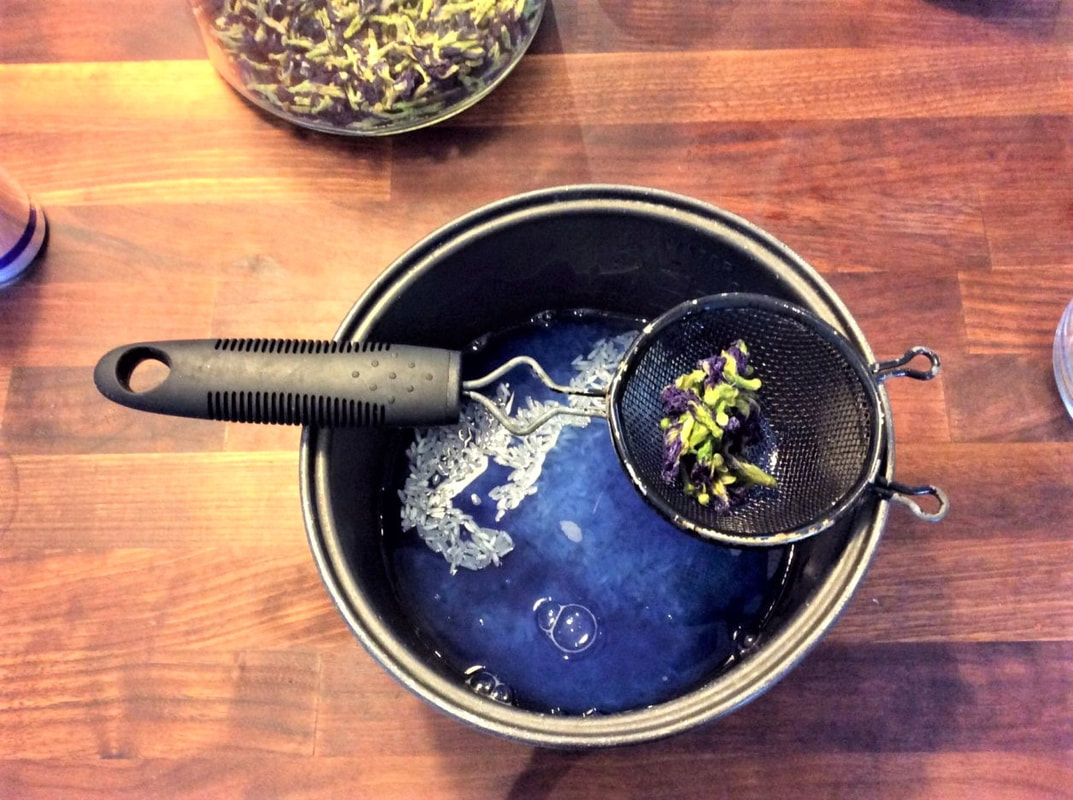
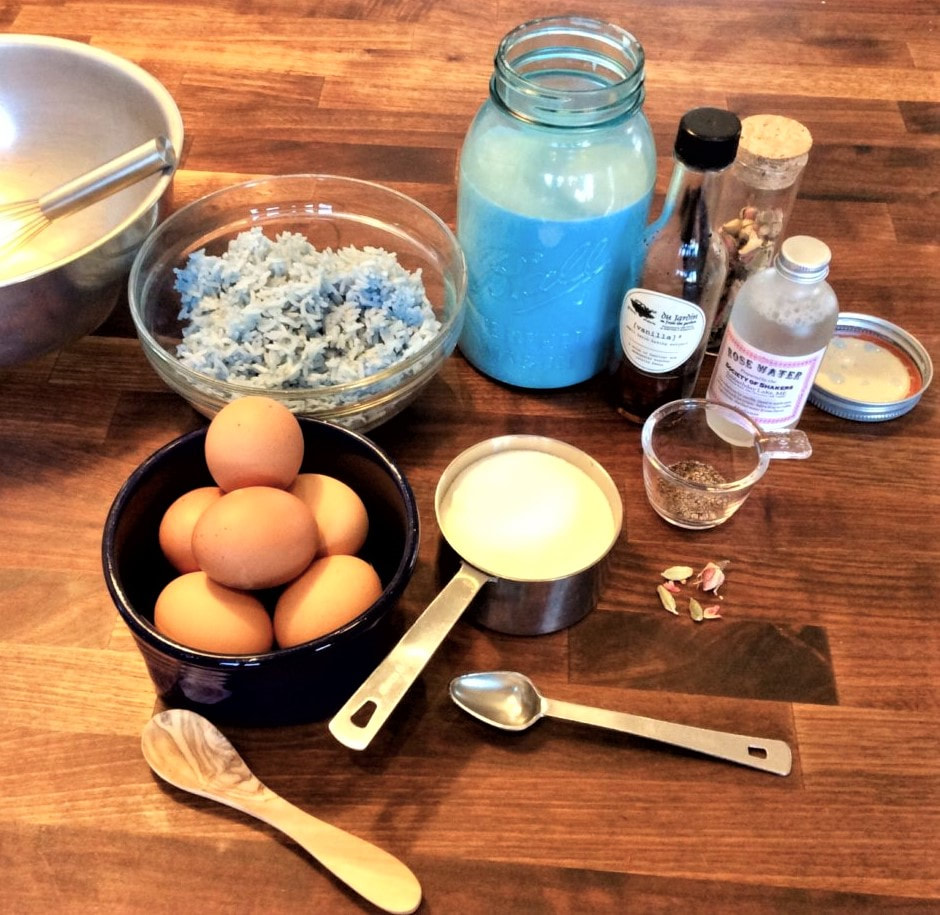
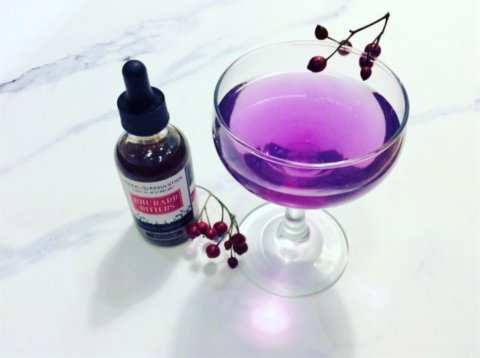
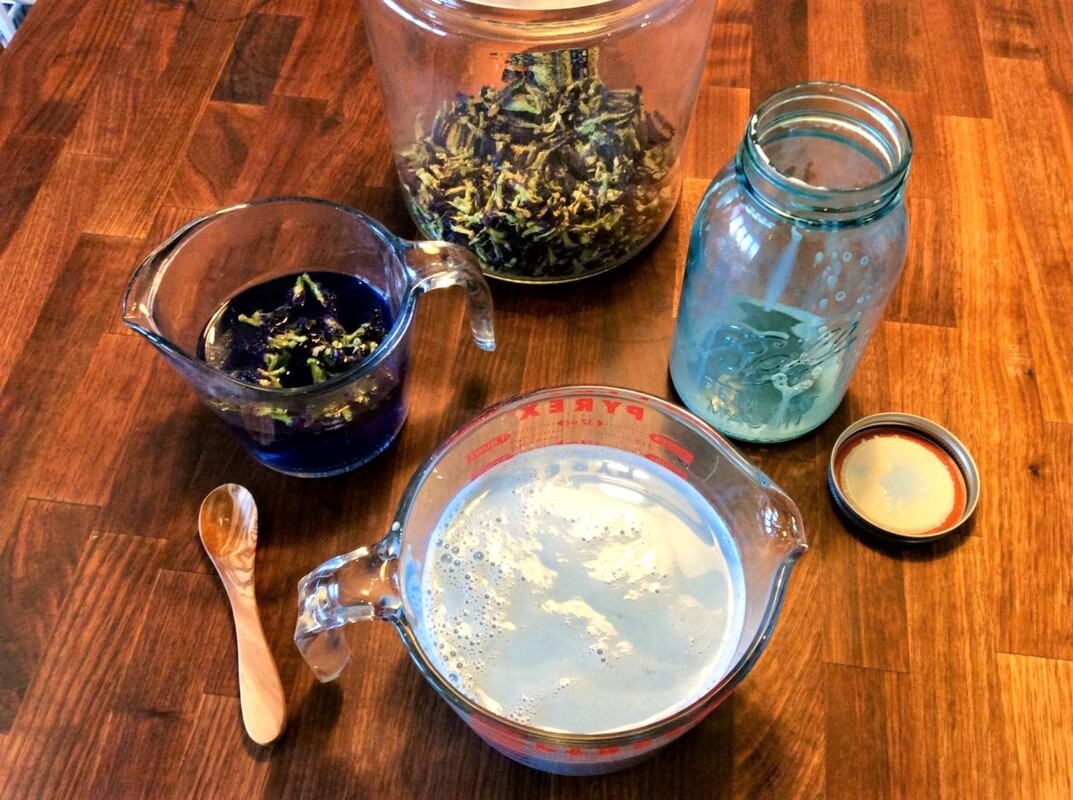
will shift your color to a vivid pink, SO there are endless ways to play with this. Finally, this rice custard pie is a sliceable dessert, served more like brownies than traditional pie. When baked, the rice settles to the bottom with the custard layer forming the top. It is delicious served warm, but many people prefer to chill it in the fridge before serving. The custard top, like all puddings & custard, will form a ‘skin’ which will oxidize & darken. Personally, I prefer to peel it off before serving to better enjoy the color effect of the butterfly pea in it. Here we go! Winter Blues Pie3 TBS Dried Butterfly Pea Flowers 2 Cups Milk [whole, skim, your choice] 1 Cup Half & Half 1 Cup White Rice 6 Large Eggs ¾ Cup Sugar 1 TBS Vanilla Extract ½ Teaspoon Cardamom Extract [or 1 tsp ground cardamom] ½ - 1 Teaspoon Rosewater [to your taste] Pinch of Sea Salt DAY BEFORE: Add 2 tablespoons of dried butterfly pea flowers to a quart jar & add the milk & half & half. Pop it in the fridge to steep overnight. Swirling/shaking occasionally. DAY OF BAKING: I like to cook my rice in a rice-cooker, but stovetop is just fine as well. Measure out 1 ½ cups boiling water into a liquid measuring cup, add 1 TBS butterfly pea flowers & stir. Allow it to steep to develop the desired shade of deep blue. I let mine go about 5 minutes to give you an idea. Strain out the flowers & throw them in your compost. Use your blue water to cook your cup of rice, then set it aside to cool. Meanwhile, strain your milk/half & half combo, & prepare your other ingredients. Preheat your oven to 350. Grease an 8” x 8” pan. Beat your eggs with the sugar. Add your blue milk & flavorings mixing until smooth & completely combined. Stir in the rice, breaking up any clumps. Pour into the prepared baking pan. Bake until a butter knife inserted in the center comes out clean, about 30 - 40 minutes. It is easy to scorch the bottom, so do the knife check even if it still looks loose! Remove from oven. Slice into squares & enjoy! You can serve it warm or allow to cool & chill it in the fridge before serving. Again, I like to remove the top skin before serving.
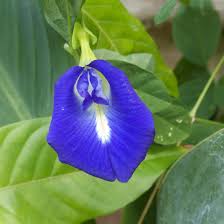
More than just the sheer strangeness of the colors, remember you are getting the herbal benefits of the butterfly pea flowers. This Herbal Ally provides so many benefits for mind & body. It is definitely worth adding to your own tea selection or Herbal Apothecary. I hope you enjoyed this look at these amazing flowers & this silly-fun recipe. It is likely I will post some drink recipes made with this herb in the future too. Let me know how you like to use Butterfly Pea & what color combo you create! Check out our very special skin & hair care products crafted with this Herbal Ally. Until next time--Stay safe & #StopAndEatTheFlowers
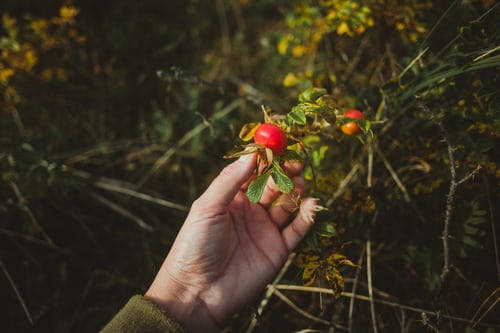
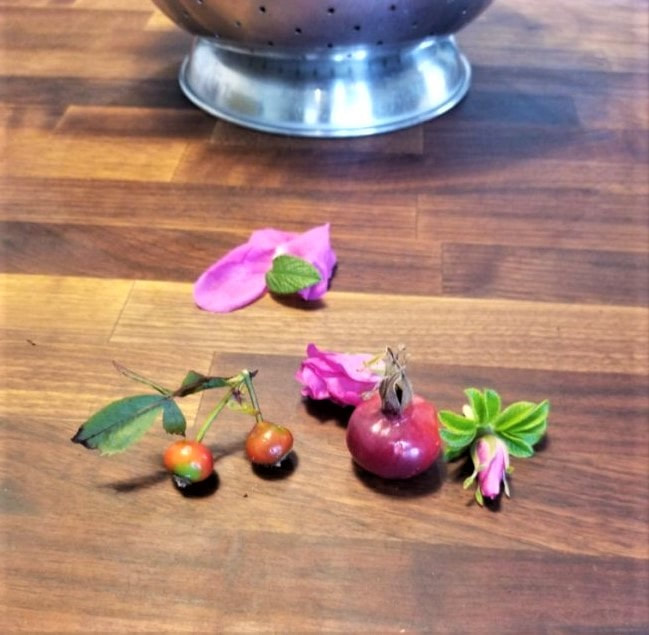
Rosehips, for those not familiar with them, are the fruit of the rose plant. Packed with Vitamin C & nutrients, rose hips are valuable commodities. Press them for oil to nourish & brighten the skin. Rosehips are traditionally used to support the immune system, ease arthritis pain, & provide antioxidants. I begin harvesting rosehips after the first frost each year for best flavor. Inevitably, as the birds, deer & other foragers take their share, the available numbers begin to dwindle, although if you are diligent & persistent, you can find usable hips all through the Winter. [as always, be very careful to only harvest from plants that have not been treated with pesticides.]
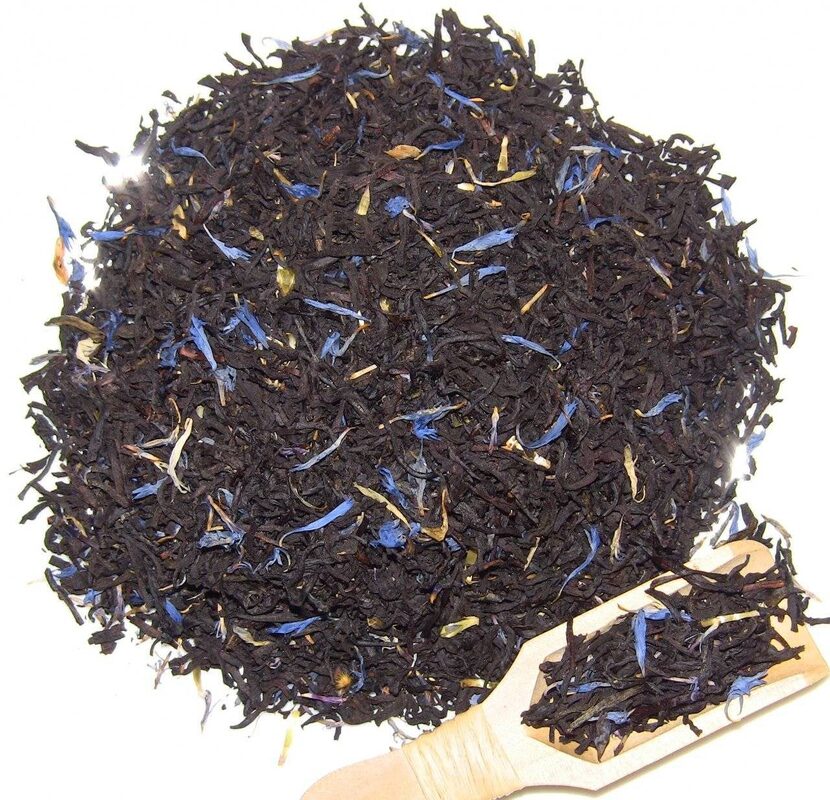
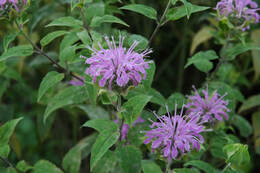
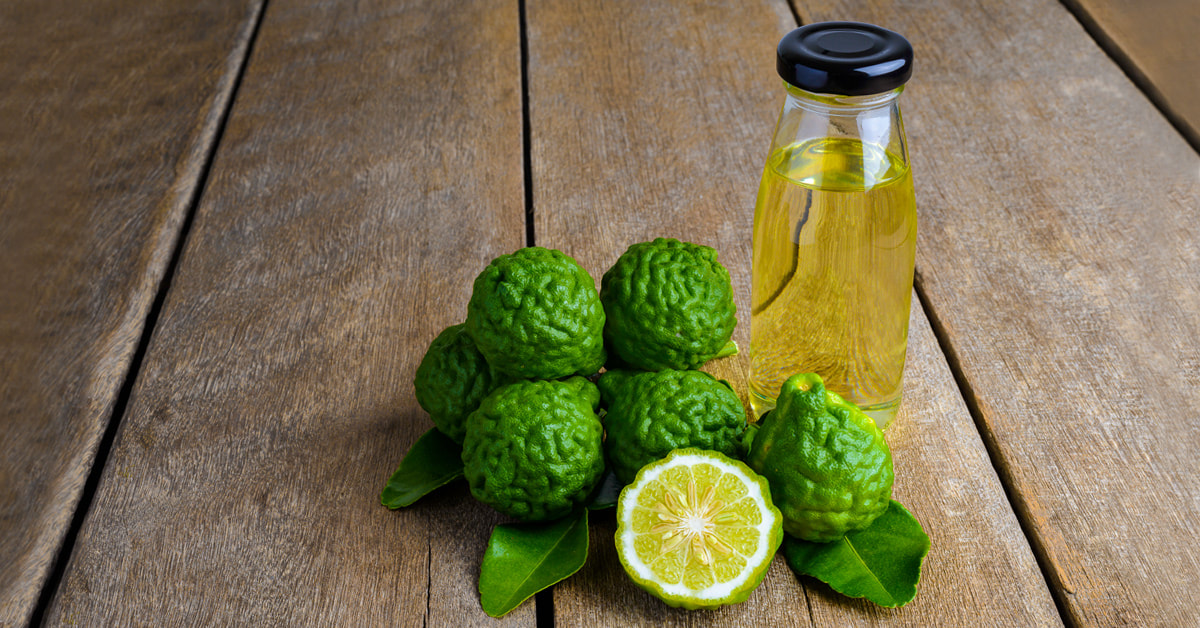
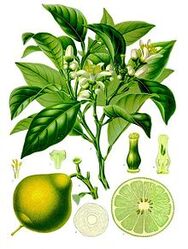
I adore the scent of Bergamot as well as the flavor! Indeed, you'll find her in many of our best-sellers, including these items:
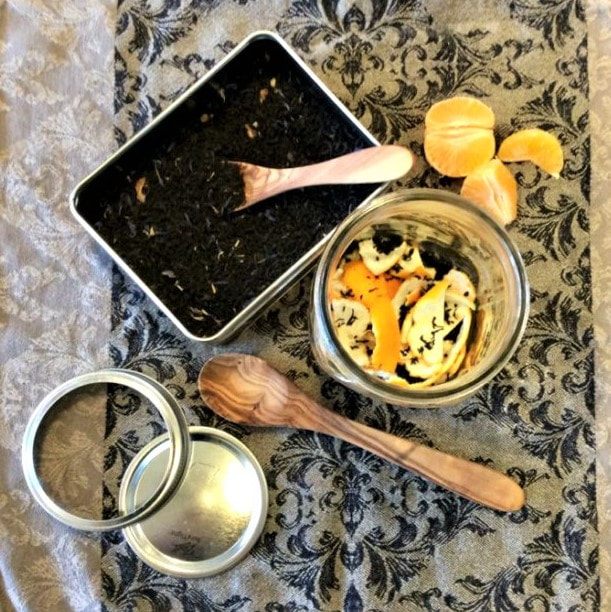
Earl Grey Cordial Part OneQuart Sized Jar with tight sealing lid 6 oz loose-leaf Earl Grey tea [or contents of 5 tea-bags] Peel of one Orange [or 2 clementines] Vodka to cover [about 2 cups]
Earl Grey Cordial Part TwoSteeped Tea-Vodka Base 2 cups demerara sugar [or honey or xylitol] 2 cups filtered water
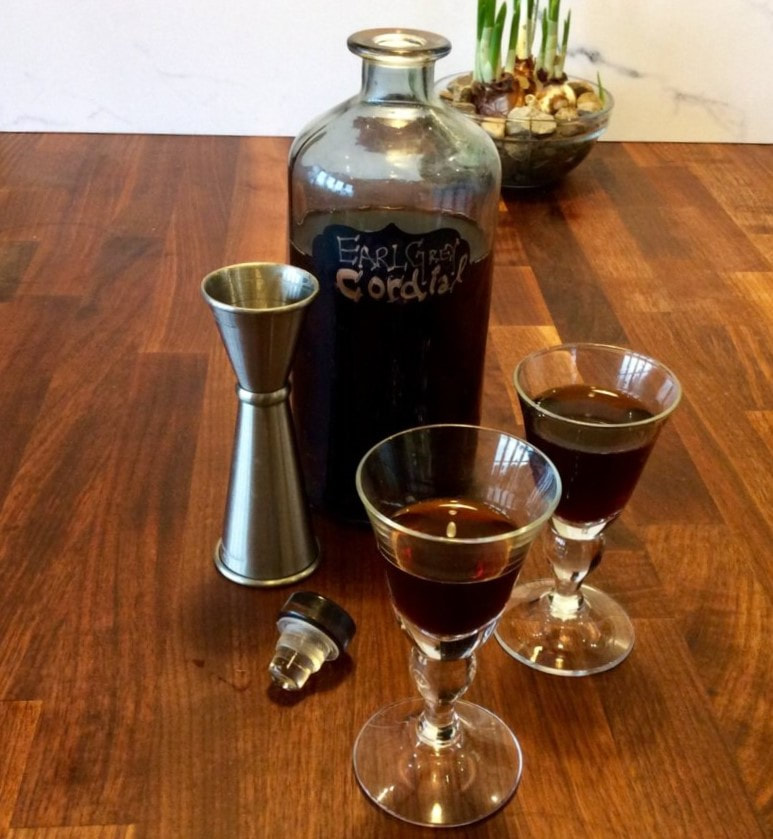
The tannins extracted from the black tea leaves give it that deep, brown color & are extremely bitter on their own. Begin adding your cooled Simple Syrup to the pitcher, stirring it in as you go. I usually start off by adding half my syrup, then tasting to get a baseline. Continue adding & tasting until you get a blend that is just the right balance for your tastes. Most people will find their ‘sweet-spot’ adding all of the simple syrup, while some will like it a bit less sweet. If you add all of your syrup & still feel it is too bitter, or you wish to lower the alcohol content even further, you can add more water. Play with it until you get the perfect balance. Once you mix it up to your taste, decant it into pretty bottles. If you are feeling generous, a bottle of this is a lovely gift to any Earl Grey fan. Set your cordial aside for 24 hours to let the flavors meld together before drinking. Enjoy a small glass of cordial on its own as the perfect Low alcohol [ABV] end-of-the-day treat. It is also quite lovely to add a splash to a nice cup of Chamomile tea! You can also get creative with it & mix up some fun cocktails! I find it plays well with champagne, gin, & bourbon. I love to include it in a French 75, but am particularly fond of it in the following little number: The Caterpillar’s Kimono2 oz Botanically-Forward Gin [such as Hendrick’s] .5 oz Earl Grey Cordial .75 oz Chamomile Bar Syrup Bar Spoon of Lemon Juice Egg White [optional, but gives phenomenal mouth feel!] Orange Twist for garnish
And there you have it! I hope you enjoy this cordial & the process of making it! Do let me know if you get creative & mix up something fun with it--I love to hear from you all! Until next time--
Take care & STAY SAFE! #StopAndEatTheFlowers
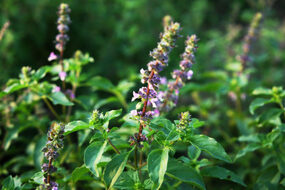
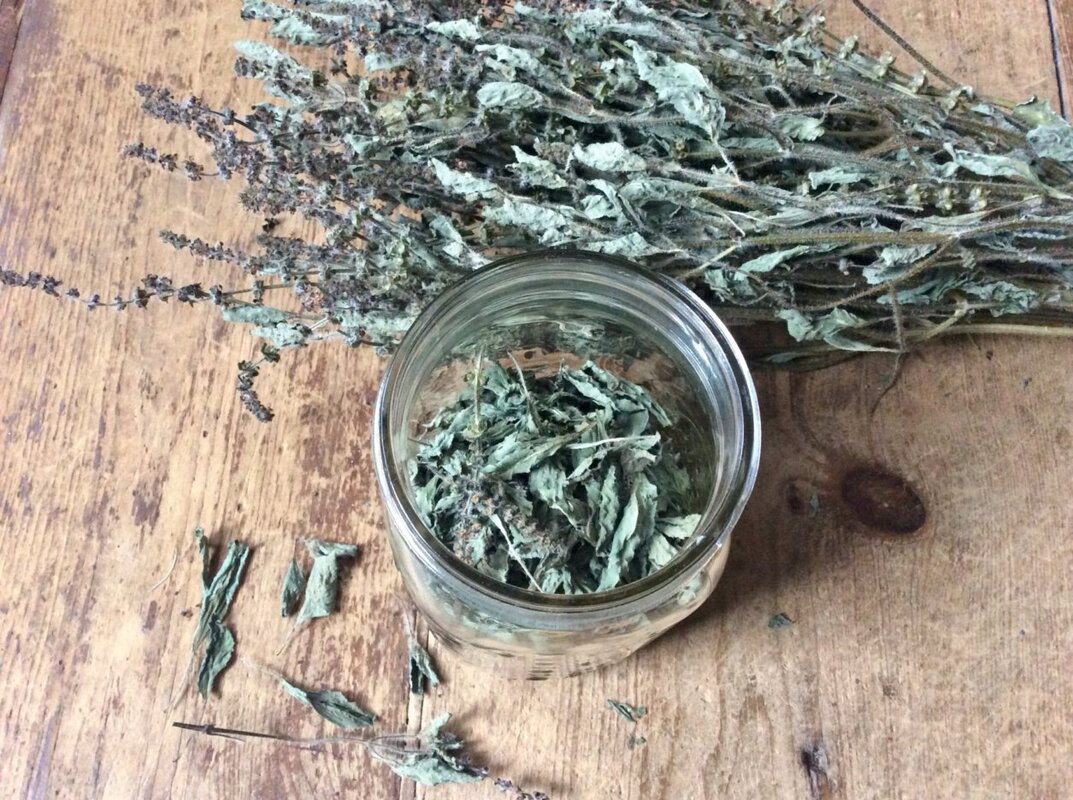
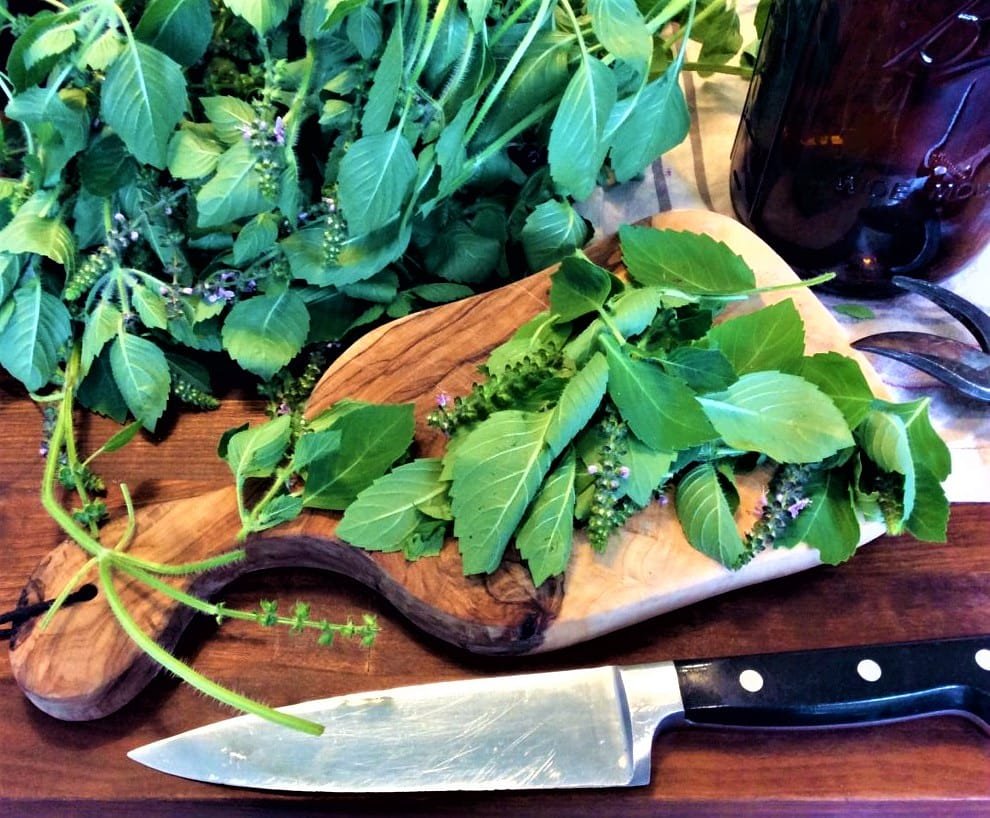
ABOUT: Tulsi [Ocimum tenuiflorum] is an aromatic member of the Lamiaceae or mint plant family, easily recognizable by its square ‘hairy’ stems & distinctive fragrance. Also known as Holy Basil & the Queen Of Herbs, tulsi is cultivated around the world for religious & medicinal purposes. It has been used for centuries in Chinese & Ayurvedic healing, as well as in religious ceremonies.
Indeed, recent medical studies have shown Tulsi to actually lower cortisol levels [“The beneficial metabolic effects of tulsi are multiple and include lowering cortisol levels” Gholap S, Kar A.Pharmazie. 2004;59:876–8] in the body, so it is not just promoting feelings of wellbeing, but actually increasing our resilience to stress & our ability to handle it. [hence my vote for the official herb of the pandemic]
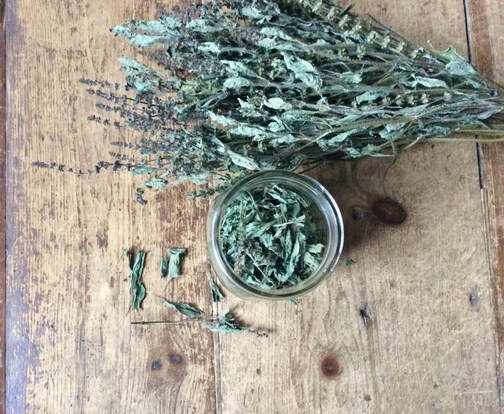
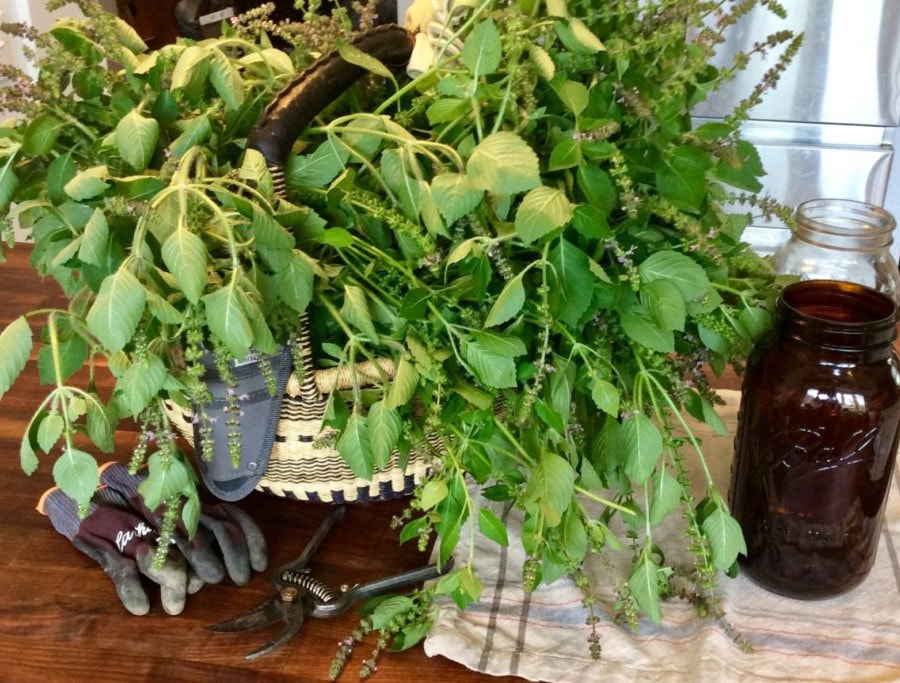
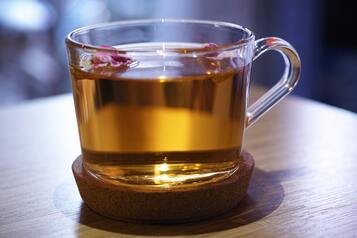
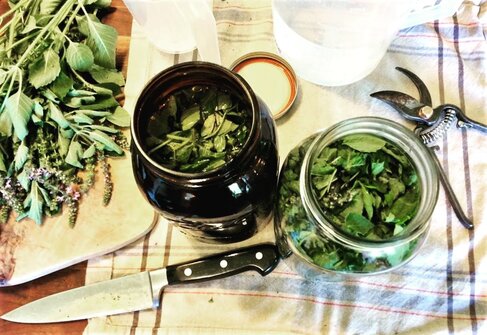
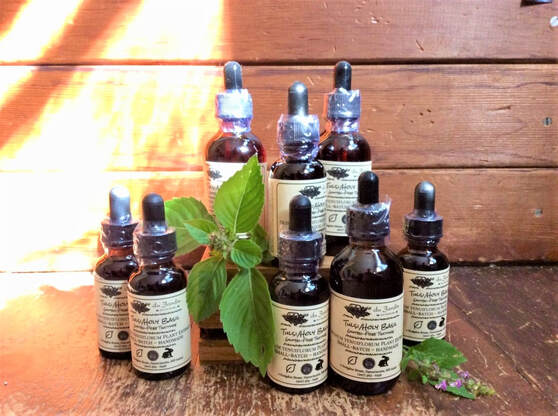
SHOP THESE FABULOUS TULSI-CONTAINING PRODUCTS In addition to being used as tea, tulsi is also steam-distilled to create essential oil & hydrosols. These can be applied to the skin or diffused in the home to help promote harmony. I enjoy bringing large ‘bouquets’ of cut stems & flowers inside to help fragrance our home too. This has the added benefit of ensuring I easily have fresh leaves at hand to muddle into drinks too.
Well, that is about it for this week! I think you can see why I believe Tulsi to be such an important herb, & one that everyone should consider including in their lives! Hopefully, I have piqued your curiosity about this amazing herb. As you sit down this Winter to plan your garden beds for next spring, give some though to adding her to your mix! I believe you will really enjoy it & all its benefits! Take care & STAY SAFE! #StopAndEat TheFlowers
|
Categories
All
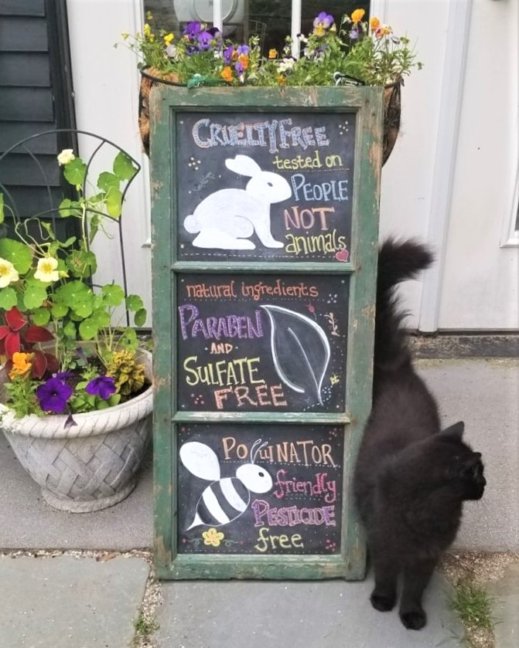
Beautiful AND Responsible
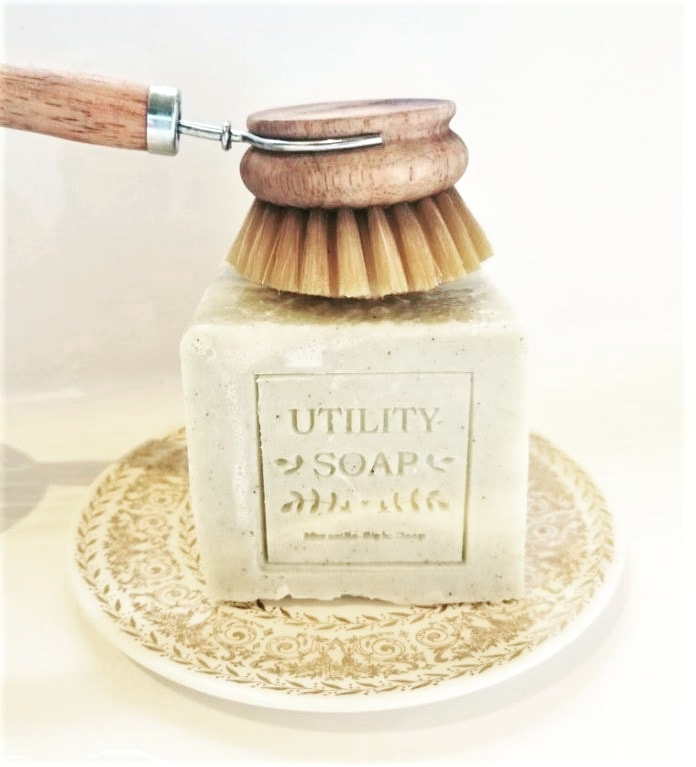
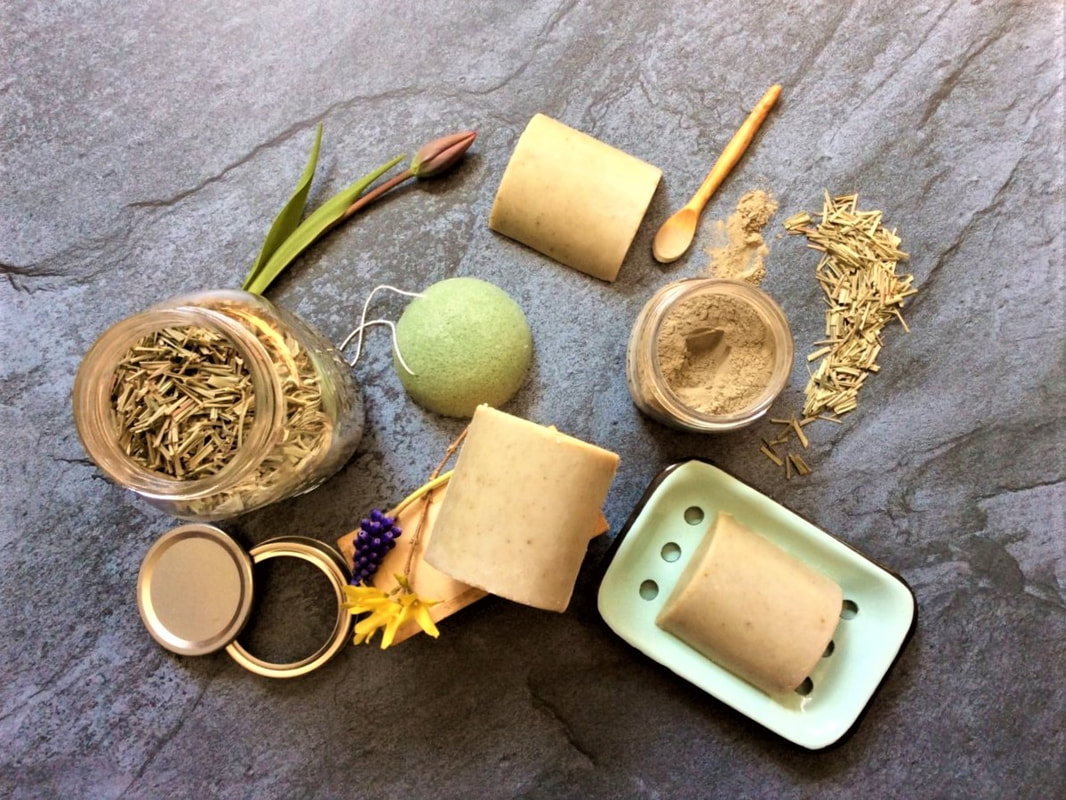
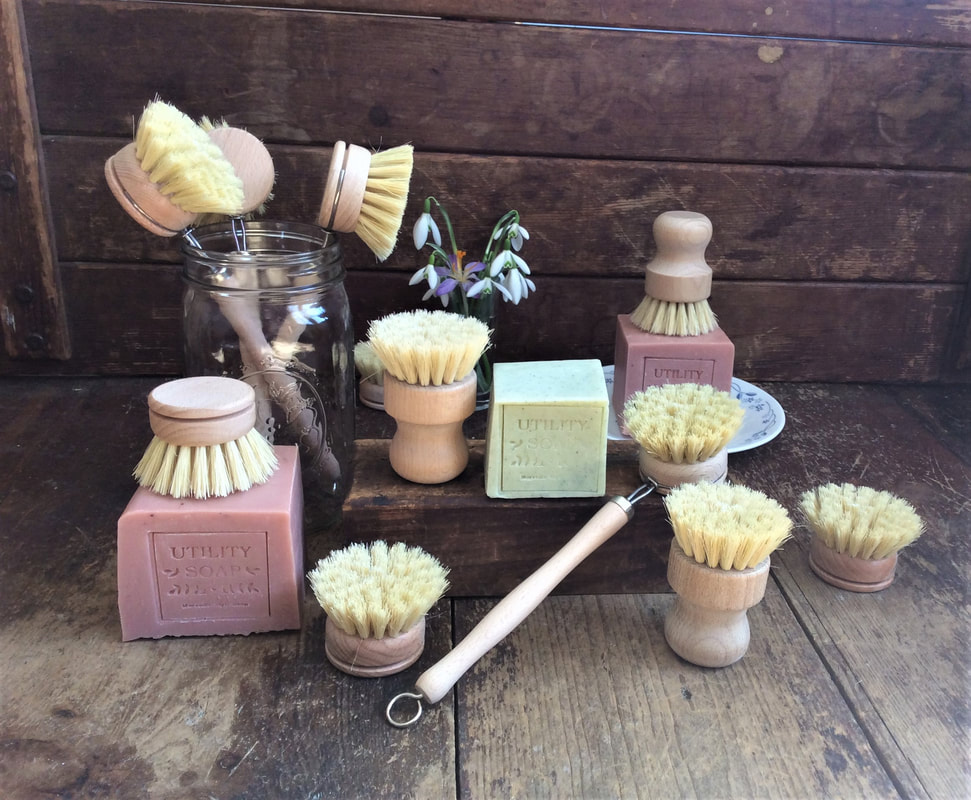
Meet the Centuries-Old, French Cleaning Classic with A Modern Twist
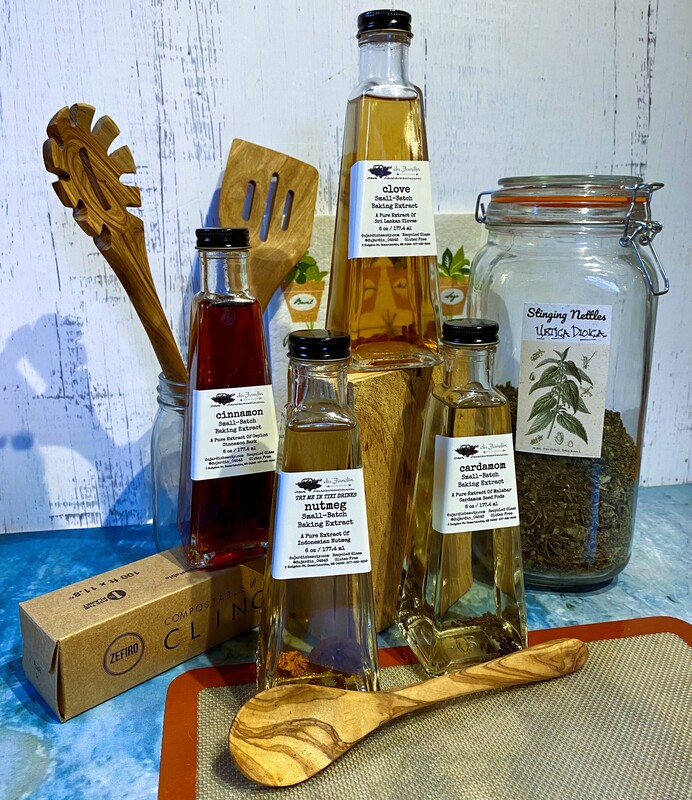
Treat Yourself To Our Amazing, Handcrafted Extracts
Archives
March 2024
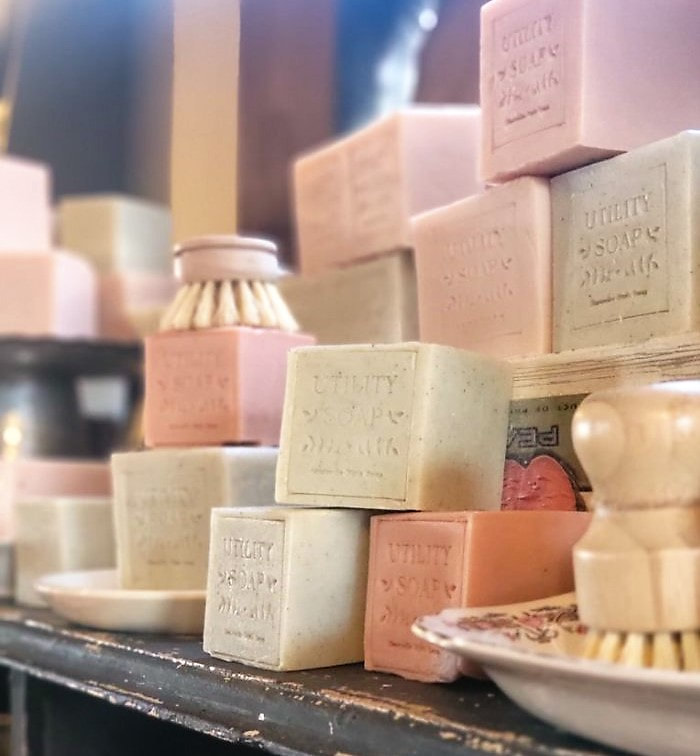
Our Multi-Purpose Utility Soaps Are Our Best Sellers For A Reason! Find Out For Yourself!
|


|
|
'Beautiful & responsible' Online: Ship or Pick-Up
Store Hours: Wednesday 11 am - 4 pm Thursday 11 am - 4 pm Saturday 11 am - 3 pm Damariscotta Farmers Market: May 17 - Oct 25 2024 |

|
207-563-6256 Dujardin.me@gmail.com © Du Jardin 2019
In the Smitten Barn - 2 Hodgdon Street - Damariscotta, Maine 04543