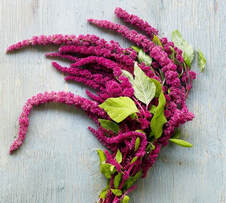
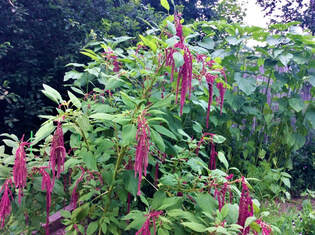
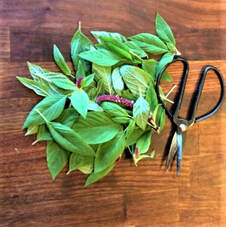
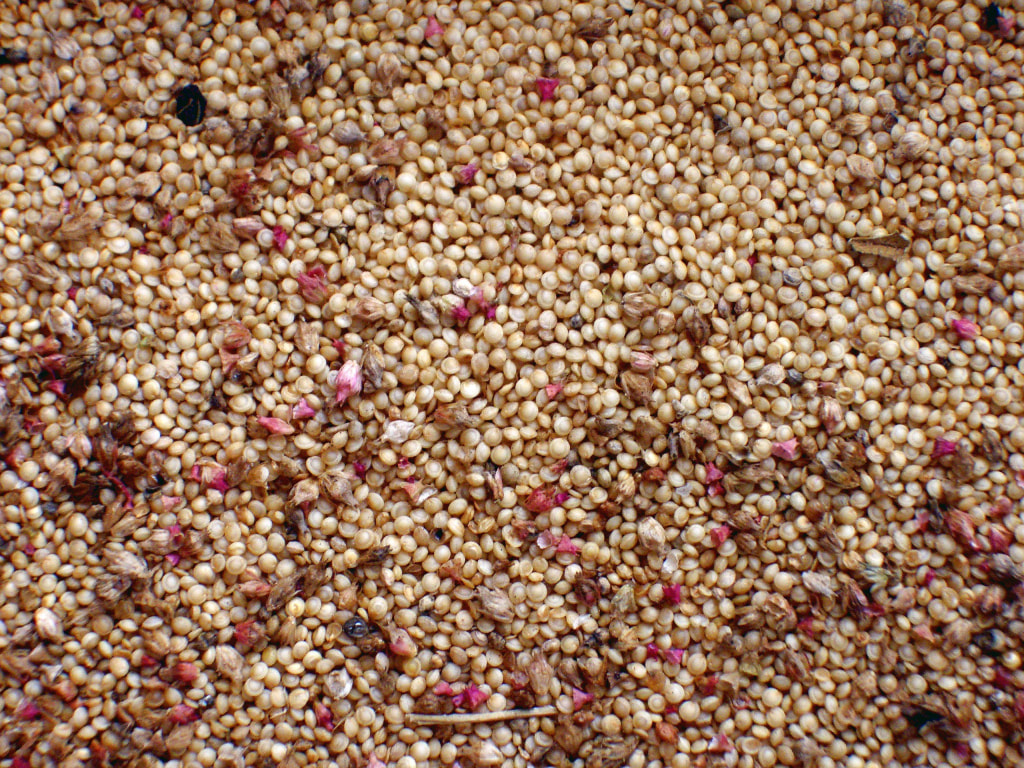
often considered a grain. Both the seeds & leaves are edible, tasty & highly nutritious-- indeed, amaranth contains more protein than many grains!
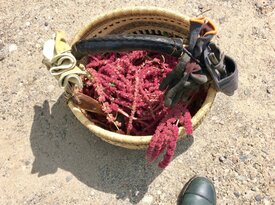
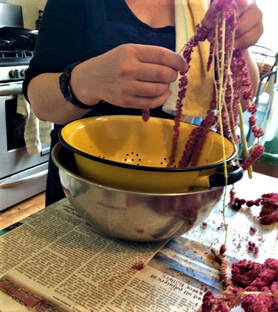
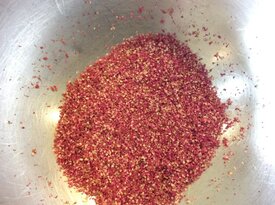
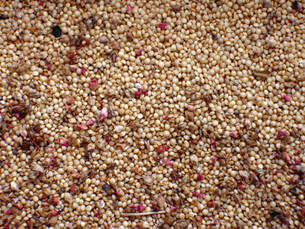
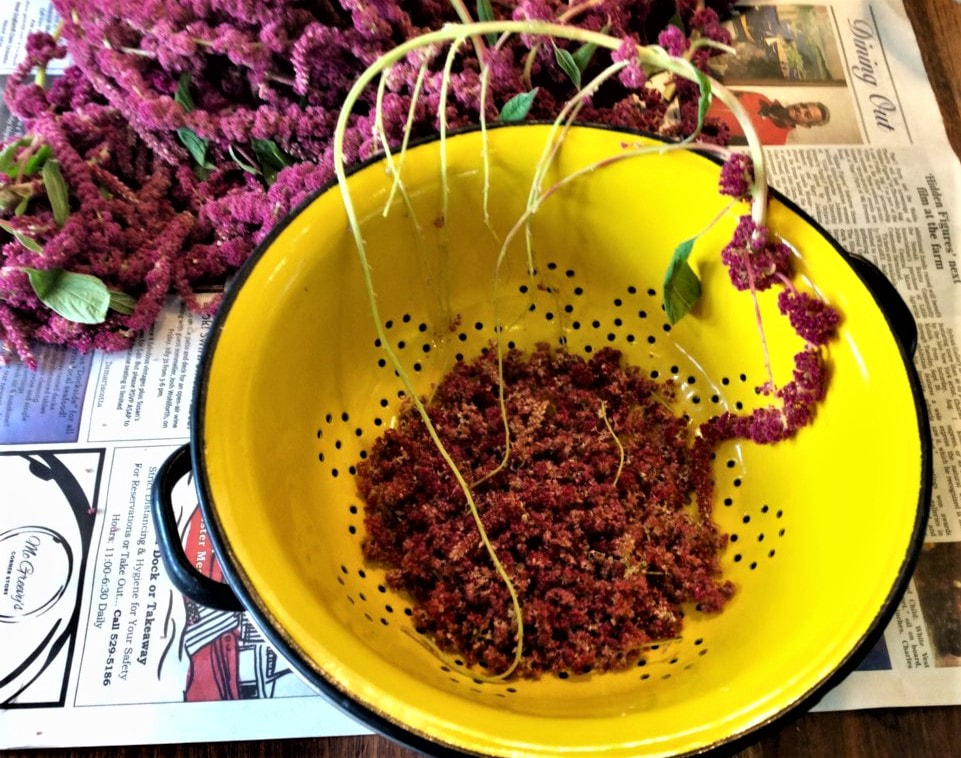
While bags of dried & cleaned amaranth are available in health food stores & online [Bob’s Red Mill is very good], there is something very satisfying about harvesting it from your own plants yourself, although plan some time for it! It is definitely not a quick process. The seeds or grains can be popped like corn or cooked up like porridge or rice. Varieties that produce white or golden seeds are the tastiest--while the black seed producers are bitter. You can check to see if your amaranth grain is ready to harvest by running your hands down the flowers-- if seeds fall from them easily, it is time! You may also notice tiny birds happily visiting your plants as well! This is usually about 3 months after planting, mid-to-end of Summer. There are a couple different methods of collecting the grain--Some people cut the flowers & hang them to dry-- am not a fan of this method & find it doesn’t work too well for me [but to each his own.] Some bring bowls out to the plants for 4 or 5 days in a row, running their hands down each flower & collecting what drops while allowing the plants to continue to grow & produce. I am going to focus on the cut & harvest method, which involves cutting all the flowers you plan to harvest, letting them dry for a day, then harvesting straight off the stems.
It is a slow process, but there is something comforting about it-- sit & chat with a friend [even better if you can get them to help LOL] or pop on an audio book.
That is a wrap for this post! Give eating your amaranth a try if you are growing some; it is delicious & you can’t beat the nutritional value! If you aren’t growing it, consider planting some next year! Even if you don’t make use of it, the birds & animals will enjoy it. Until next time-- #StopAndEatTheFlowers
2 Comments
Leave a Reply. |
Categories
All
Archives
May 2024
|
|
|
'Beautiful & responsible' Online: Ship or Pick-Up
Store Hours: Wednesday 11 am - 4 pm Thursday 11 am - 4 pm Saturday 11 am - 3 pm Damariscotta Farmers Market: May 17 - Oct 25 2024 |
207-563-6256 [email protected] © Du Jardin 2019
In the Smitten Barn - 2 Hodgdon Street - Damariscotta, Maine 04543
