Menu
  Du Jardin Beauty
  • Home
    • Workshops & Events
    • Spotlight
    • Reviews & Testimonials
  • Shop
    • Luxury Skincare
    • Herbal Haircare
    • Best-Sellers
    • Multi-Purpose Utility Soaps
    • eGift Cards
  • GIVING BACK
    • Wild & Locally Sourced
    • Charity: New Hope Midcoast
    • Fair-Trade Items
  • LEARN
  • About Us
    • FAQ's & Policies
    • Contact
    • Services
  • Wholesale
  • Home
    • Workshops & Events
    • Spotlight
    • Reviews & Testimonials
  • Shop
    • Luxury Skincare
    • Herbal Haircare
    • Best-Sellers
    • Multi-Purpose Utility Soaps
    • eGift Cards
  • GIVING BACK
    • Wild & Locally Sourced
    • Charity: New Hope Midcoast
    • Fair-Trade Items
  • LEARN
  • About Us
    • FAQ's & Policies
    • Contact
    • Services
  • Wholesale

Du Jardin Learning Center

Wow Them: Easy Salt-Preserved Lemons

11/29/2021

0 Comments

 
Give a Moroccan, umami lift to your cheese & charcutierie boards!  These preserved lemons are easy to make & will be ready in just 3 weeks---
Picture
Salt-preserved lemons, a popular ingredient in many Middle Eastern & Moroccan recipes,  are often found for sale in foody boutiques & are usually quite expensive. If you've ever tasted them, you know what a lovely punch they pack! Their  bright & deeply umami notes are quite Heavenly & can be used in myriad ways. Perfect on cheese boards, in dressings & compound butters, & to highlight entrees, preserved lemons are definitely worth exploring! What you may not realize is that they are extremely easy to make at home, for all you really need is lemons, salt, & time. 
The method to preserving them is so easy --  cut lemons, rub them with salt, then press them into Mason jars in layers with more salt & ensure they are covered in lemon juice. And then you WAIT for 3-4 weeks, shaking your jar everyone in a while. There are tons of posts online giving detailed instructions; one of the clearest can be found here.
​ 
Instead of method, I will focus on details & tips, as well as some easy uses for your pickled treasures once their transformation is complete. 
Picture
Bowl of Preserved Lemons. Image: Food52
Picture
I prefer Meyer Lemons & Pink Himalayan Salt
First of all, I highly recommend using only organic lemons. The peels undergo the greatest transformation & are the true consumable prize in this endeavor, so we want to be sure they are free of pesticides & chemicals. The preserved flesh can also be used [salad dressings & purees are best] -- but it is truly the peel you will get the most use  of, so ensure they are as lovely as possible. Any type of lemon can be salt-preserved, but I enjoy Meyer Lemons best this way. Their unique flavor contributes even more complex notes to the ‘pickles’ & creates a truly divine flavor. Next, we focus on the salt used. Most recipes call for Sea Salt or Kosher Pickling Salt.   
Again, I like to buck tradition a bit & generally use Pink Himalayan Salt for mine, adding more unique notes as well as lovely health benefits. Lastly, it is important to be sure all of your fruit is completely submerged under lemon juice. Pickle stones are helpful for this. [seen in my pictures, they are simple, round glass weights] If fruit remains uncovered by the liquid, you run the chance of bacteria or mold occurring, which will ruin your batch. That is really all there is to it. One final note-- be sure to RINSE your lemon pieces as you use them!  Rather obvious in hind-sight, the sheer amount of salt used to preserve the fruit will overwhelm & mask the flavors you are creating if used directly from the bottle! I find these lemons ready to eat after 3 weeks, but they will continue to develop flavor the longer they are left to pickle & will last rather indefinitely if they remain submerged & your jar is tucked into the back of your refrigerator.

​F
or use with cheese & charcuterie, simply pull a section of two from your jar. Remove the lemon flesh [you can save this for use another way by tucking it back into your jar & submerging again] & rinse with cold water. Slice the pickled peel into thin strips or squares & marvel at how well it pairs for all the selections on your boards! Truly fantastic!
Picture
Picture
More than just paired with cheese, there are so many ways to enjoy the preserved lemons. Try adding them to compound butter [pure Heaven on a steak] or replacing the lemon used in some of your favorite savory recipes with them. For example, Preserved Lemon Chicken Piccata takes a favorite dish to a whole other level!  Also, check out this great article from Food52 for 5 dinner recipes to make with them: food52.com/blog/10589-1-jar-of-preserved-lemons-5-dinners.
Please let me know how yours come out & what you make with them-- I love to hear from you all! Wishing you all a lovely & safe Holiday Season!  Until next time, take care & don’t forget to #StopAndEatTheFlowers 
0 Comments

Herbal Spotlight: Chokeberries with my Simple Syrup and Candied Berry Recipes.

10/18/2021

0 Comments

 
Delicious & just as immune-supportive as the Elderberry, Chokeberries are in season now & are fabulous!   Join me as we discuss their growing habits, traditional uses, & I make a simple syrup & craft some delicious drinks with their bright, tart flavor---
Chokeberry, or Aronia, are part of the Rose [Rosaceae] family & are native to North America, although they are grown all over the world now. These shrubs are deciduous & are likely to be found growing wild in slightly-wet-to-swampy, wooded areas. There are wild growing red & black chokeberries; I am lucky to have nicely established patches of the black [aronia melanocarpa] growing around me. Aronia are easy to grow & fully mature in 5 years. Due to their amazing health benefits, these shrubs are also making the scene at many nurseries around the country, their popularity growing & now only slightly behind elderberry shrubs. Indeed, our local Food Co-Op, Rising Tide, just announced they are carrying frozen aronia from a local farm now!
Picture

Read More
0 Comments

Herbal Spotlight: Elderberries with Elderberry Brandy Cordial Recipe

9/20/2021

6 Comments

 
Picture
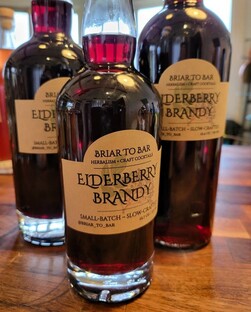
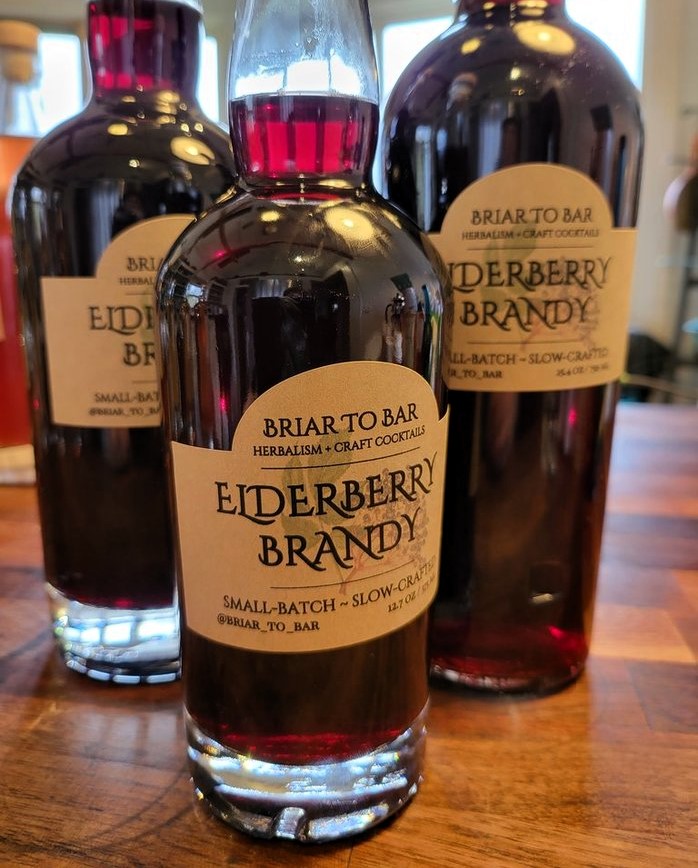
I decant mine into old bottles & make labels for an extra-fancy touch.

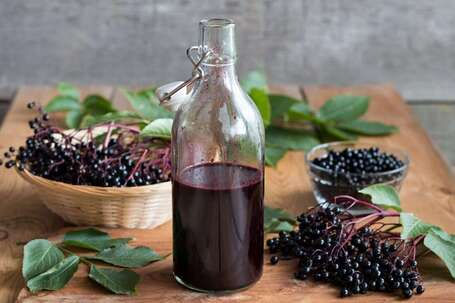
Delicious & powerful, elderberries are wonderful for colds & flu, & in times of stress. One of my favorite ways to enjoy them is by making Elderberry Brandy.
​
You can use fresh or dried berries & Fall is the perfect time to get some steeping!
It's easy & delicious -- I'll show you how!
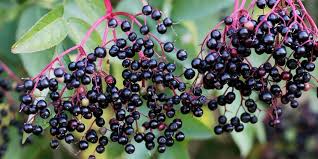
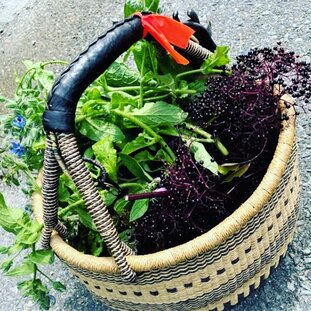
The common American Elderberry [Sambucus canadensis] & European Elder [Sambucus nigra] are both prolific & commonly found growing wild throughout most of the United States in disturbed areas, along roadsides, & in hedgerows, making them excellent candidates for foraging. Be sure to harvest only from shrubs not treated with pesticides on lesser used roads & to confirm the plant ID. The challenge is not in finding them, but in hitting them at the extract-right time! The season for ripe berries vacillates wildly from early August through to October, with some berries being perfectly ripe on one shrub, yet not ready on another nearby shrub just down the road! And then, you have to beat the birds & other animals to the harvest. We are not the only creatures ‘hunting’ them!  Waiting ‘one more day’ for perfectly ripe umbels may result in you missing out completely! 
Picture
Picture
Picture
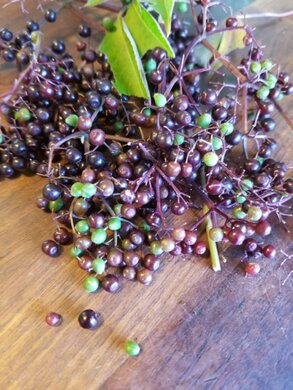
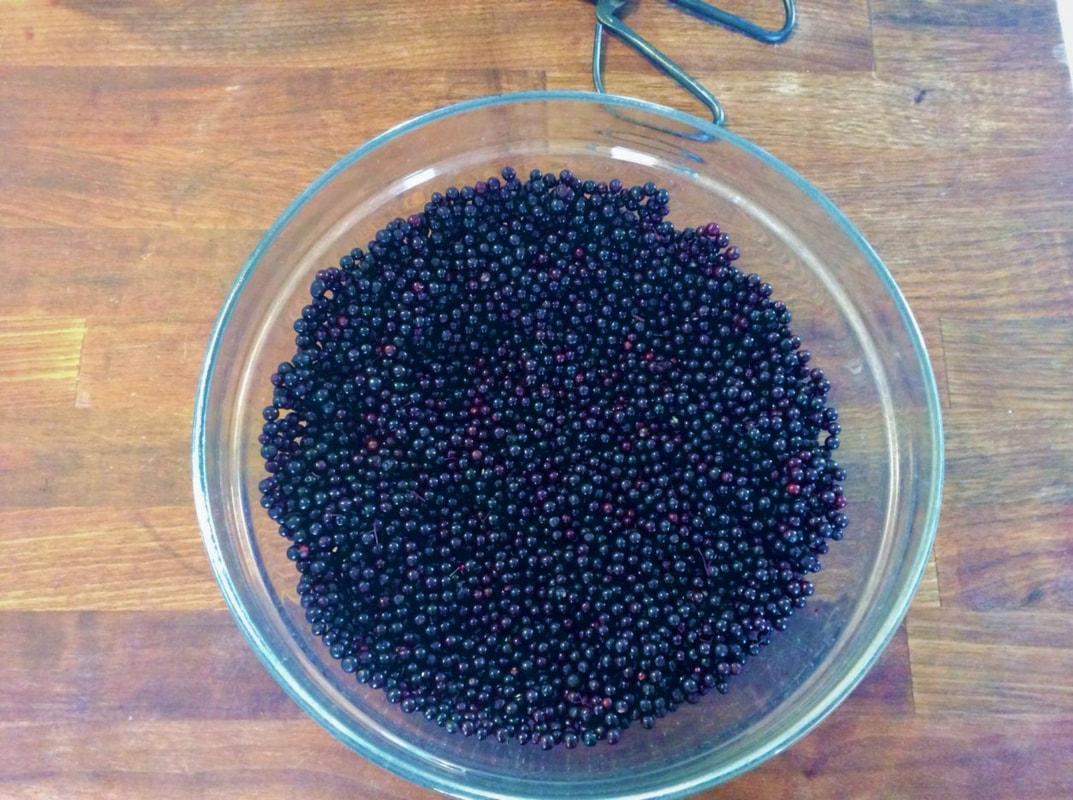
Carefully remove green and lighter purple [unripe] berries before using them.
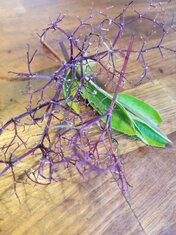
Would-be foragers should make note of the bushes around them & check in on them frequently as the fruit changes quickly day to day. It is important the berries you use are fully ripe, as unripe berries are unpleasantly bitter. The tiny stems & leaves of the plant are mildly toxic, & should not be used. Clean your haul thoroughly, removing as many stems & unripe berries as possible. It is a labor of love for sure, but the flavor makes it worth removing any tiny berries that are green or light purple. Few under-ripe berries or stems are not a concern, but do work to remove all you can. I find popping my whole umbels into the freezer for 30-60 minutes before cleaning them makes it a lot easier to remove them from the stems.
Once cleaned, your haul can then either be frozen or dried for later use. For this brandy recipe, you can use fresh or dried berries, so it is easy to make anytime! ​
Once your berries are cleaned & ready to go, it is very easy to make Elderberry Brandy Cordial-- the hardest part is waiting for it to cure up! I have listed the additional botanicals I add to mne, but feel free to add whatever you have on hand to your own taste!
Picture
Picked clean!
Elderberry Brandy Cordial
A quart sized Mason Jar 
2 cups fresh elderberries  [or 1/2 cup dried]
Peel of an orange [organic preferred] 
2 TBS rose hips [dried or fresh] 
1” - 2” peeled ginger 
1 or 2 cinammon sticks 
2 TBS dried elderflowers [optional] 
1 quart brandy
​

1 cup sugar or honey 
1 cup water
Picture
Picture
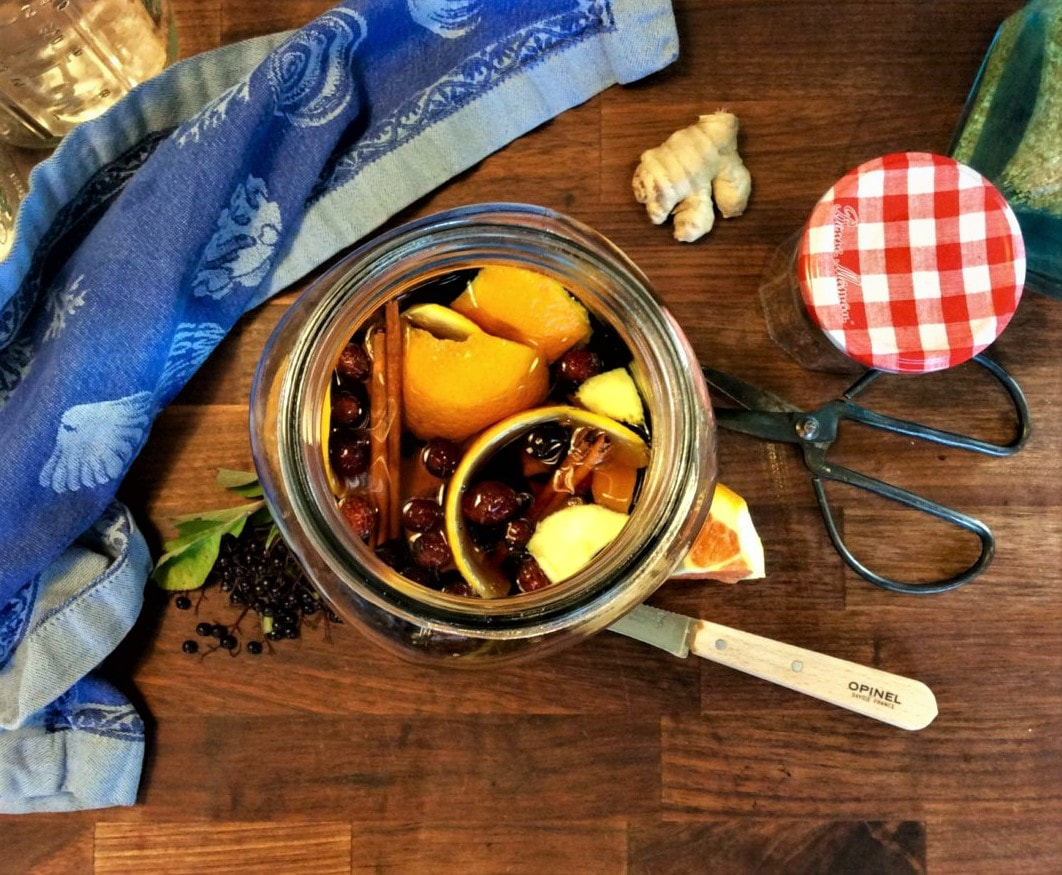
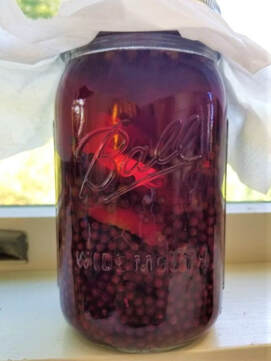
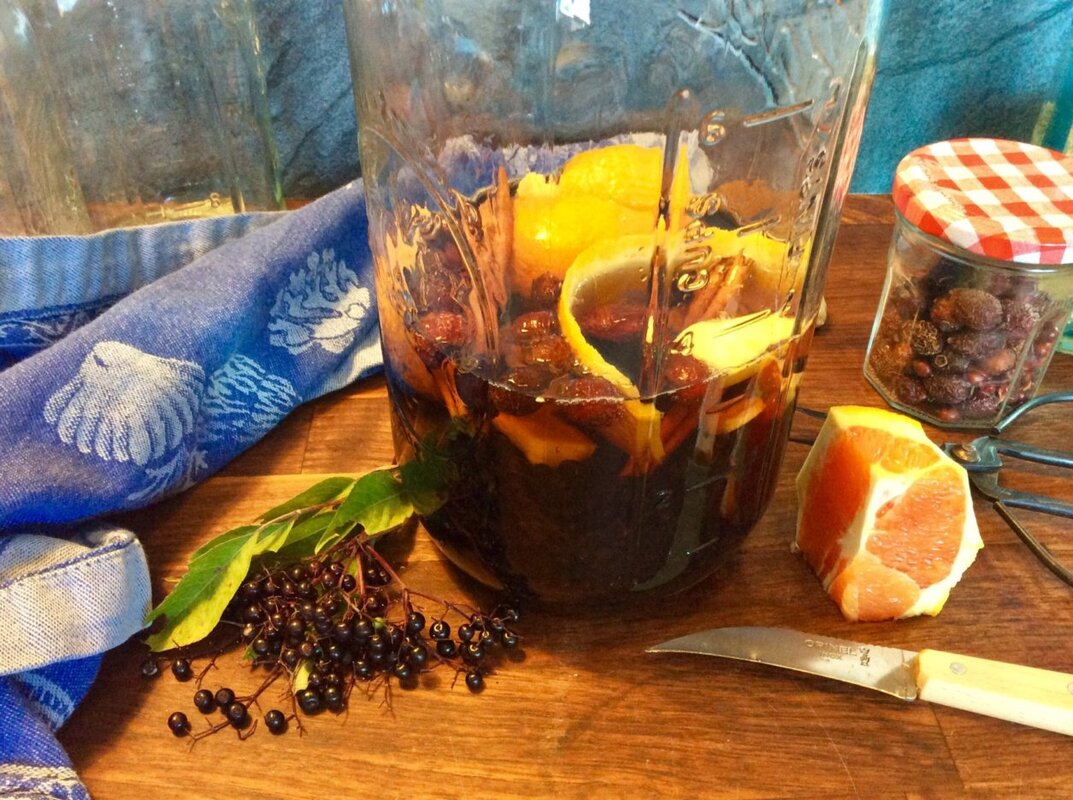
Place your cleaned elderberries, rose hips, ginger, cinammon & elderflowers [if using] in the bottom of a clean quart-sized Mason jar. Add your orange peel. Slowly fill the jar all the way to the top with brandy. All of your botanicals should be covered-- use a pickle weight if necessary to hold them under the surface. Seal up your jar & put it in a dark spot for 3 or 4 weeks. Shake it once in a while if you like. You will notice the color getting a darker & darker burgundy as it infuses.
Once it is fully infused, create a simple syrup with the water & sugar [or honey.] Allow it to cool completely. Strain off all the solids from your infused brandy base, pressing to release the absorbed liquid as you go. I usually double strain mine to be sure all plant material is removed.
Add your cooled syrup to the brandy-- anywhere from ¼ a cup to all of it depending on your tastes & how ‘sippable’ you wish your cordial to be. Pour it back into a clean Mason jar & set it aside to cure for at least one week. The flavors will marry resulting in a delicious & rather healthy Brandy Cordial! 
Picture
Ready to add my sweet syrup!
Picture
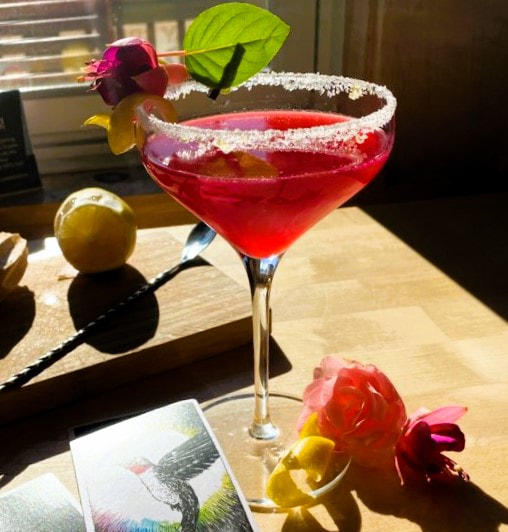
Look at the color it gives this Sidecar!
Enjoy it on its own or craft delicious cocktails with it -- My favorite way to use it is in Brandy Crustas & Sidecars! Extra delicious & a gorgeous color!
​A tablespoon or 2 two times a day at the onset of a cold is very helpful as well!
\
​
I hope you enjoy this recipe!  Let me know what additions you like to add to yours-- I really like the flavors I get from adding the elderflowers & rose hips to mine. Also check out my post from last year on how to make Elderberry Syrup here. That is all for this week-- Stay safe & don’t forget to #StopAndEatTheFlowers
6 Comments

Herbal Spotlight: All About Amari & how to make your very own

8/23/2021

1 Comment

 
Amari have been around for centuries & are the secret stars of more & more cocktails these days, but many people are still unfamiliar with them -- A tragedy I am doing my best to remedy! 
​ 
Join me as we explore what they are, how to use them, & even how to make your very own at home!
Picture
Picture
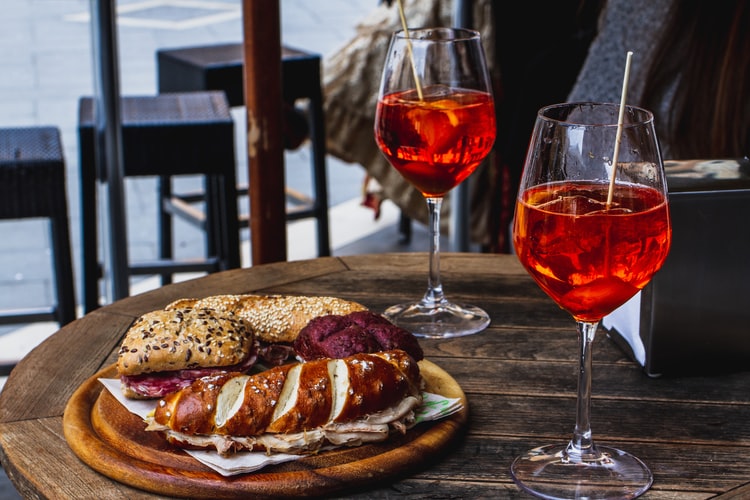
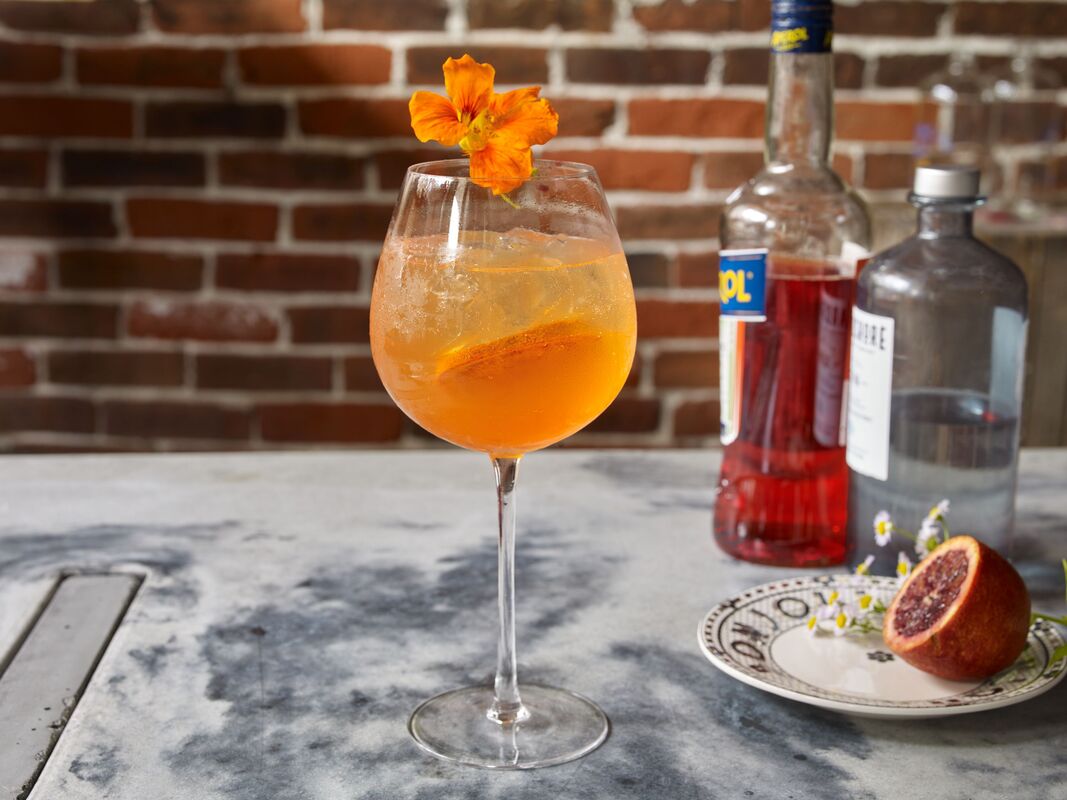
Aperol, used here to make a Spritz, an amaro most peole are familiar with.
Let’s start by defining what an Amaro is exactly; an amaro is an herbal, bitter spirit made by macerating a [usually proprietary] mix of roots, spices, flowers & other botanicals into a neutral spirit base or wine. Named for the Italian word for bitter, amari [the plural of amaro] were originally imbibed as restoratives & digestion aids. There are accounts of amari dating back to Ancient Rome-- where overindulgence is decidedly ‘a thing’ it makes sense to start crafting a cure for it! By the 1800s, production was mostly taken over by monasteries, & amari ‘health tonics’ were readily available in apothecaries. They are commonly sipped straight up, over ice, or with the addition of a sparkling agent [soda water or sparkling wine] after meals to stimulate digestion.
While they originated as an Italian thing, amari are now produced all over the world, with amazing variations based on the local herbs used to produce them. Italy still relishes their use & enjoying an ‘aperitivo’ is extremely common there today. Aperitivo-style amari, such as Aperol & Campari, form an entire category that are often enjoyed in Spritzers & not always only after meals.
Picture
Picture
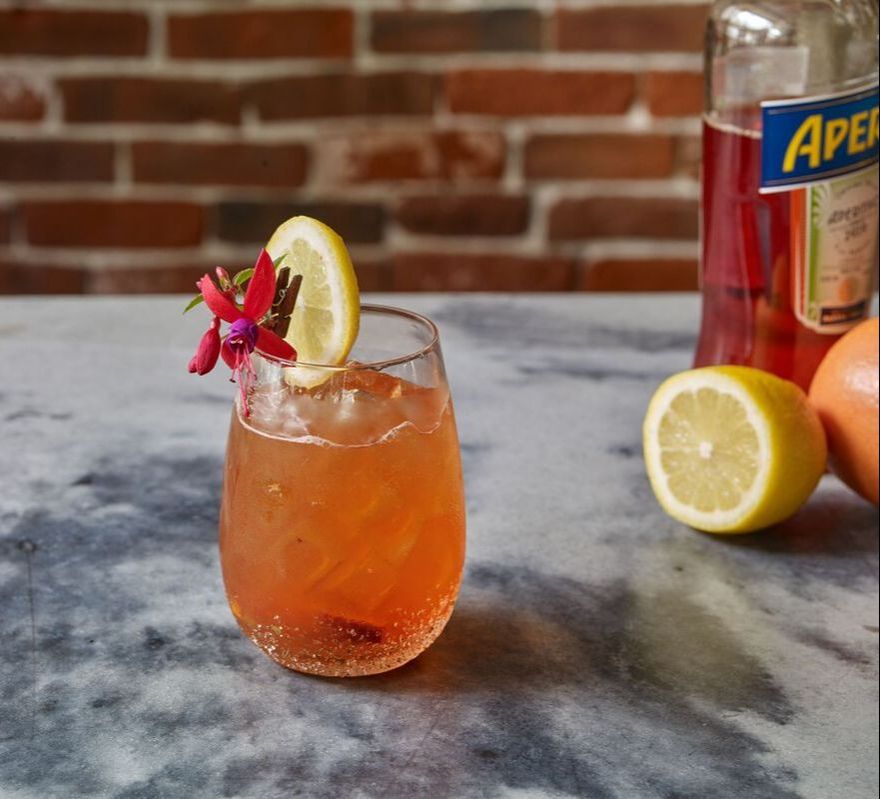
My Herbal Craft-Cocktail the Rear Window includes Apreol. Pic: Darren Setlow
AAmari are enjoying a resurgence in popularity today, with bartenders embracing their complexity in craft-cocktail making more & more. As the Negroni & the Aperol Spritz have regained popularity, the amaro has been invited to center stage. Once people are introduced to them, a true passion for amari is easily developed. It is a deep well to enter, with so many different types to explore. And, while I do enjoy playing with them in cocktail crafting, it cannot be denied that drinking them straight is an amazing experience. To hold a bit in the mouth on the palette & attempt to identify all the individual herbs you are encountering is a compelling & truly enjoyable experience.
While tasting the many amari of the world is fun, crafting your very own recipe at home takes that to the next level-- & is much easier than you might think! For those wishing to give it a try, I will lay out how here. There is no right & wrong in choosing your flavors; it is entirely a personal journey of taste. I will walk you through the basics of the maceration, sweetening, & aging process, but what you decide to craft yours from is ENTIRELY up to you. I'll share my process & many of the herbs & items I used to help get you started.
Picture
Make Your Own!
Picture
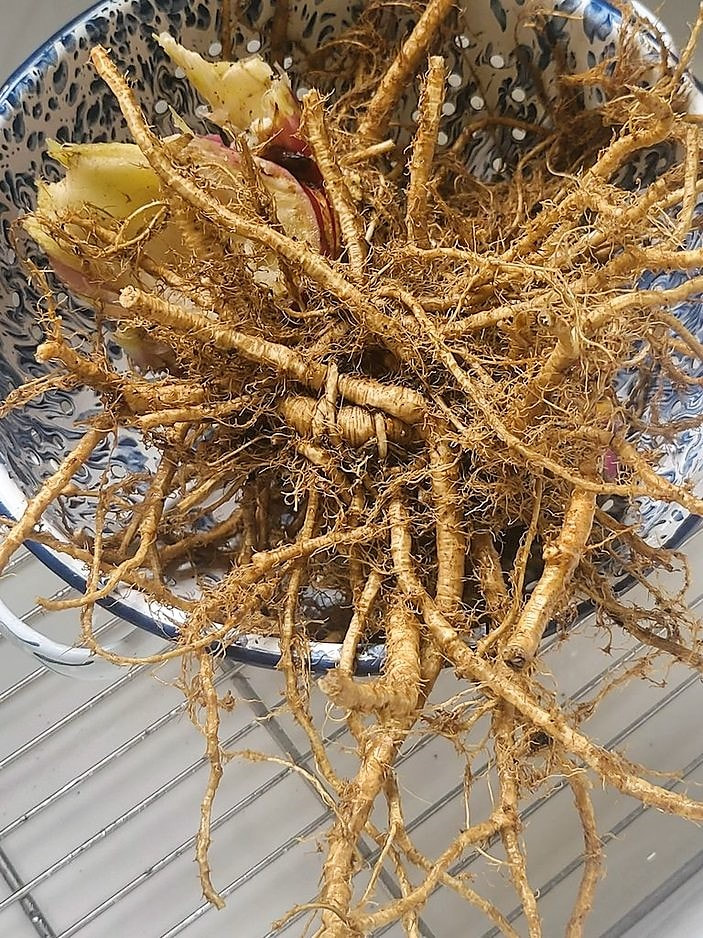
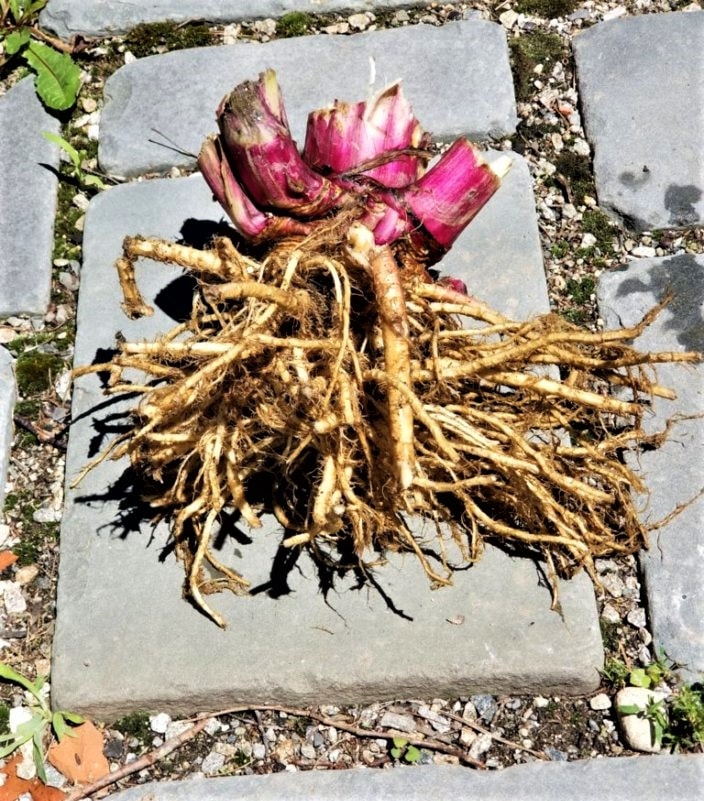
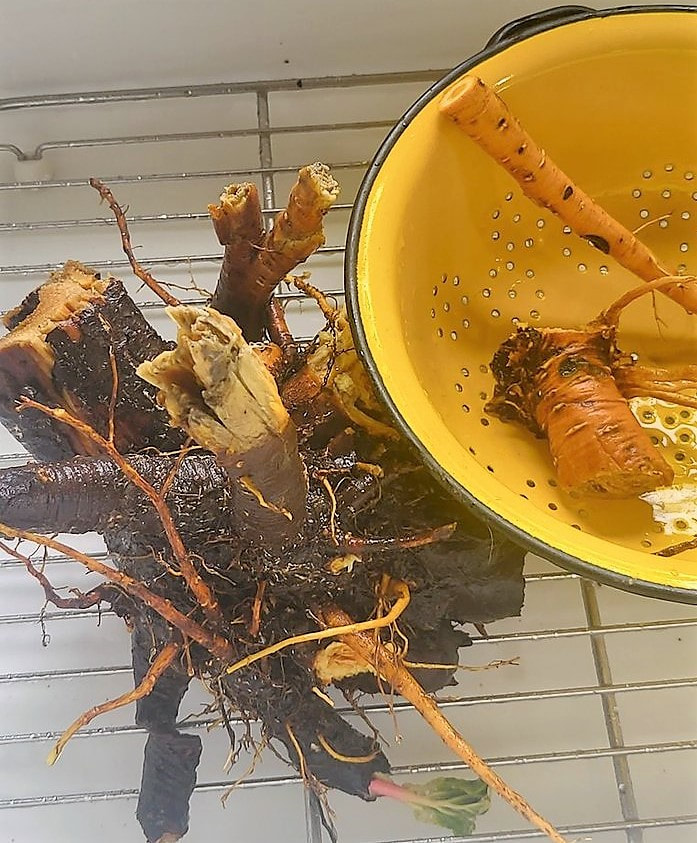
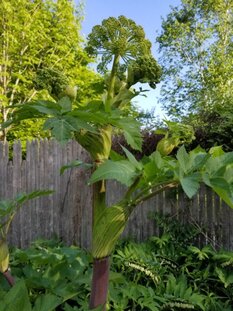
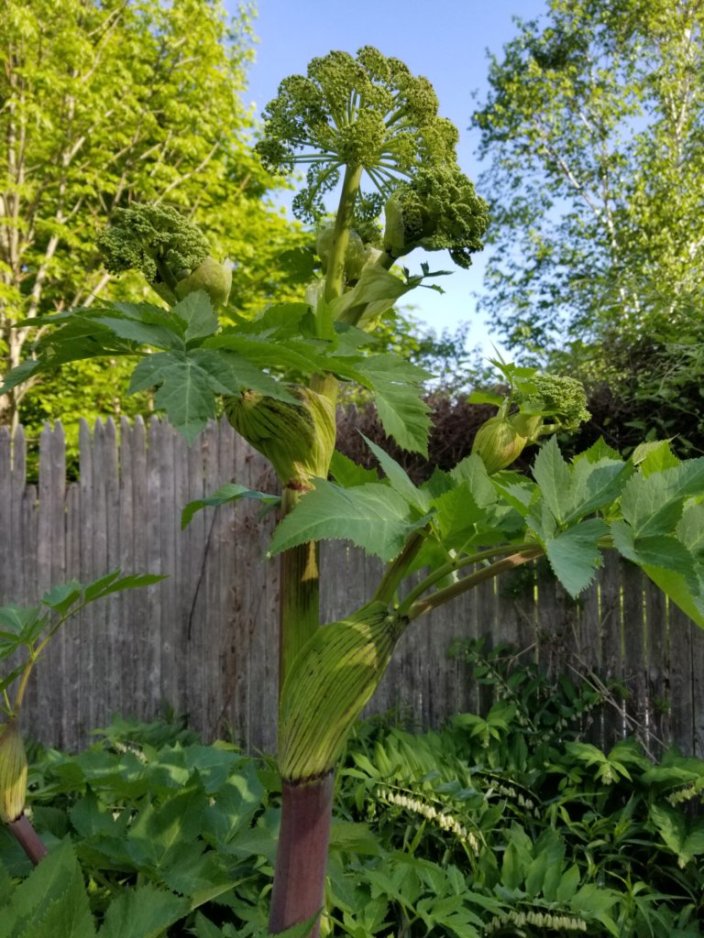
My freshly dug Angelica root
Picture
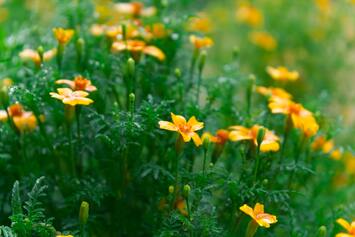
I used both orange and yellow Little Gems for their bitter flavor and color.
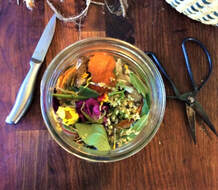
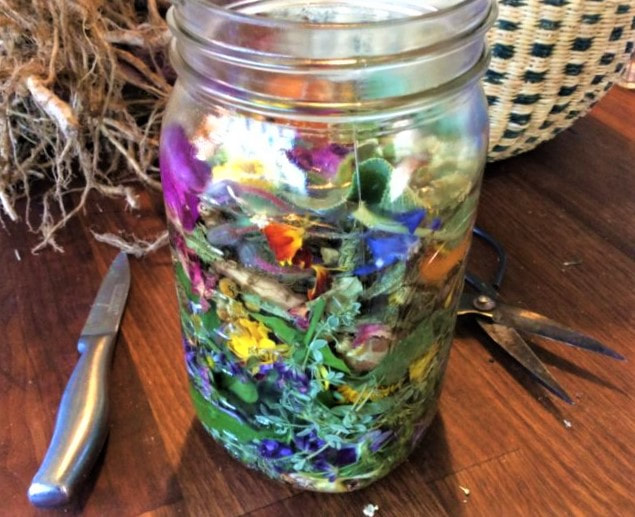
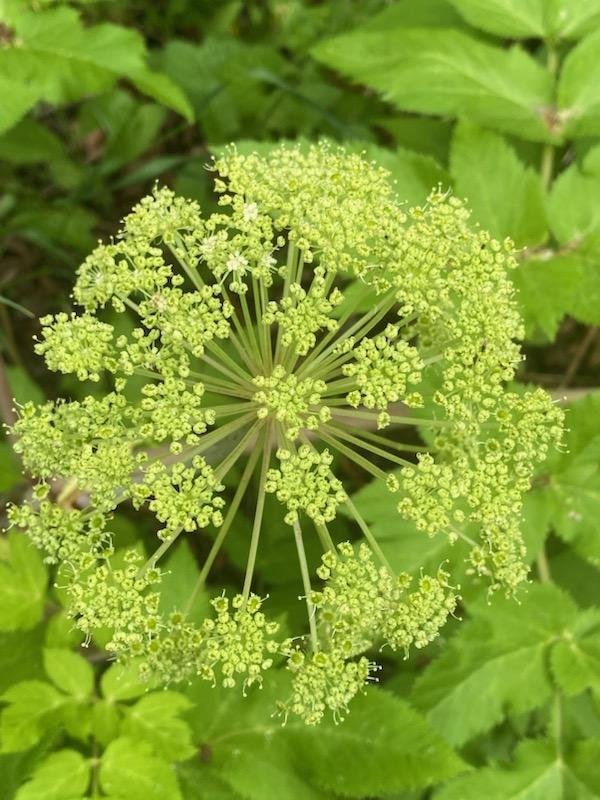
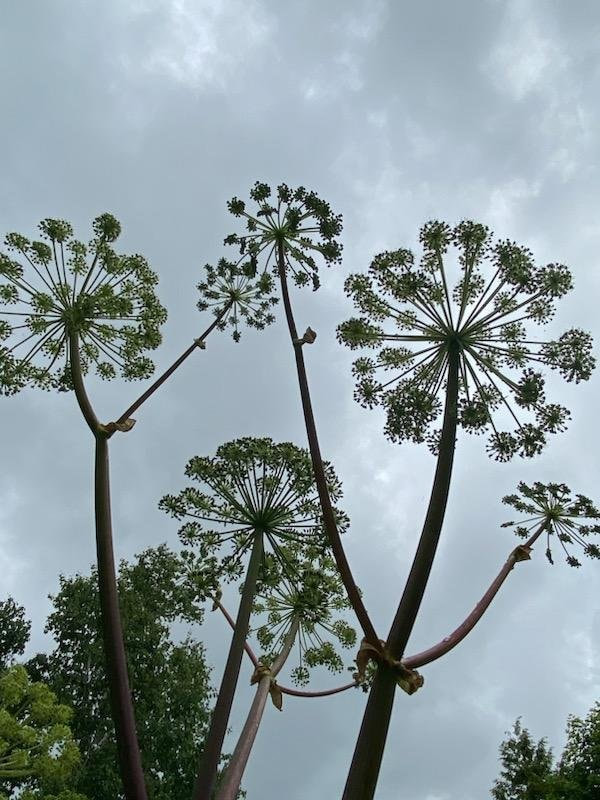
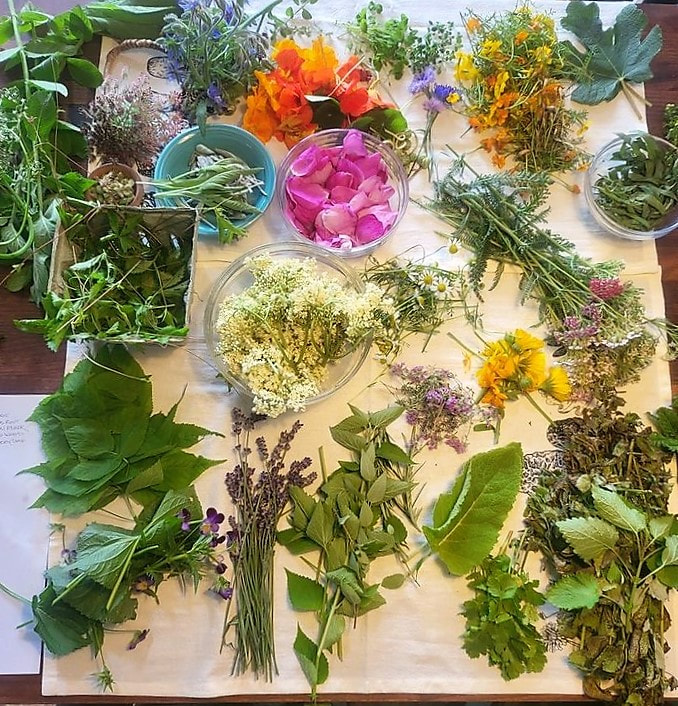
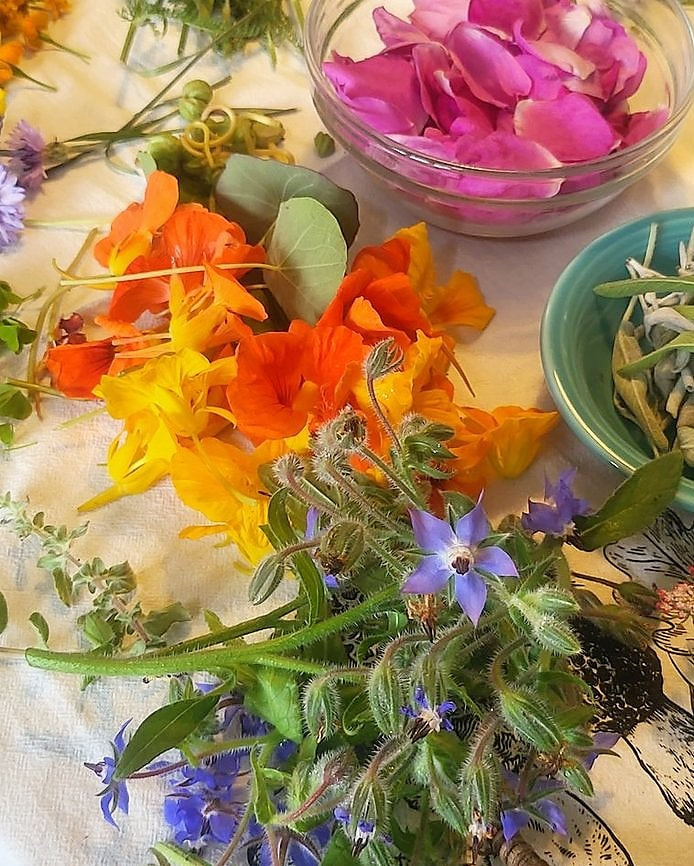
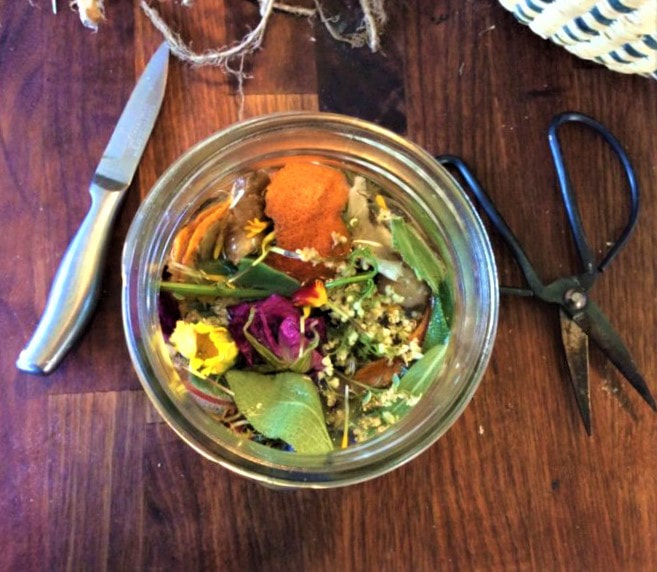
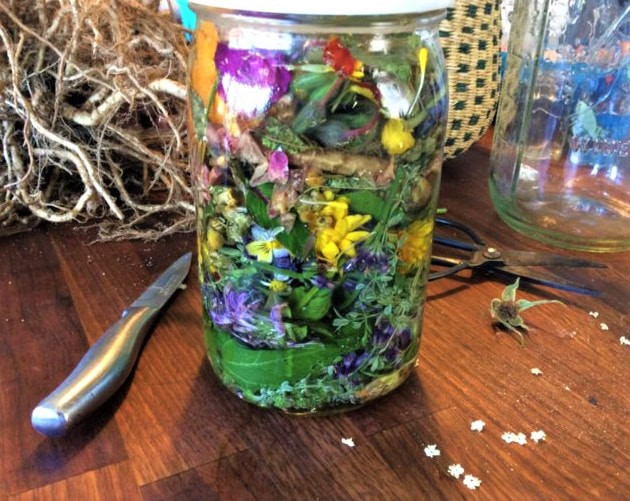
I was inspired to make this ‘Summer Garden’ amaro after harvesting my angelica root.  As I processed the huge root ball, its heady perfume filled my home, making it smell not unlike a bottle of Chartreuse! With that in mind, I stepped out into my early-July garden, & was determined to try to capture the flavors, scents, & colors blooming there. I was particuarly enamored by the idea of adding Little Gem Marigolds to my mix, hoping their delicious, bitter flavor & bright yellow-orange color would be prominent in the finished drink. [& they are!]  Here is a list of some of the herbs I used in mine: Lavender, Anise Hyssop, Elderflowers, Chamomile, Angelica Root, Little Gem Marigolds, Bee Balm, Rose, Violas, & Borage. Again, there is no right or wrong; you want a lovely mix of sweet, bitter, floral, & herbal-green notes. No such thing as too many -- keep in mind the centuries old Chartreuse recipe is said to include over 160 different herbs & spices!  To this mix, you will want to add some strong culinary herbs, such as rosemary, thyme or sage [or all 3!] & some citrus peel, such as lemon, grapefruit, or orange. It is not unheard of to include berries in your mix as well [strawberries are actually roses after all.…]  Go with what sounds good to you.  For this recipe, you want enough herbs & plant materials to fill a quart-sized Mason jar.
Craft Your Own Amaro  ~ Makes about 32 ounces  ~ Takes at least 6 weeks
~A blend of herbs & spices including flowers, leaves, & barks, fresh or dried, Enough plant material to fill a quart-sized mason jar. 
~5-8 sprigs of strong culinary herb [such as rosemary or thyme] 
~Citrus Peels, grapefruit/orange/lemon or a combination equivalent to that of 2 oranges. 
~Enough 80-proof neutral spirit to cover it,vodka is the easiest to source. If you have access to high proof neutral, you will get deeper flavor results.
​

~1 cup sugar [or sugar substitute] 
~1 cup water
Picture
Leave the flowers whole to incorporate their bitter reporductive parts in your mix.
Collect & clean your plant materials. Fresh is always preferred, but dry will work too, it just may take an additional week of maceration. DON’T OVER-THINK THIS PART!  Feel your way through what is available & growing fresh near you, & let your brain instinctively choose the ingredients! Leave your plant materials whole to include the reproductive parts of the flowers to capture each flower's bitter attributes!
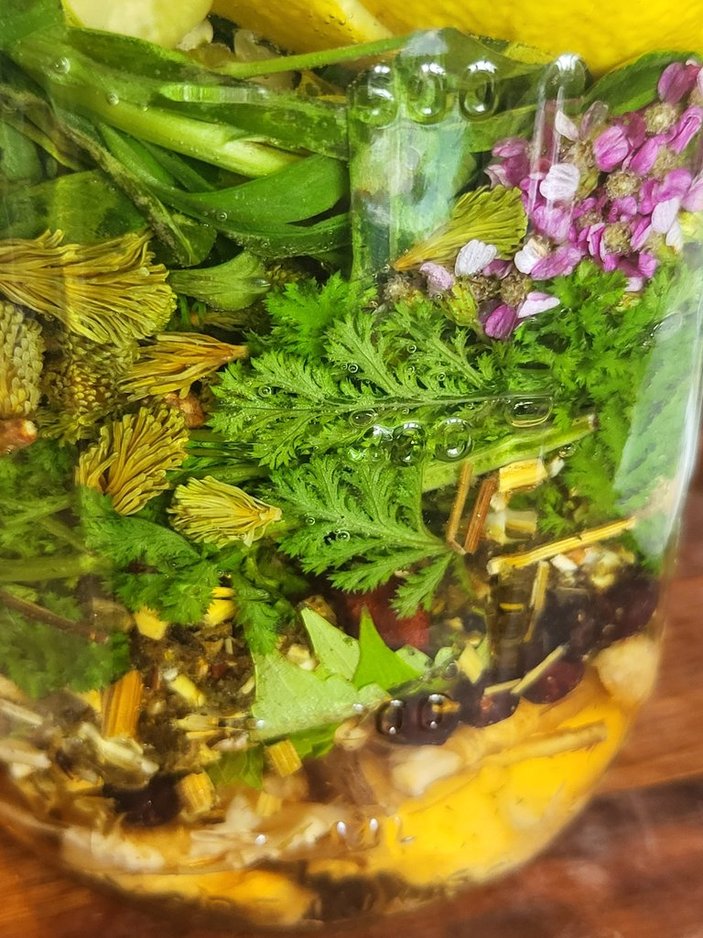
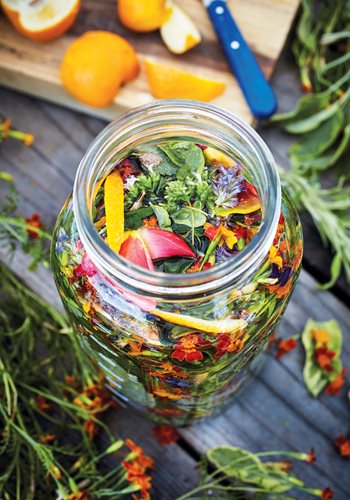
​Add the fresh peels of the citrus [I used oranges] & the culinary herb/s of your choice. Loosely pack all the plants, peels, & spices you have chosen into your clean jar. 
Picture
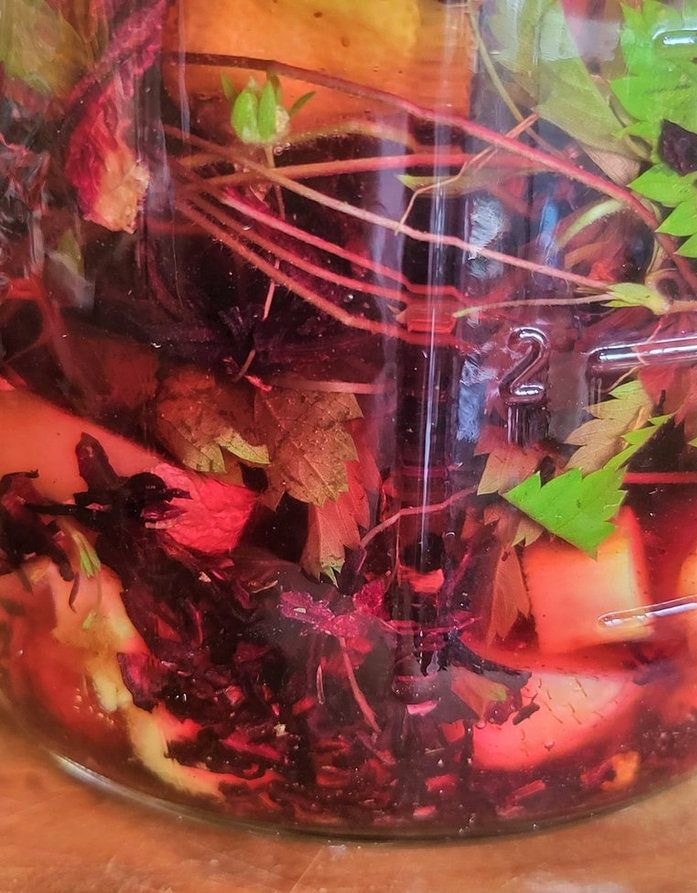
 Slowly pour the plain vodka/alcohol over the herbs, filling the jar all the way to the very top to ensure all the materials are covered & nothing is sticking up above the surface. Put a piece of wax paper over the jar mouth & seal with a lid. Pop your jar away somewhere out of direct sunlight.
Picture
Pic: David Fenton
Every few days or so, give your bottle a shake. Let it sit & macerate for a full moon cycle [4 weeks.]  After this, give it a taste, keeping in mind we have not SWEETENED yet & see how it is coming. If you wish for a stronger amaro, or if you used mostly dried herbs, let it macerate for another week or so. If you are happy with your base, proceed to the next steps!
Once your base is where you’d like it, strain out all the plant materials, pressing as you strain. The plants will have absorbed a lot of your liquid while imparting their flavors!  Make a simple syrup by heating the water & sugar together until the sugar is fully dissolved & it comes just to a boil. Allow your syrup to cool completely, then add it to your infused alcohol base. *Many people will add only one cup of the syrup at this point & allow their amaro to mature, adding more ‘sweet’ later if desired. Remember the point of this sweetening agent to take the edge off the bitterness, not mask it completely! 
Again, how sweet you make it is up to the individual! I added all of my 1:1 syrup, knowing I had included many very bitter ingredients in my mix. Reseal up your jar & set it aside again to age with the sweetener added, at least another 2 weeks. During this time, the amaro will mellow & incorporate the sweet with the other extracted flavors.
If you are impatient to taste your creation, remember some amaros are aged for a year or more at this point!   You will be rewarded by a fuller, balanced flavor by waiting!
Picture
The root of this huge angelica is the star of my Summer Garden Amaro

Two weeks later, give it a try. You can add additional simple syrup if you feel it is needed, but most people will be enjoying their finished product at this point.
Decant it into a lovely bottle/s-- it will store for you indefinitely! Cheers!
Enjoy your creation straight-up after dinner, in Spritzers on hot days-- or get creative & play with it in cocktails!
That is it for this post. PLEASE let me know what you get up to; I adore hearing from you all & trying your creations! I hope you enjoy the process here as well as your results!
​Don’t forget to
#StopAndEatTheFlowers 
1 Comment

Herbal Spotlight: Chocolate Mint with Recipes

8/9/2021

3 Comments

 
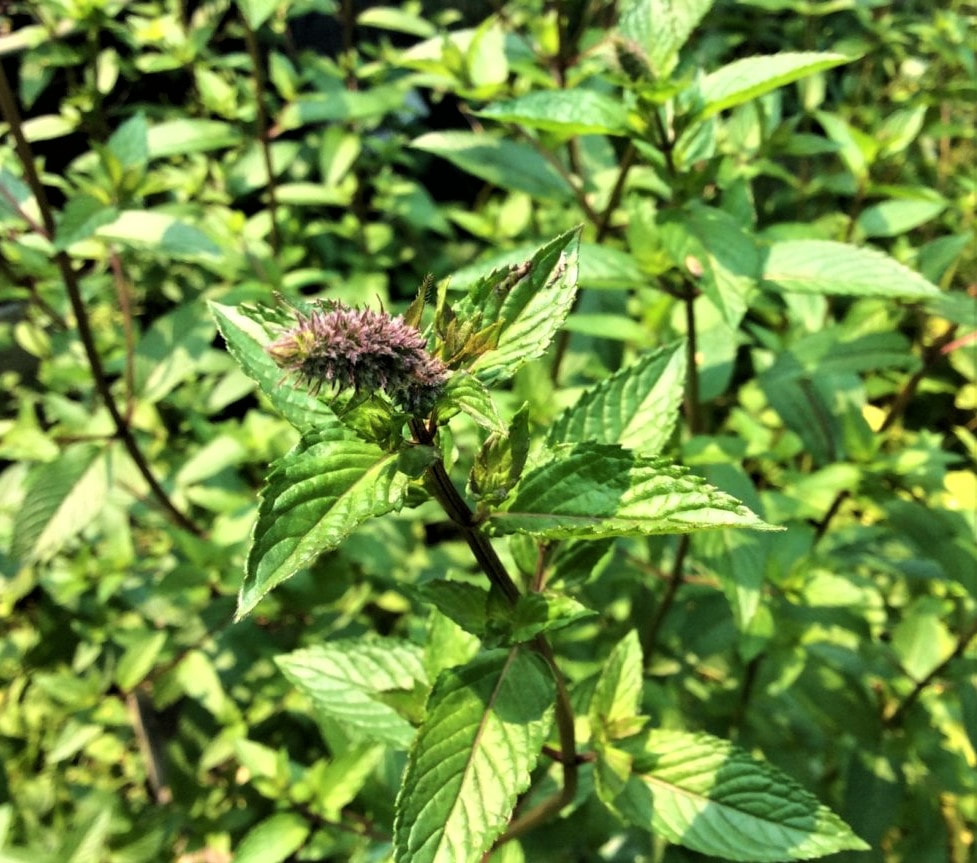
With her striking purple stems & killer flavor, Chocolate Mint is one to grow. Join me as we discuss this beautiful mint cultivar & a bunch of options for using your harvest!
Chocolate mint [Mentha × piperita f. citrata]  is one of many mint varieties easily picked up at your local greenhouse. You may have rubbed its leaves between your fingers there, enjoying that delicious fragrance, & thought “but what would I do with it?” & decided not to buy it. Well, this spotlight post is full of suggestions & recipes for your chocolate mint harvest, so indulge away! 
Okay,  this plant is in the MINT family [
Lamiaceae] so it will spread if not contained! Plant it somewhere with that in mind or in containers. And, expect it to come back with friends yearly, hence the need for an arsenal of use ideas!  
​
Picture

Read More
3 Comments

Herbal Spotilight: Daylilies with Recipes

7/26/2021

0 Comments

 
Picture
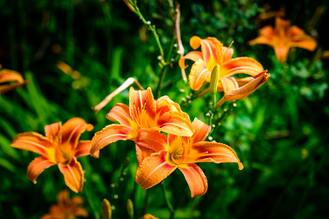
It just wouldn't look like New England without the wild daylilies all along our many crumbling rock walls. Effortlessly growing in field, forest, & yard, they are more than just beautiful -- daylilies are a bountiful food source as well!

​​Join me as we take a look at these delicious, gorgeous gems-
​

Read More
0 Comments

Herbal Spotlight: Common Milkweed, With Milkweed Blossom Cordial Recipe

7/12/2021

0 Comments


​Common Milkweed [Asclepias syriaca] is not only edible, it is delicious!  Far from hurting the butterflies by harvesting some ourselves, by caring for & planting it, we help ourselves AND the declining Monarchs!
So often dismissed as a bothersome weed, this plant actually has a long history of interesting uses in addition to delicious, culinary aspects.
In this post, we will make some milkweed cordial & learn more about it--
Picture

Read More
0 Comments

Herbal Spotlight: Hemlock Reishi Mushroom

6/28/2021

3 Comments

 
Picture

​T
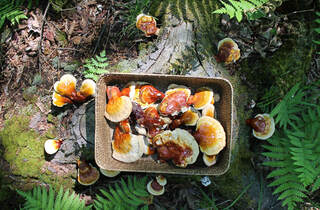
he Hemlock Varnished Shelf Reishi is one of the easiest mushrooms to identify & is revered for its potency.
It has many traditional uses from medical to cosmetic. Come with me as we look a bit deeper into this polypore "Mushroom of Immortality" & its uses.
Before I begin, I would like to clearly state that Nature is powerful & is to be respected. One must be very clear of WHAT they are harvesting, HOW it was grown [near heavily trafficked roads? sprayed with pesticides?] & how they plan to USE it. Mushrooms are particularly complex & it is imperative that you are 1000% sure of an ID before doing ANYTHING with them. The information I am supplying here consists of my own experiences & the traditional uses of mushrooms/herbs & is for educational purposes only. This information has not been evaluated by the Food & Drug Administration. This information is not intended to diagnose, treat, cure, or prevent any disease. Cheers!
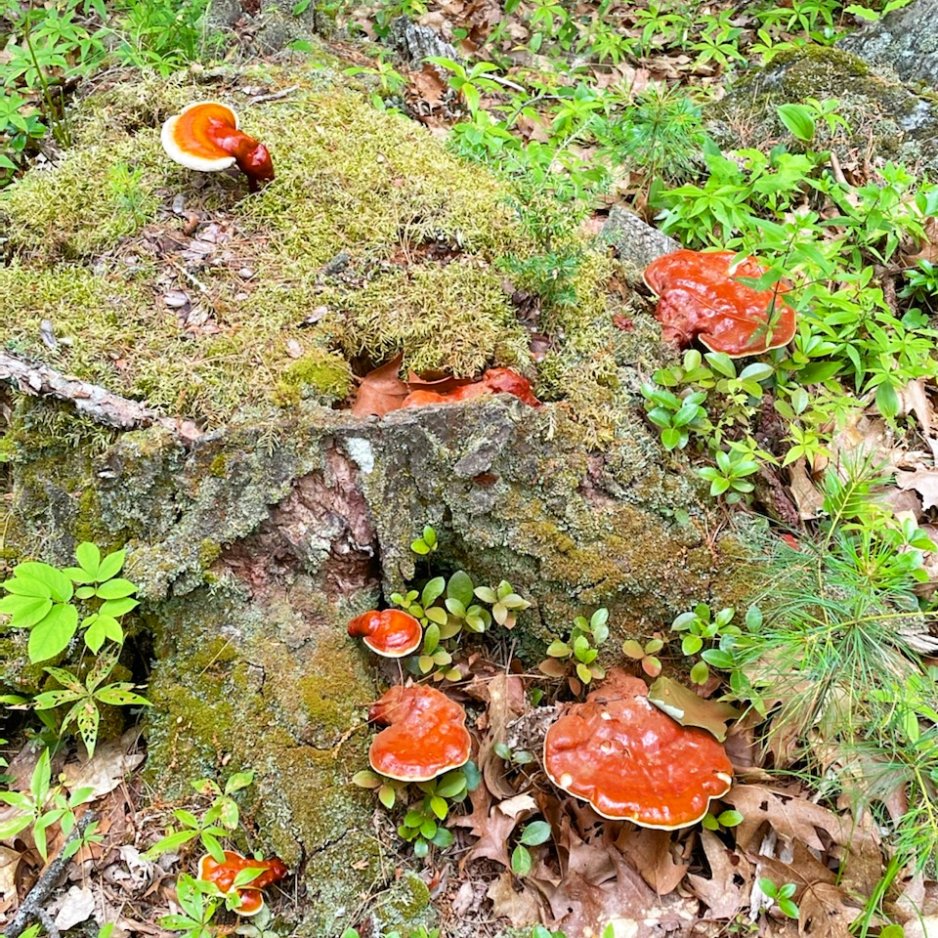
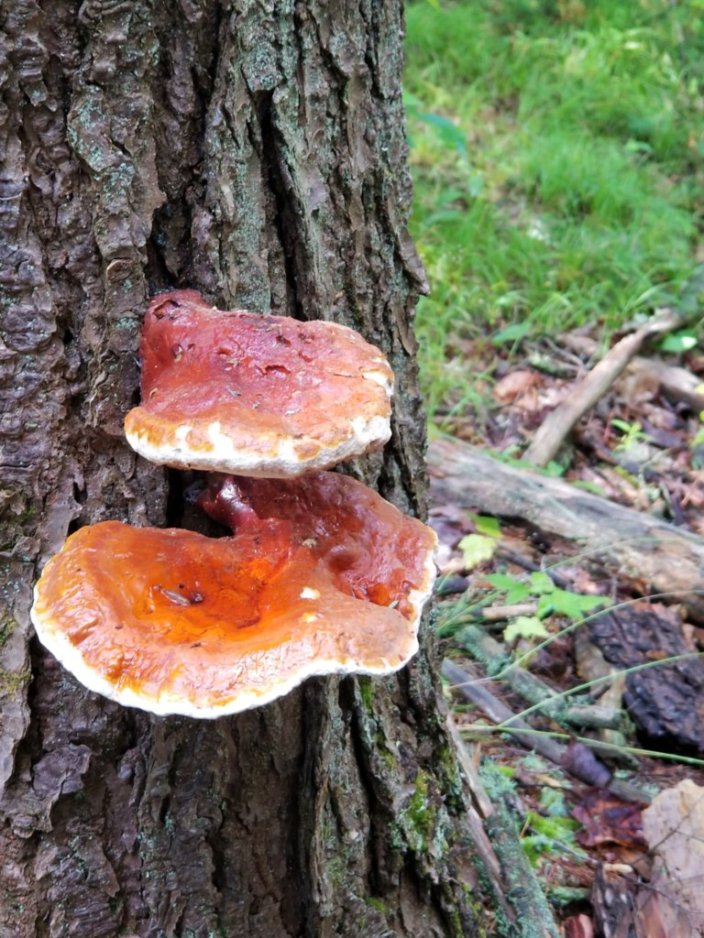
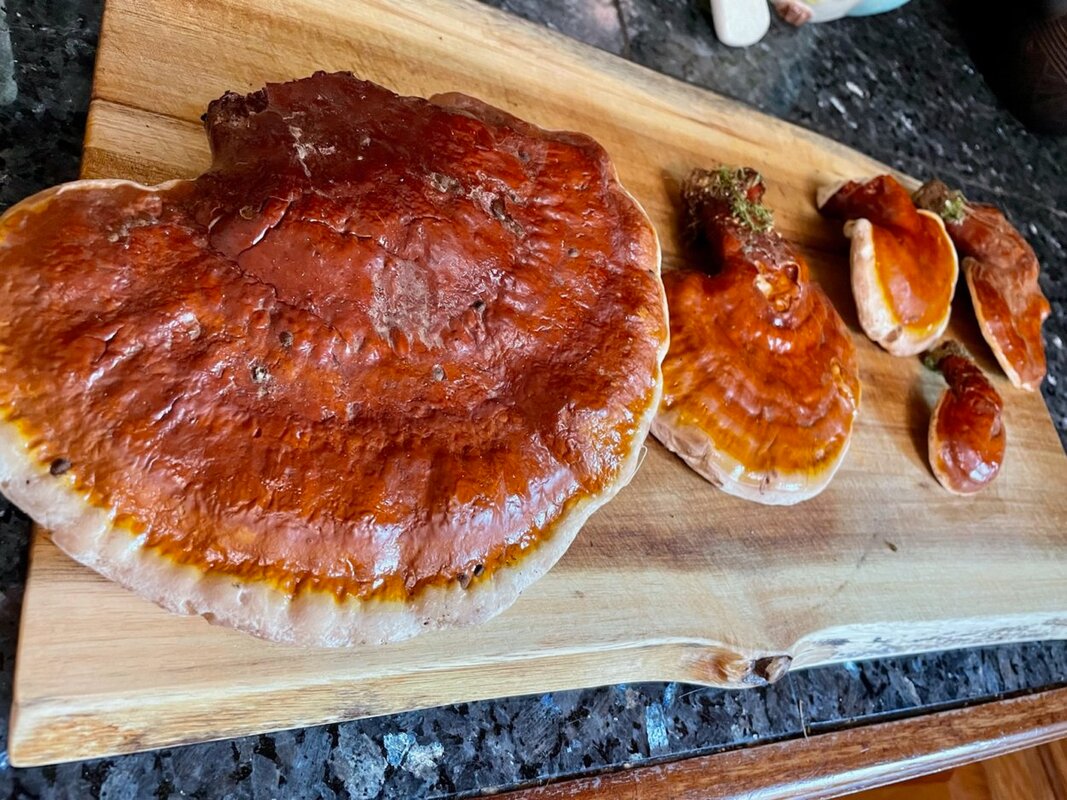
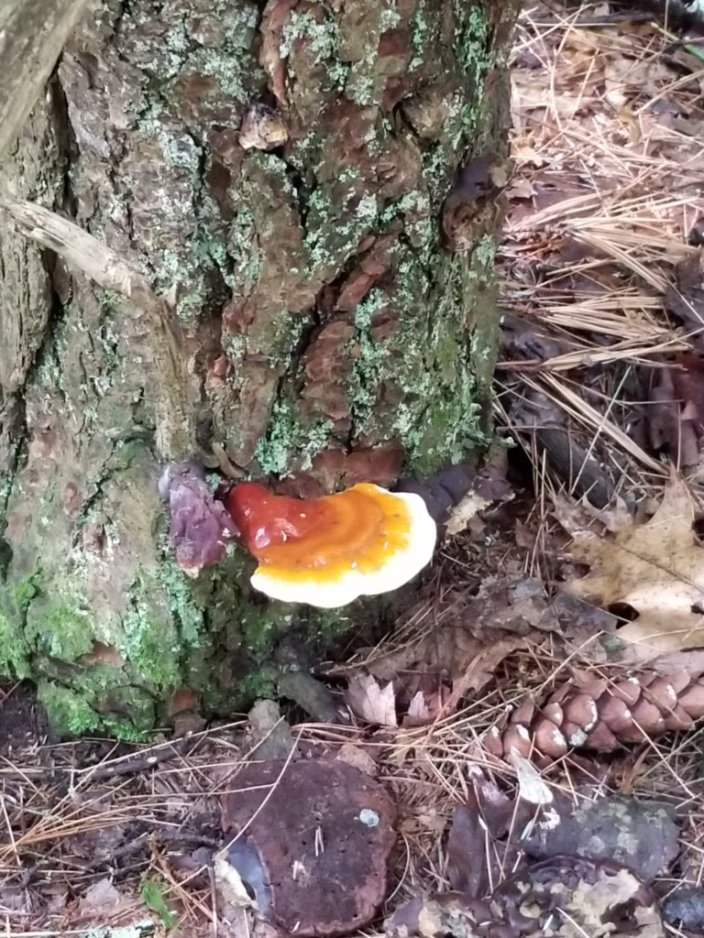
Reishi mushrooms have been used for centuries, & there are many types of reishi that grow. I am focusing mainly on the Hemlock Reishi [Ganoderma tsuagae,] a polypore or bracket type of mushroom that grows well here in my little corner of mid-coast Maine. Polypores are “wood rotter” mushrooms that grow on dead or dying wood. This particular type, as their name implies, heavily favors Eastern Hemlock trees, & will fruit & grow best in temperatures between 50F - 75F, making the hemlock forests of Maine an ideal location for them. Unlike most other mushrooms in this family, they are also beautifully colored, with deep red & bright orange rings of growth, their new growth tipping them in white -- 
Picture
This old hemlock stump is covered with fruiting bodies of reishi. They will thrieve here until this food source is exhausted.
their layered colors resemble the setting sun. They are ‘varnished’ mushrooms, a term used to describe their dry but shiny surface. hemlock reishi's undersides are a beautiful white, but quickly discolor to brown when touched.
Picture
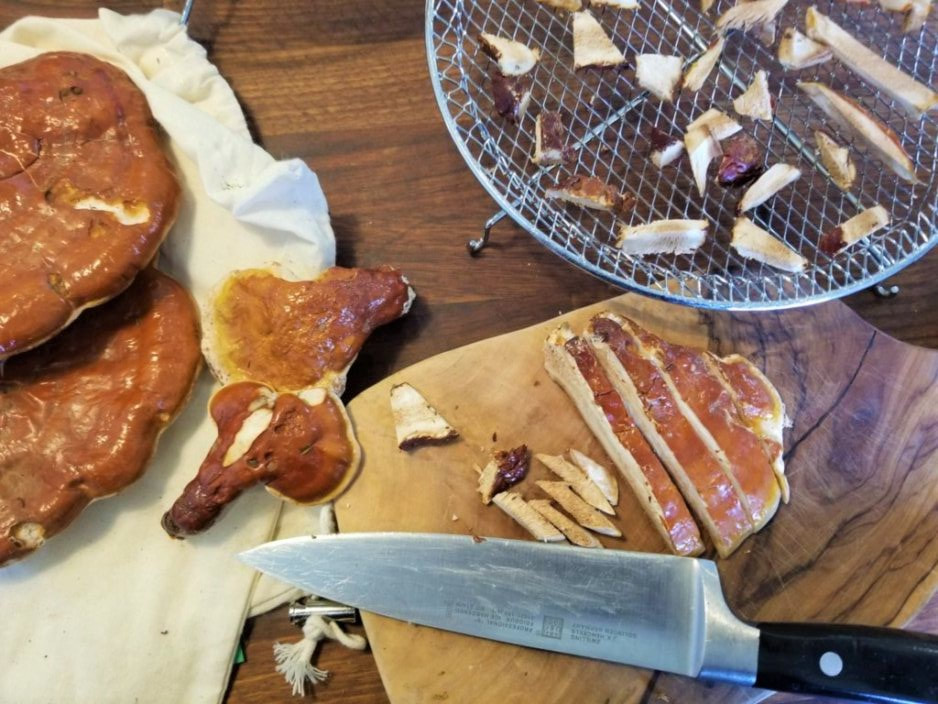
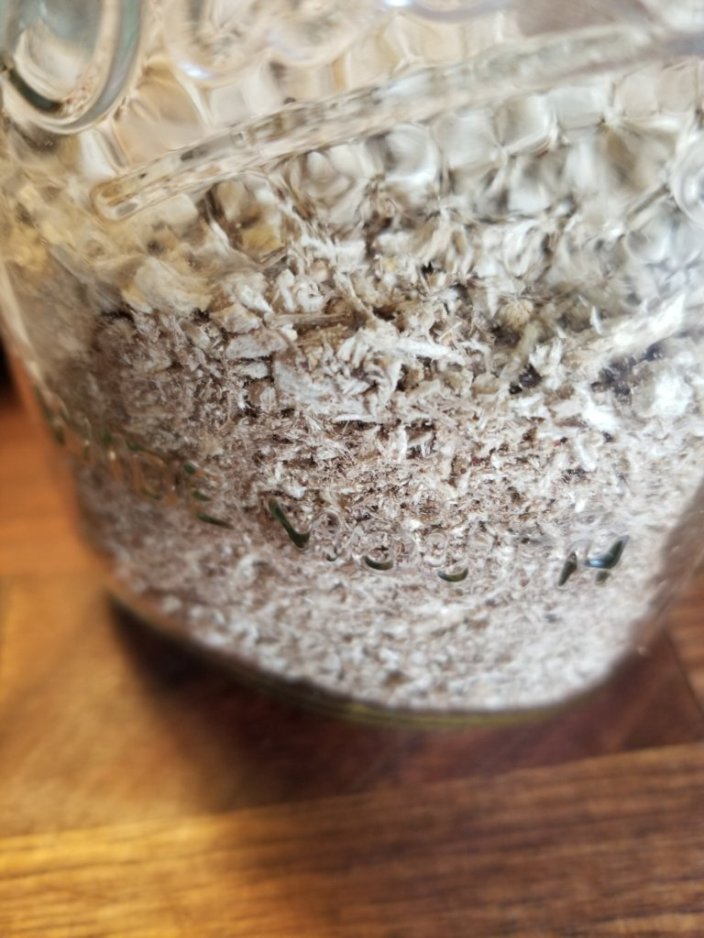
Here I am slicing some of my haul into small pieces to dry in my air fryer/dehydrator. This ensures they dry evenly and no mold grows on them. I will then grind and powder them for use.
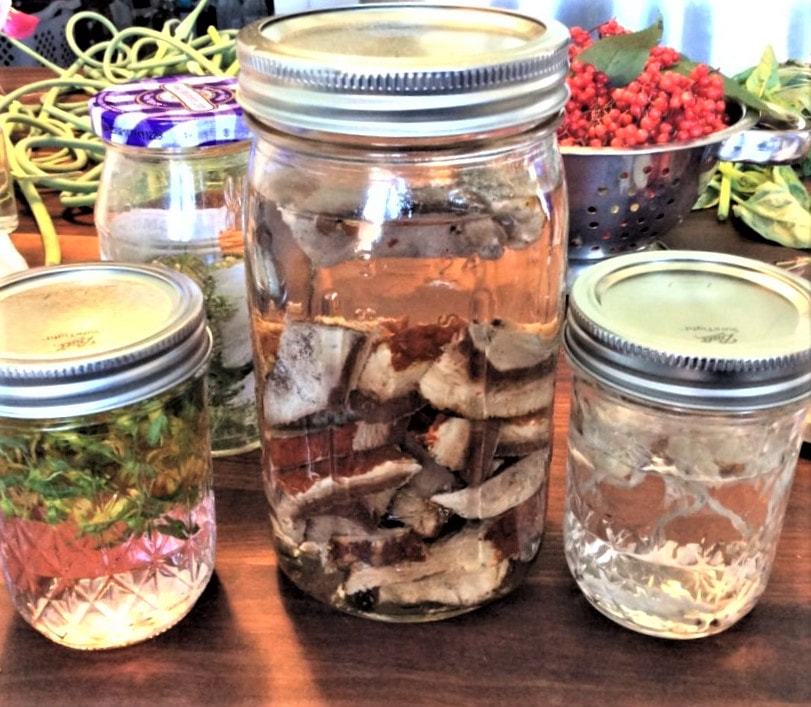
If you locate a dead or dying tree supporting them, you can be sure they will return to that spot yearly until the food source is exhausted. Reishi have a bitter flavor & cork-like texture. Due to this, they are most often used as teas, tinctures & extracts, rather than sauteed for consumption. These mushrooms contain both polysaccharide constituents, which are extracted well by hot & boiling water, & triterpenoids, which must be extracted with alcohol or glycerine. When tincturing these mushrooms yourself [or purchasing pre-made reishi tincture], it is important to ensure both methods of extraction are performed in order 
to receive all of the benefits they have to offer. Additionally, one can dry & powder the fruiting bodies, then create capsules or enjoy them in teas, ingesting the powder to receive the full benefits, much like with matcha one receives the entire tea leaf.
Reishi mushrooms are considered to be one of the most potent medicinal mushrooms & many studies are ongoing into their properties. The Chinese refer to reishi as Ling Chi or the “Mushroom of Immortality” & many studies are currently underway further supporting its medicinal usage. Studies have shown reishi to have strong cancer fighting properties, with their active polysaccharides specifically having been shown to have anti-tumor benefits. Reishi specifically has been shown to promote the healing of wounds & boost growth of fibroblast cells, to have the ability to regulate sugar in the human body, & to work well as a natural antibiotic, even against heavy hitters such as Staph & Strep!  Additionally, they work as strong adatogens in the body, helping to relieve anxiety & stress. As these studies document this mushroom's possible applications more & more thoroughly, it is no wonder demand for resishi tinctures & supplements has risen so dramatically. Particularly of interest are its cancer & diabetes treatment potentials. Learn more about reishi & cancer at the Memorial Sloan Kettering Cancer Center website.
If you have located reishi growing & are harvesting them [and are 100% certain of your identification as stated earlier], the simplest way to use them is to dry & powder them, then use them in teas. I am happy to provide deeper info on this process, as well as the double tincturing process, on an individual basis, personally one-on-one. I also have information on locally sourced, dry reishi powder. Please feel free to contact me for further information if you wish.
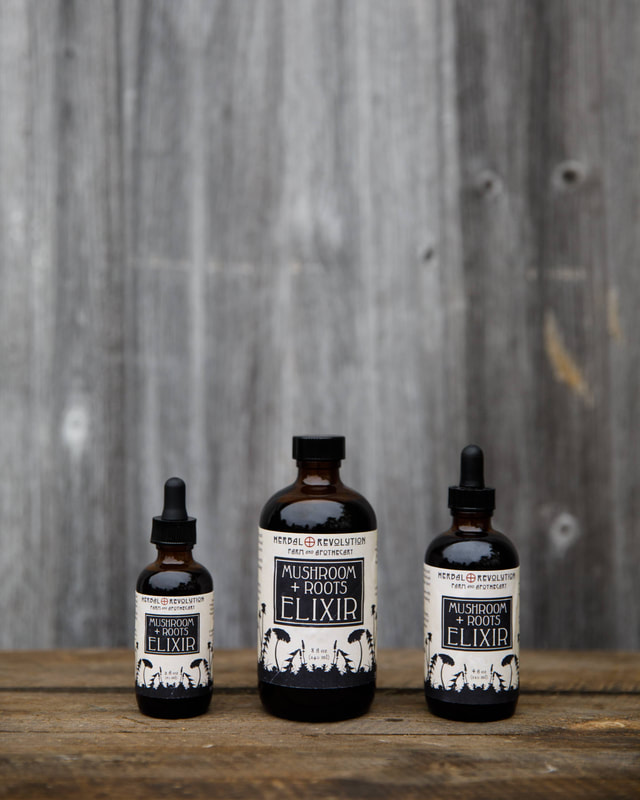
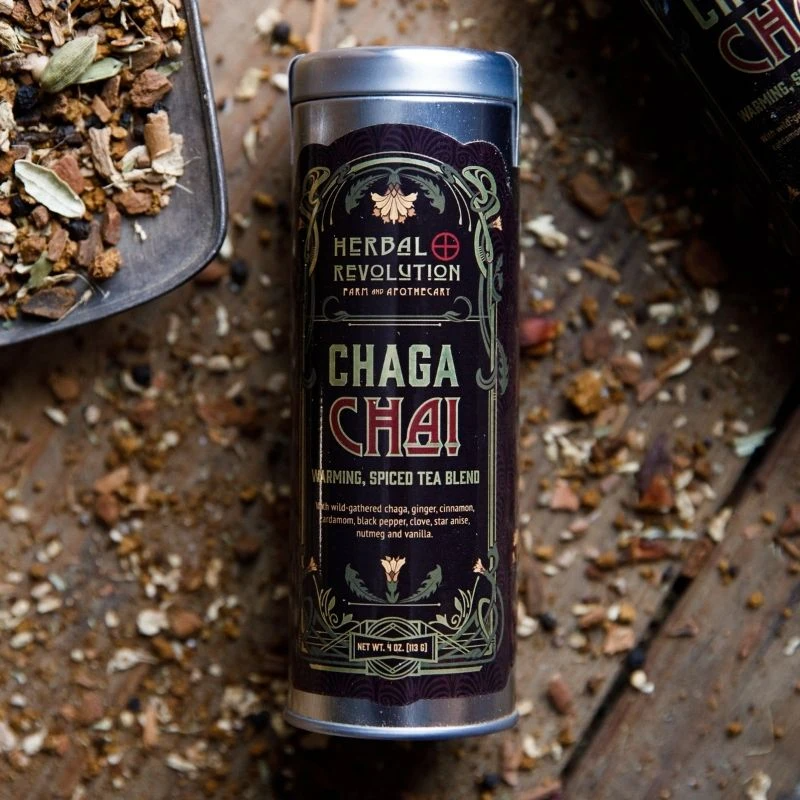
We also proudly offer Herbal Revolutions
Mushroom & Roots Elixir, which contains many medicinal mushrooms including reishi, as well as their Chaga Mushroom Chai Tea Blend, for those looking for finished, ready-to-use products. Both products are amazing quality & help to support the mind & body in many ways.

Mushrooms are truly fascinating. There is a deep well of information to learn, with new facts being uncovered constantly. They provide a large sense of unity for all of us with the powerful world of Nature around us. I invite each of you to dive into this pool of knowlegde, either through books or classes like Herbal Academy’s Mushroom Course. Take care, contact me with questions, & until next time -- Don’t forget to #StopAndEatTheFlowers 
3 Comments

Herbal Spotlight: Celebrating All Things Peony, With Peony Simple Syrup Recipe

6/14/2021

8 Comments

 
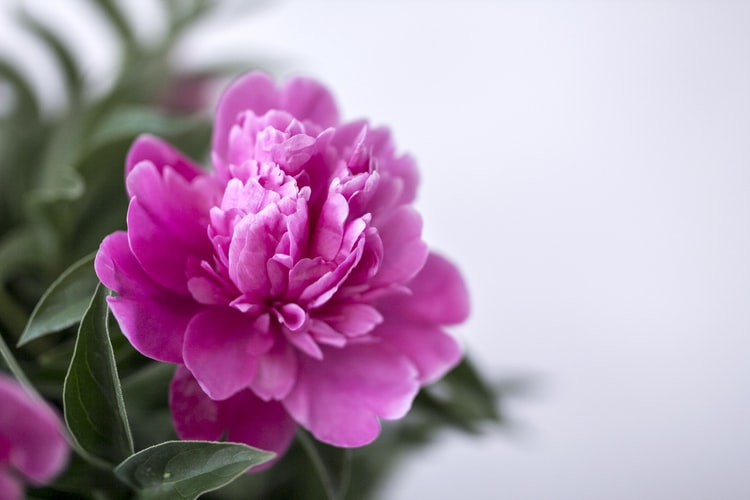
It’s THAT time of year again! [a bit earlier than normal due to the heat]  Anyone who has read my posts knows what PEONY SEASON means in this family! A major favorite in this house, we use these delicious flowers to make all the things-- Ice cream, panna cotta, cocktails, jelly, floral lemonades, & more! Their flavor is amazing & versatile.  Join me as we celebrate all things peony with some fabulous ways to use them -- & with recipes of course!
Picture

Read More
8 Comments

Herbal Spotight: Rhubarb With My Rustic Rhubarb Clafoutis Recipe

5/31/2021

0 Comments

 
Picture
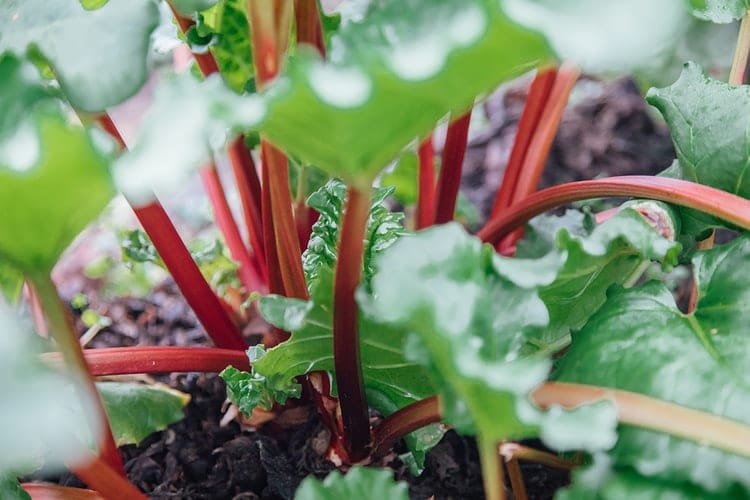
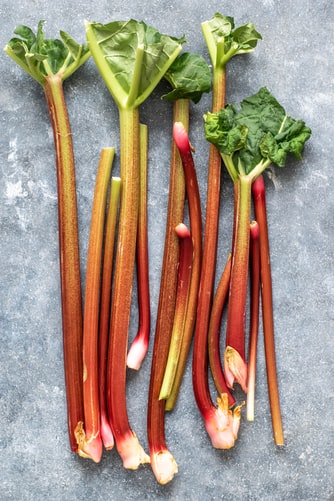
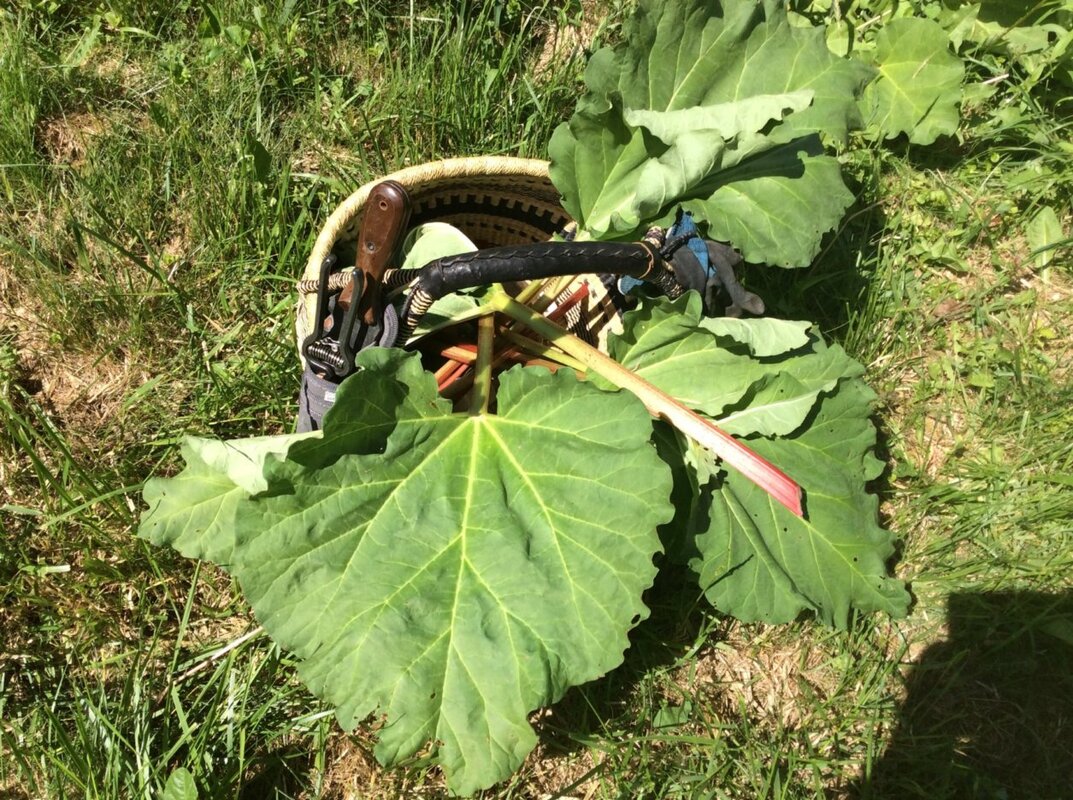
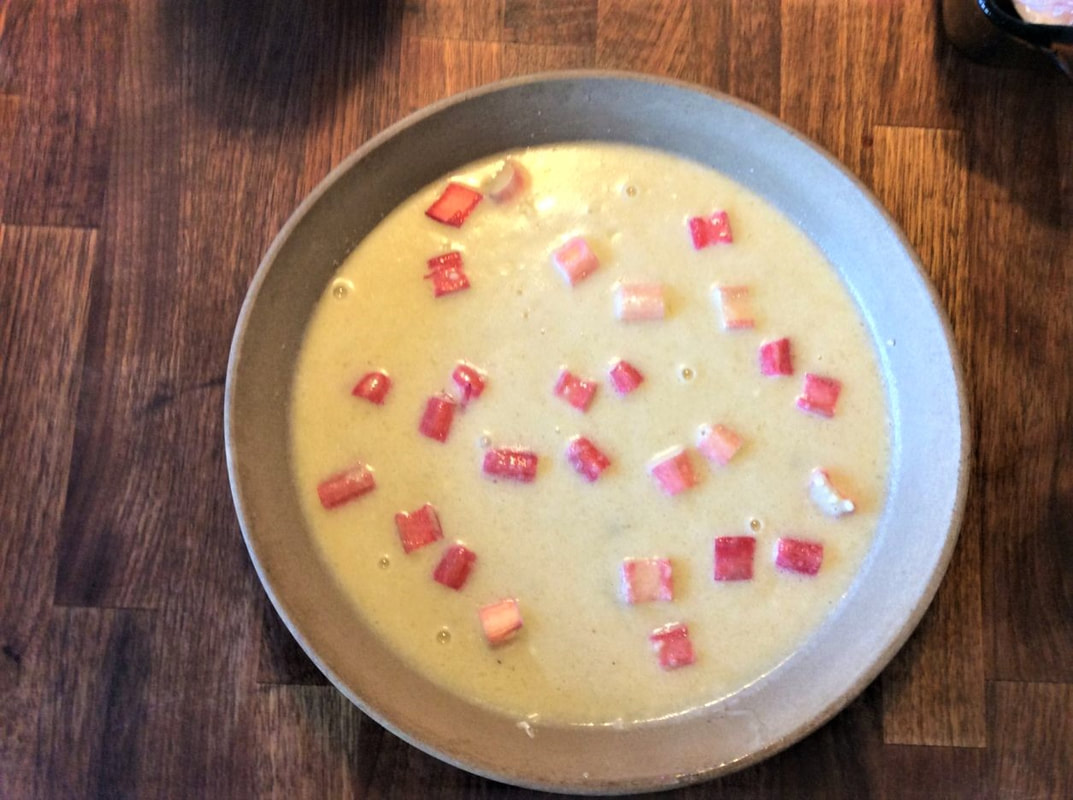
We are deeply immersed in Rhubarb season right now & loving every moment of it! Sadly underappreciated by many, this under-rated garden gem is a favorite in our family. It is one of the most versatile things we grow, working equally well for savory dishes as for sweets & drinks. This week, I share one of my family's favorite ways to enjoy it with my Rustic Rhubarb Clafoutis recipe --
Cultivated as far back as 2,700 B.C, rhubarb was first brought to America in the early 1770s by Benjamin Franklin. It is a hardy, perennial vegetable filled with antioxidants, vitamins C & K, calcium, potassium, & a whole lot of fiber. Its tart-acidic flavor sweetens up considerably when cooked, & can be used in both savory dishes & desserts with great success. Two of my family’s favorite ways to enjoy it are in our Cherry Rhubarb Pork Loin & in a simple clafoutis dessert where I pair it with candied ginger. A clafoutis, for the uninitiated, is a simple, baked dessert from southern France that features fruit & a custard-like batter. Cherry is the classic, but we make them quite successfully with all different fruits. They are extremely easy to make & absolutely fabulous. They can be served warm or cold, often dusted with powdered sugar & occasionally served with whipped or ice cream. ​
Picture
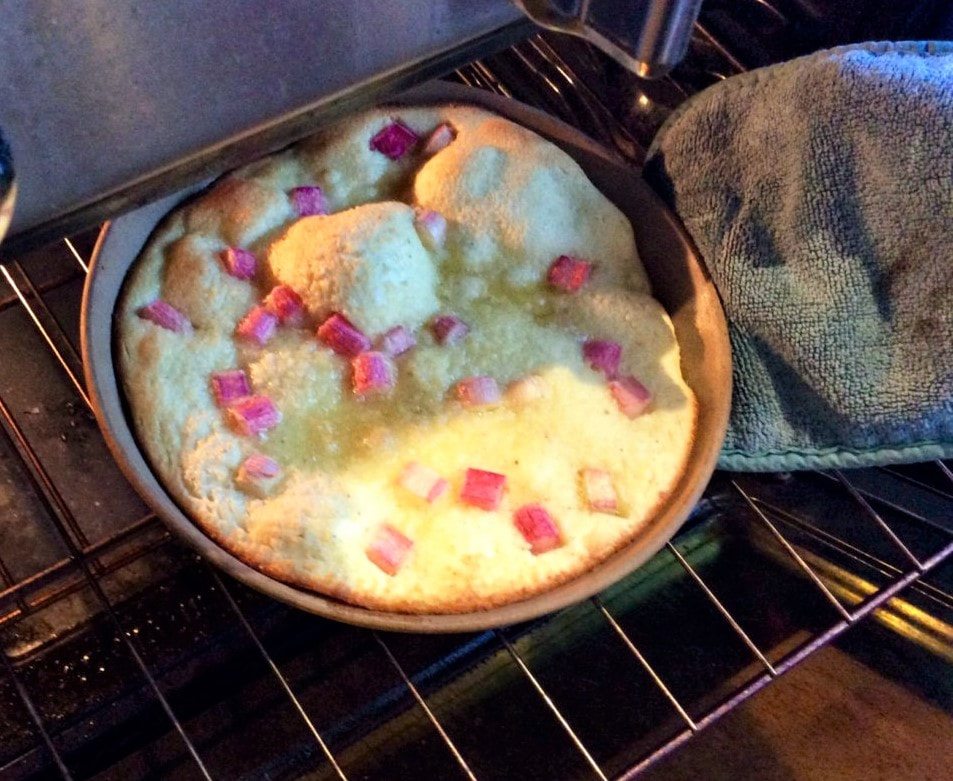
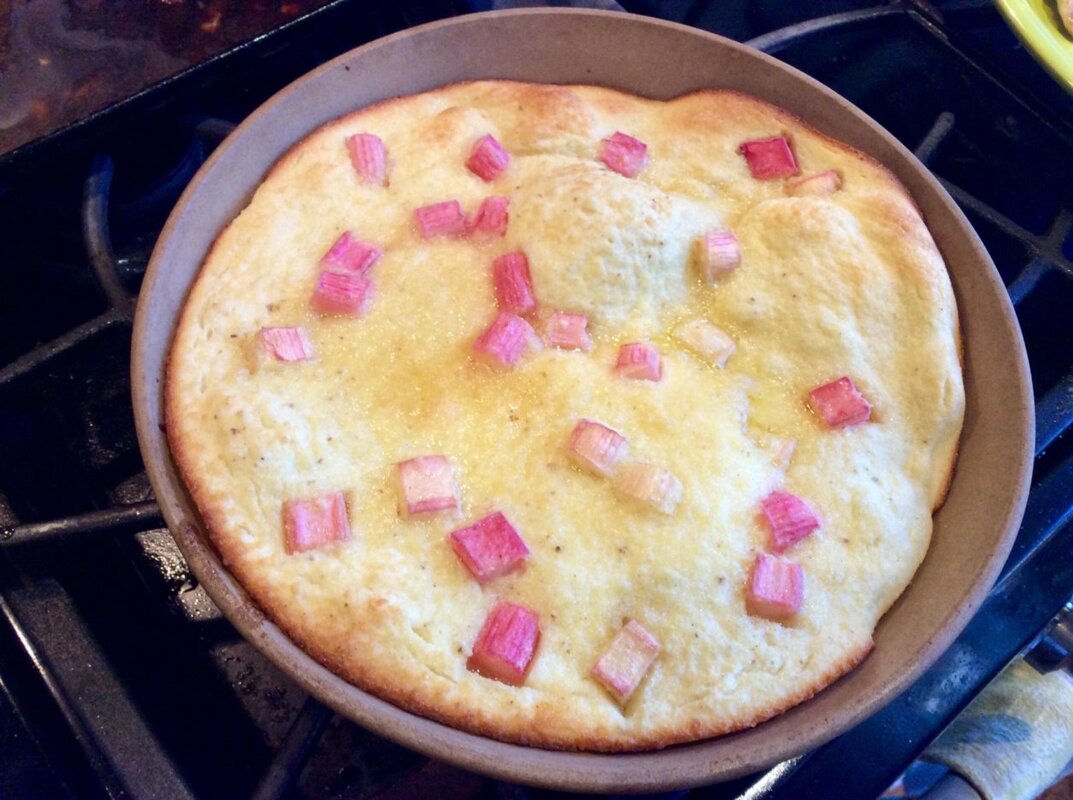
Of the many types we like to make, the rhubarb is decidedly a house-favorite!    [I am certain to feature other versions of clafoutis in the future….]
Picture
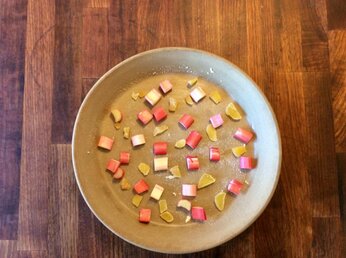
This recipe can be made with fresh or frozen rhubarb-- in fact, we always cube some up & pop it in the freezer during rhubarb season so that we can enjoy this clafoutis in the Fall & Winter as well. The candied-ginger is a lovely complement to the sweet-tart flavor of the rhubarb, as is the blend of vanilla/almond/lemon the Buttercup Baking Extract provides. Plain vanilla extract works well too if you do not have Buttercup on hand.
Rustic Rhubarb Clafoutis
grab buttercup extract here
  • Roughly 12 oz Rhubarb, chopped into bite sized pieces 
  • Roughly 1 oz Candied Ginger 
  • 2 eggs 
  • ½ c sugar + 2 TBS sugar [separated] 
  • 5 oz milk 
  • ¾ c flour 
  • 2 TBS unsalted butter, melted 
  • 1 ½ TBS Buttercup Extract or vanilla Extract
Picture
Picture
Preheat oven to 350. Prepare a pie or square baking dish: Butter & dust with sugar. Rough-chop your cleaned rhubarb & your candied ginger. Place the pieces in the prepared pan, spacing them evenly. In a mixing bowl, beat ½ cup of sugar with the eggs. Add milk, mix well. Slowly add the flour [sifting if desired,] stirring to incorporate. Stir in the Buttercup [or vanilla] baking extract & the melted butter. Pour your batter over the fruit; redistribute the pieces of rhubarb & ginger so they are evenly distributed if necessary.
Bake until cooked through & a knife inserted in the center comes out clean, about 35 minutes. Sprinkle 1 TBS sugar on top & return to the oven for an additional 2 minutes. Your clafoutis will puff up beautifully as it cooks, but will settle as it is removed from the oven -- No worries though!  It will still be delicious! Despite being crustless, slice it up like pie to serve. Serve it warm or cold, with vanilla ice cream if desired.
​
Personally, I like to save a slice or two to eat cold the next morning with my tea!
I hope you give this ridiculously easy recipe a try-- Clafoutis just may be your new, favorite thing! It is quick & easy to make, & I find it disappears just as fast!  Truly one of the best ways to enjoy rhubarb, this recipe is just the thing to make if you find yourself with a bunch you're not sure what to do with!  Do let me know if you give it a try & please share what you think! ​ ​Until next time --
​Take care & take time to
#StopAndEatTheFlowers 
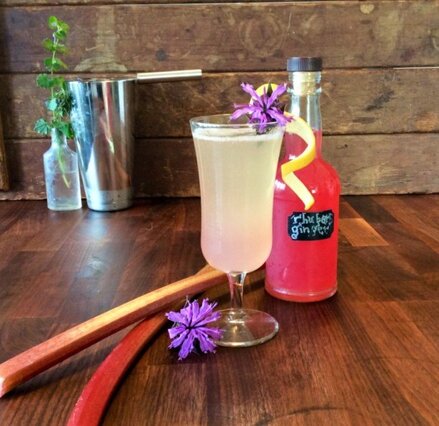
For more fun try my
​Rhubarb-Ginger Drinking Shrub Recipe
Picture
Click For The Recipe
0 Comments
<<Previous
Forward>>

    Categories

    All
    Events
    Homesteading Tips
    Informational
    Ingredient Spotlight
    New Products
    Pet Care
    Recipes & Ingredients
    Soaps


    Picture
    Beautiful AND Responsible

      Sign Up Here For Our Newsletter

    Subscribe to Newsletter

    Picture
    Meet the Centuries-Old, French Cleaning Classic ​with A Modern Twist

    Author

    My husband & I were blessed with 2 beautiful girls. When I was diagnosed with MS, I couldn't keep up the pace working retail. We decided on a simpler life, built a cabin in the woods, & moved to mid-coast Maine ​


    Picture
    Treat Yourself To Our Amazing, Handcrafted Extracts

    Archives

    July 2025
    May 2024
    March 2024
    February 2024
    November 2022
    October 2022
    March 2022
    February 2022
    December 2021
    November 2021
    October 2021
    September 2021
    August 2021
    July 2021
    June 2021
    May 2021
    April 2021
    March 2021
    February 2021
    January 2021
    December 2020
    November 2020
    October 2020
    September 2020
    August 2020
    July 2020
    June 2020
    May 2020
    April 2020
    March 2020
    November 2019
    October 2019
    August 2019
    July 2019
    June 2019
    May 2019
    April 2019

    Picture
    Discover Luxury Herbal Skincare For All Skin Types
    Picture
    Our Multi-Purpose Utility Soaps Are Our Best Sellers For A Reason! Find Out For Yourself!
Always Free of Phthalates, Parabens, Formaldehyde-Releasers, Petro-Chemicals & Sulfates.
Store Hours:
Wednesday 11 am - 4 pm
​Thursday 11 am - 4 pm
​Friday  10 am - 4 pm
Saturday 11 am - 3 pm*
[*open Saturdays in July & Aug. only until 4pm]
Damariscotta Farmers Market:​
May 22 - Oct 30 2026

Interested In Being A Stockist?
 Click Here for Wholesale Info
contact us:
Picture

    Sign Up For Our Newsletter:  Recipes,
    Special Events, Promo Codes

Subscribe to Newsletter

207-563-6256      [email protected]       © Du Jardin 2019 

127 Elm Street  Suite #2 -  Damariscotta, Maine 04543