0 Comments
Before I begin, I would like to clearly state that Nature is powerful & is to be respected. One must be very clear of WHAT they are harvesting, HOW it was grown [near heavily trafficked roads? sprayed with pesticides?] & how they plan to USE it. Mushrooms are particularly complex & it is imperative that you are 1000% sure of an ID before doing ANYTHING with them. The information I am supplying here consists of my own experiences & the traditional uses of mushrooms/herbs & is for educational purposes only. This information has not been evaluated by the Food & Drug Administration. This information is not intended to diagnose, treat, cure, or prevent any disease. Cheers!
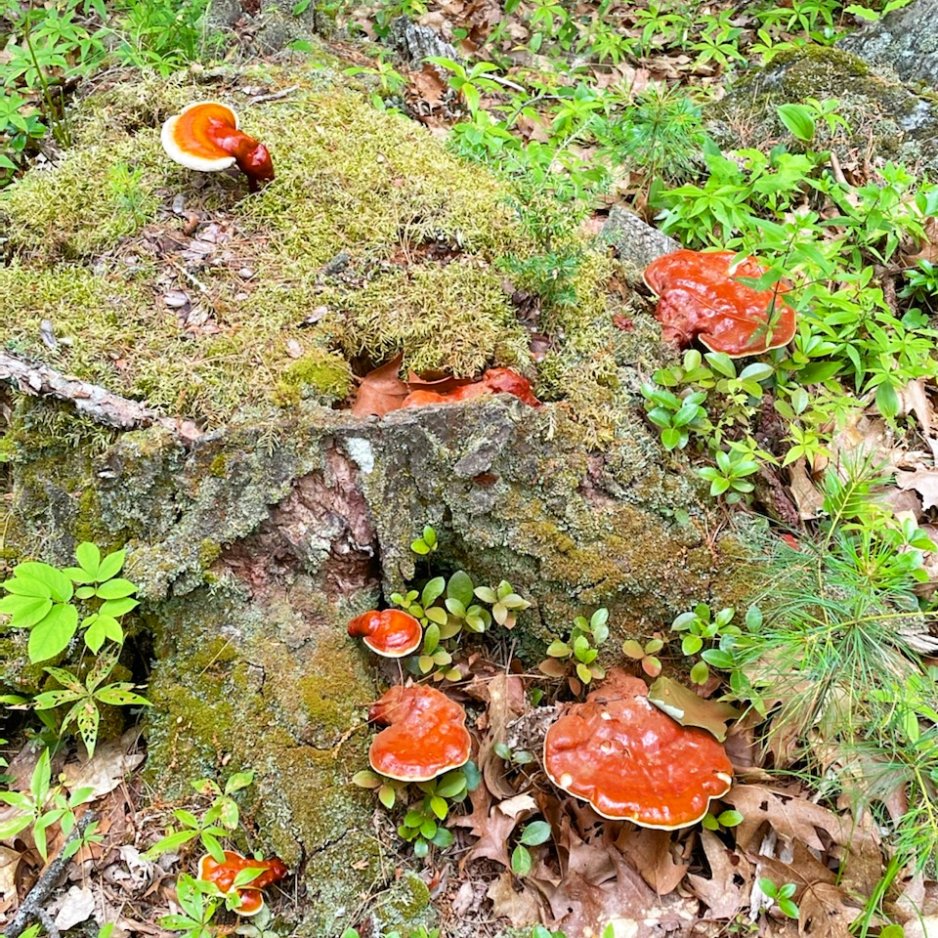
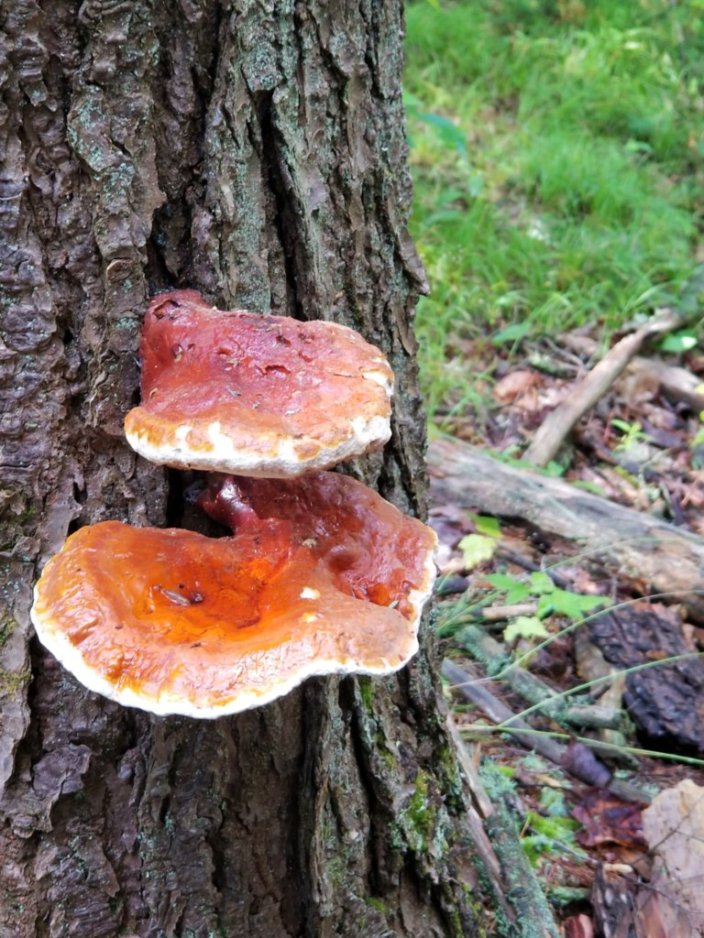
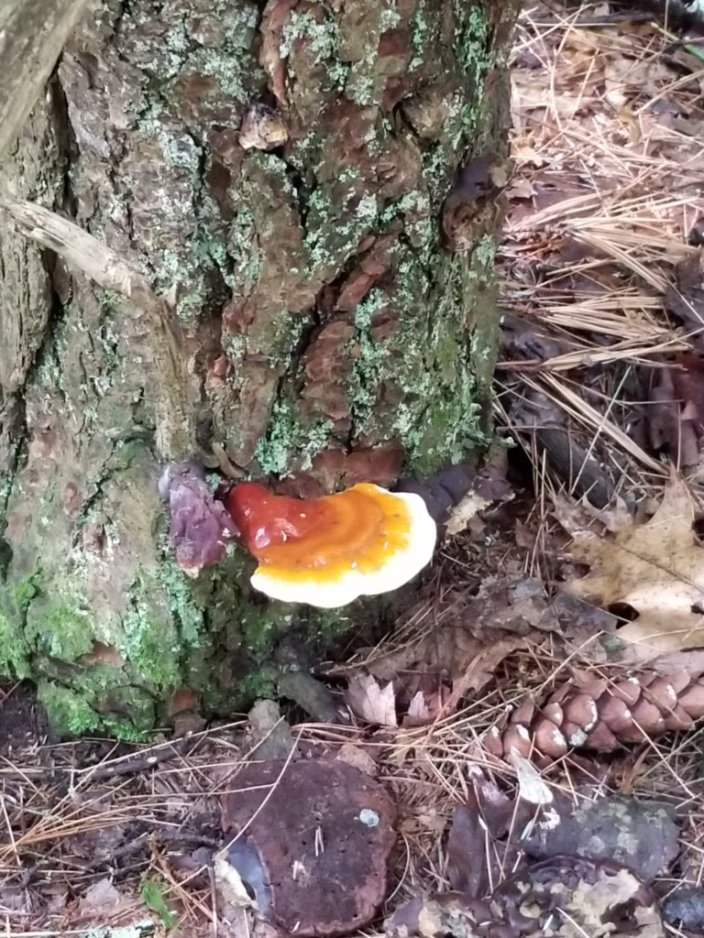
their layered colors resemble the setting sun. They are ‘varnished’ mushrooms, a term used to describe their dry but shiny surface. hemlock reishi's undersides are a beautiful white, but quickly discolor to brown when touched.
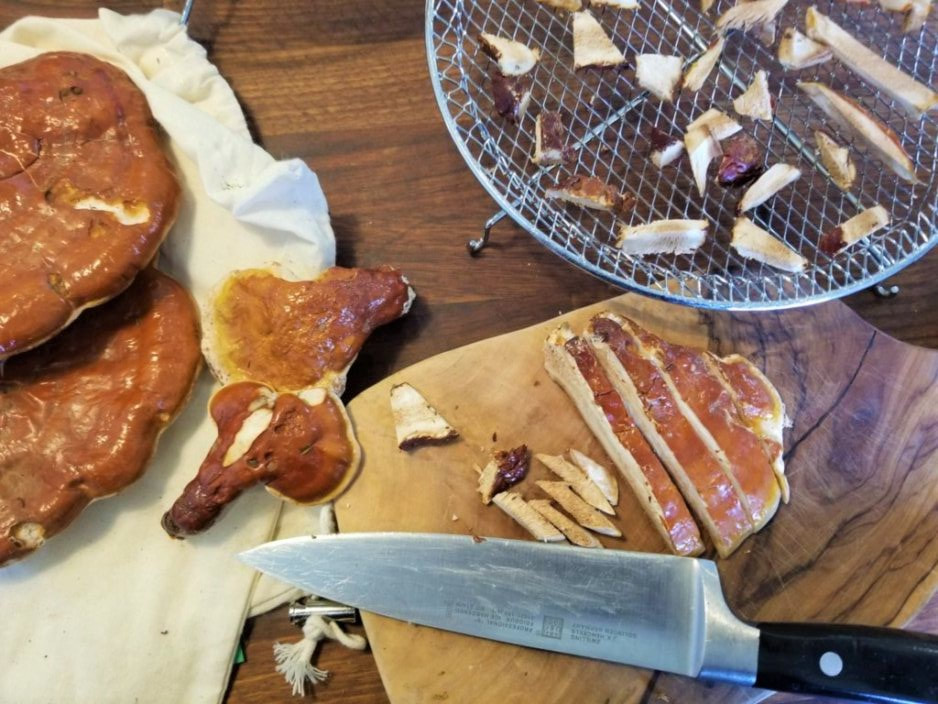
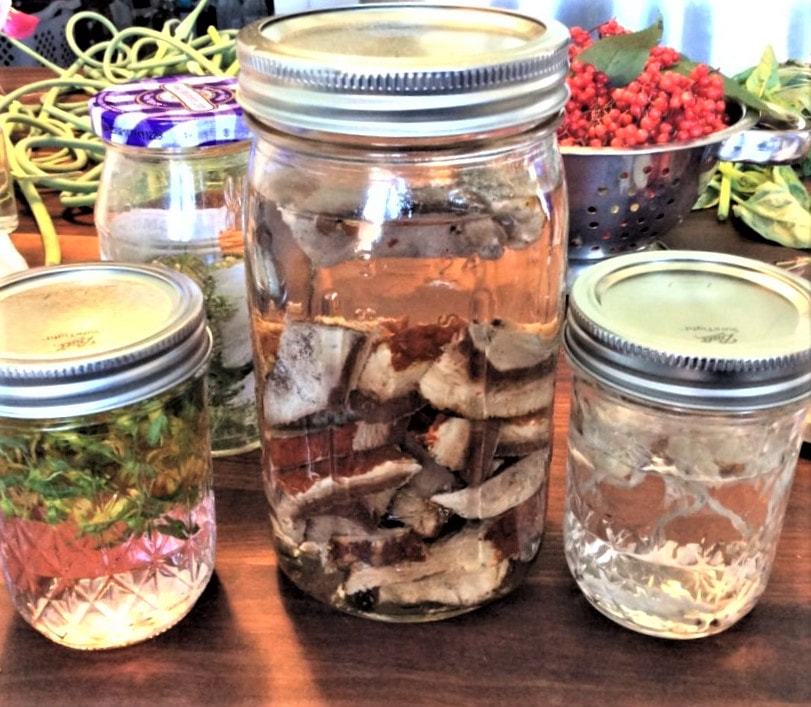
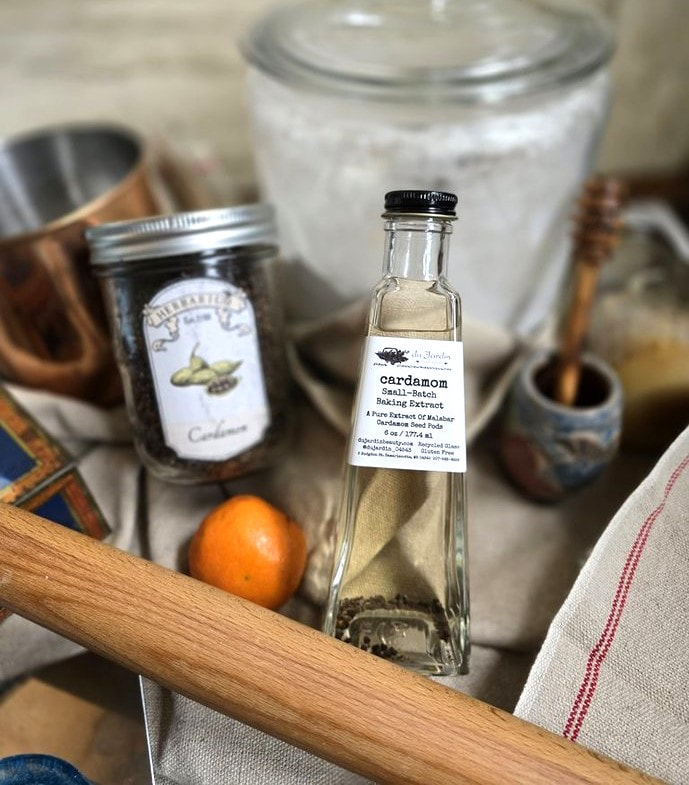
to receive all of the benefits they have to offer. Additionally, one can dry & powder the fruiting bodies, then create capsules or enjoy them in teas, ingesting the powder to receive the full benefits, much like with matcha one receives the entire tea leaf. Reishi mushrooms are considered to be one of the most potent medicinal mushrooms & many studies are ongoing into their properties. The Chinese refer to reishi as Ling Chi or the “Mushroom of Immortality” & many studies are currently underway further supporting its medicinal usage. Studies have shown reishi to have strong cancer fighting properties, with their active polysaccharides specifically having been shown to have anti-tumor benefits. Reishi specifically has been shown to promote the healing of wounds & boost growth of fibroblast cells, to have the ability to regulate sugar in the human body, & to work well as a natural antibiotic, even against heavy hitters such as Staph & Strep! Additionally, they work as strong adatogens in the body, helping to relieve anxiety & stress. As these studies document this mushroom's possible applications more & more thoroughly, it is no wonder demand for resishi tinctures & supplements has risen so dramatically. Particularly of interest are its cancer & diabetes treatment potentials. Learn more about reishi & cancer at the Memorial Sloan Kettering Cancer Center website. If you have located reishi growing & are harvesting them [and are 100% certain of your identification as stated earlier,] the simplest way to use them is to dry & powder them, then use them in teas. I am happy to provide deeper info on this process, as well as the double tincturing process, on an individual basis, personally one-on-one. I also have information on locally sourced, dry reishi powder. Please feel free to contact me for further information if you wish.
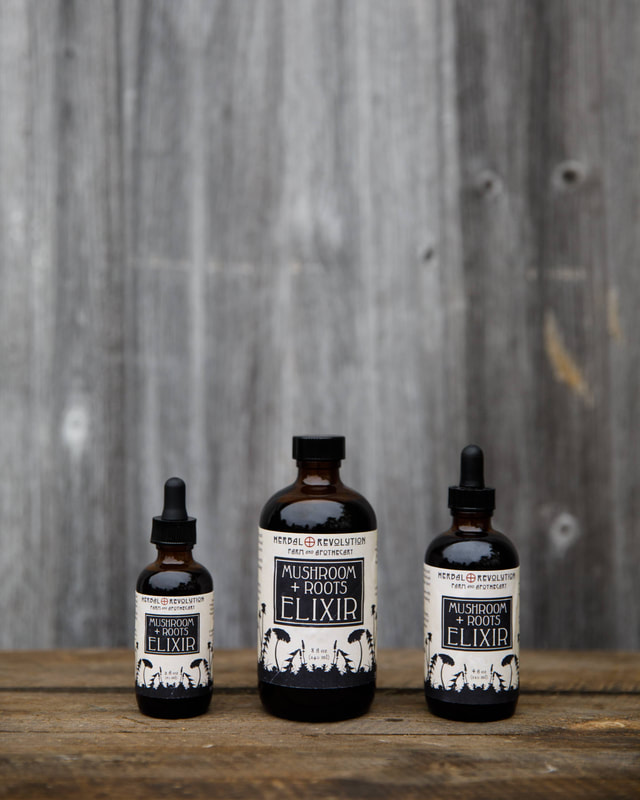
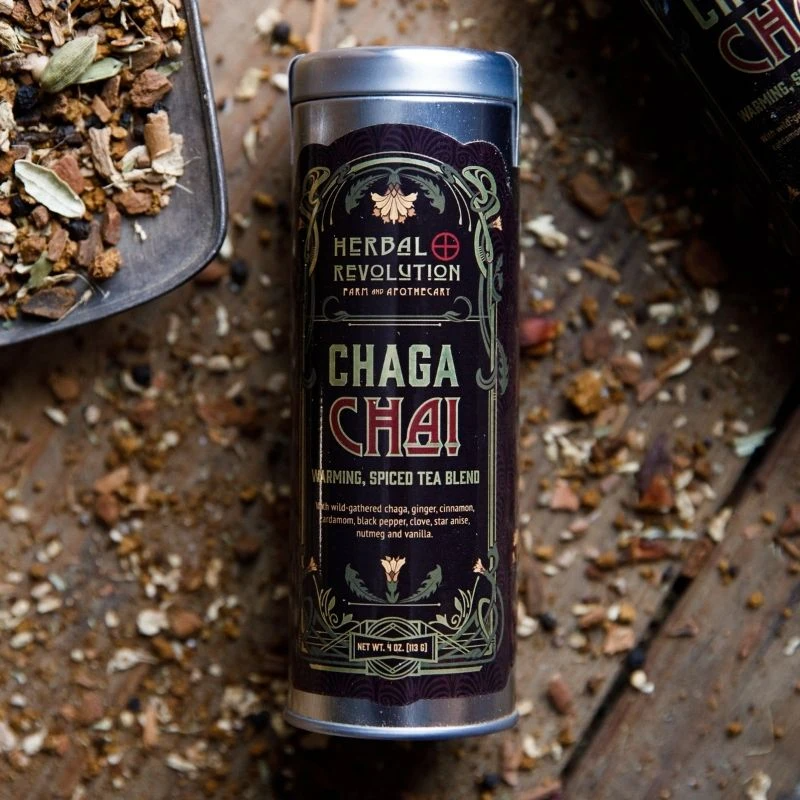
We also proudly offer Herbal Revolutions Mushroom & Roots Elixir, which contains many medicinal mushrooms including reishi, as well as their Chaga Mushroom Chai Tea Blend, for those looking for finished, ready-to-use products. Both products are amazing quality & help to support the mind & body in many ways. Mushrooms are truly fascinating. There is a deep well of information to learn, with new facts being uncovered constantly. They provide a large sense of unity for all of us with the powerful world of Nature around us. I invite each of you to dive into this pool of knowlegde, either through books or classes like Herbal Academy’s Mushroom Course. Take care, contact me with questions, & until next time -- Don’t forget to #StopAndEatTheFlowers
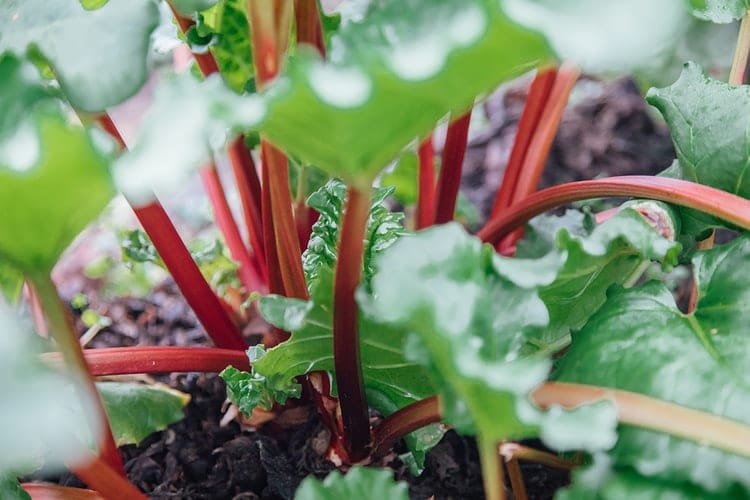
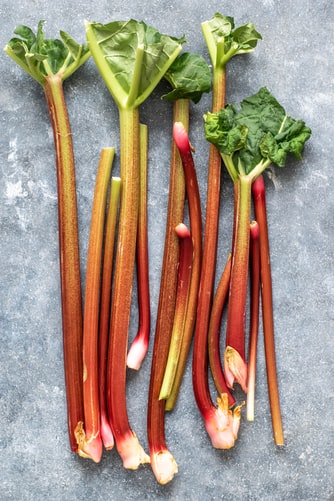
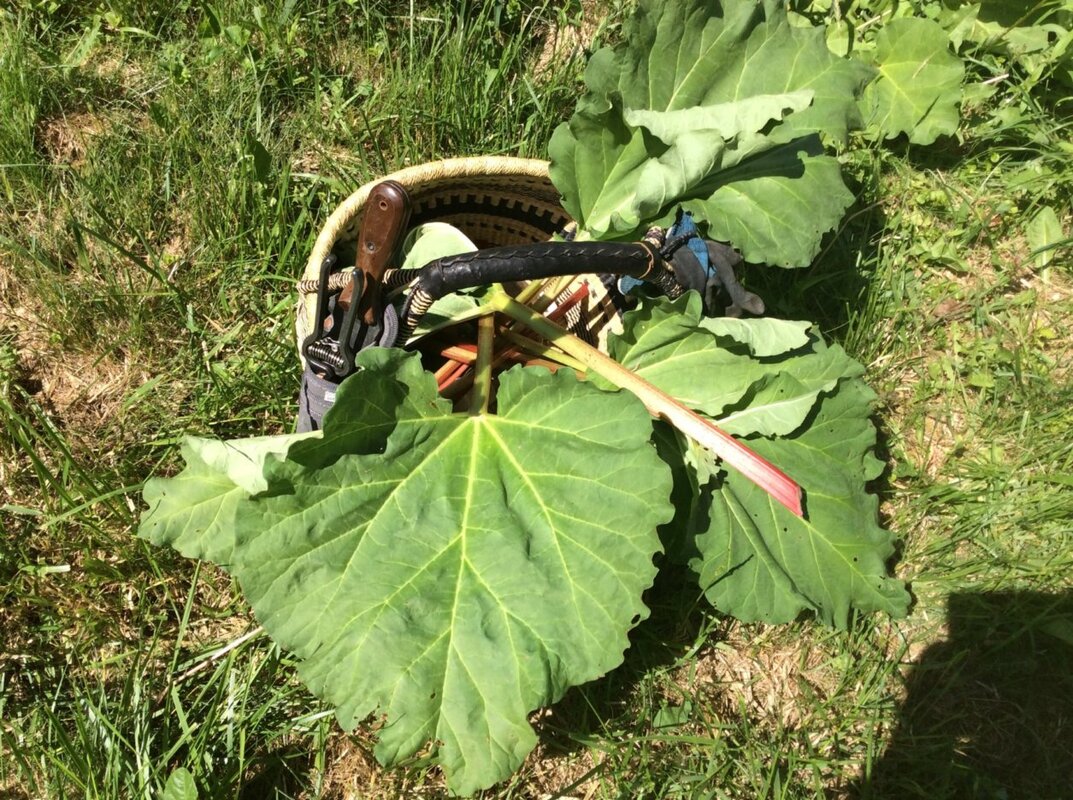
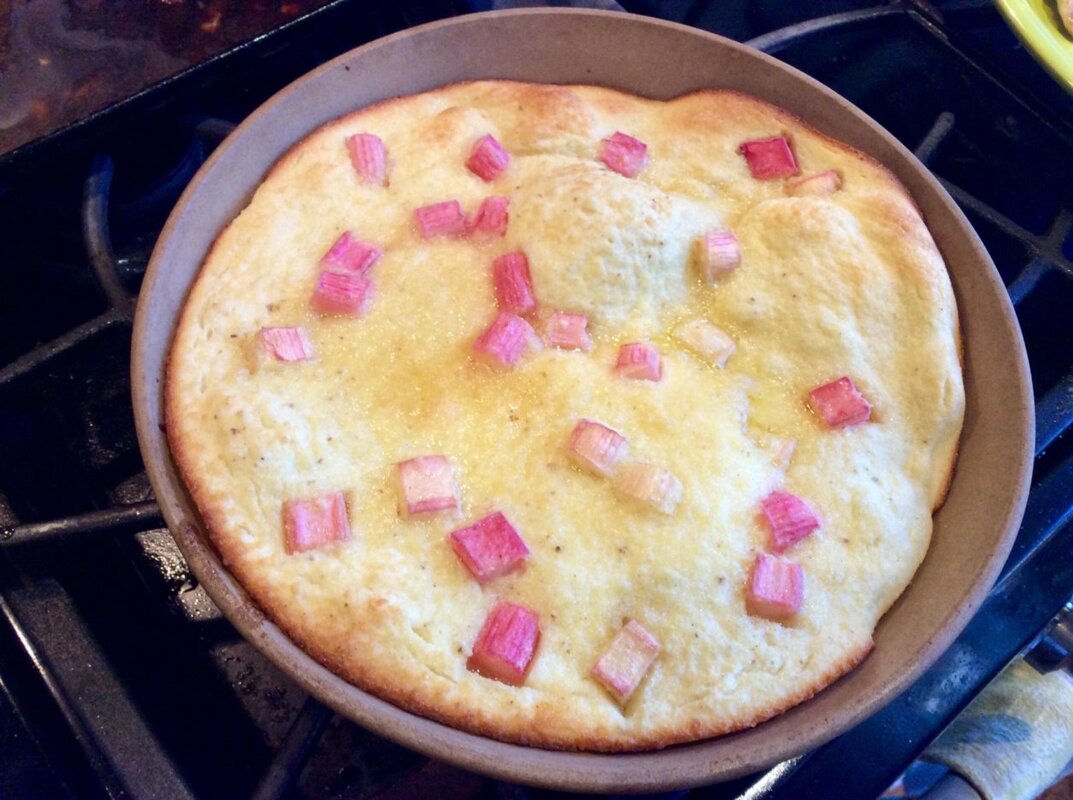
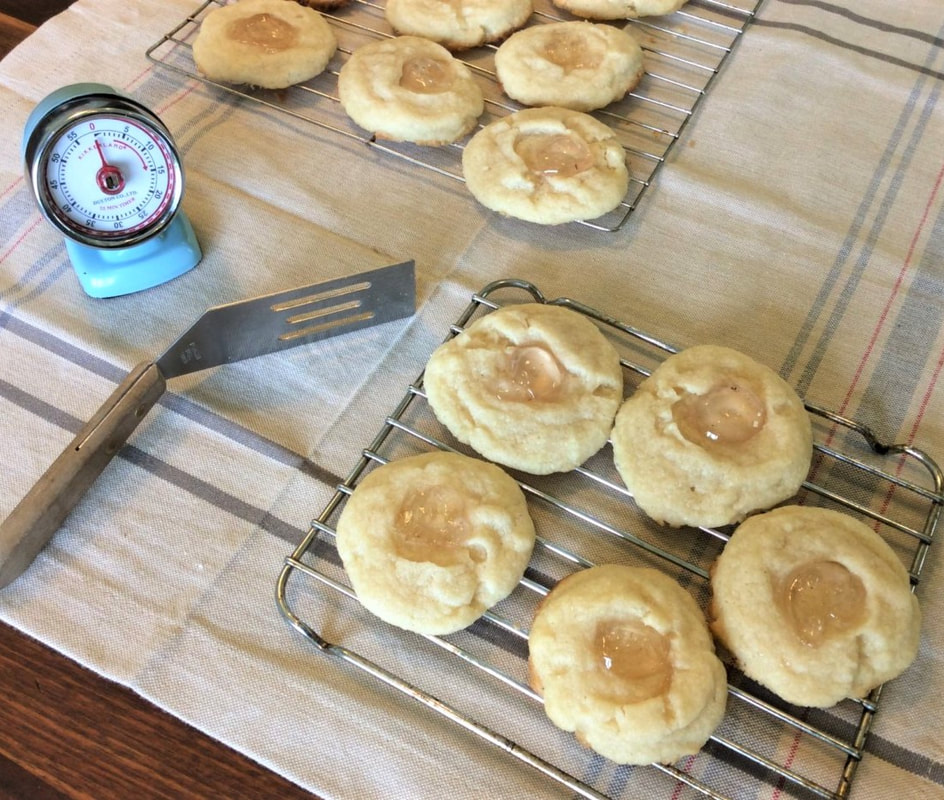
Of the many types we like to make, the rhubarb is decidedly a house-favorite! [I am certain to feature other versions of clafoutis in the future….]
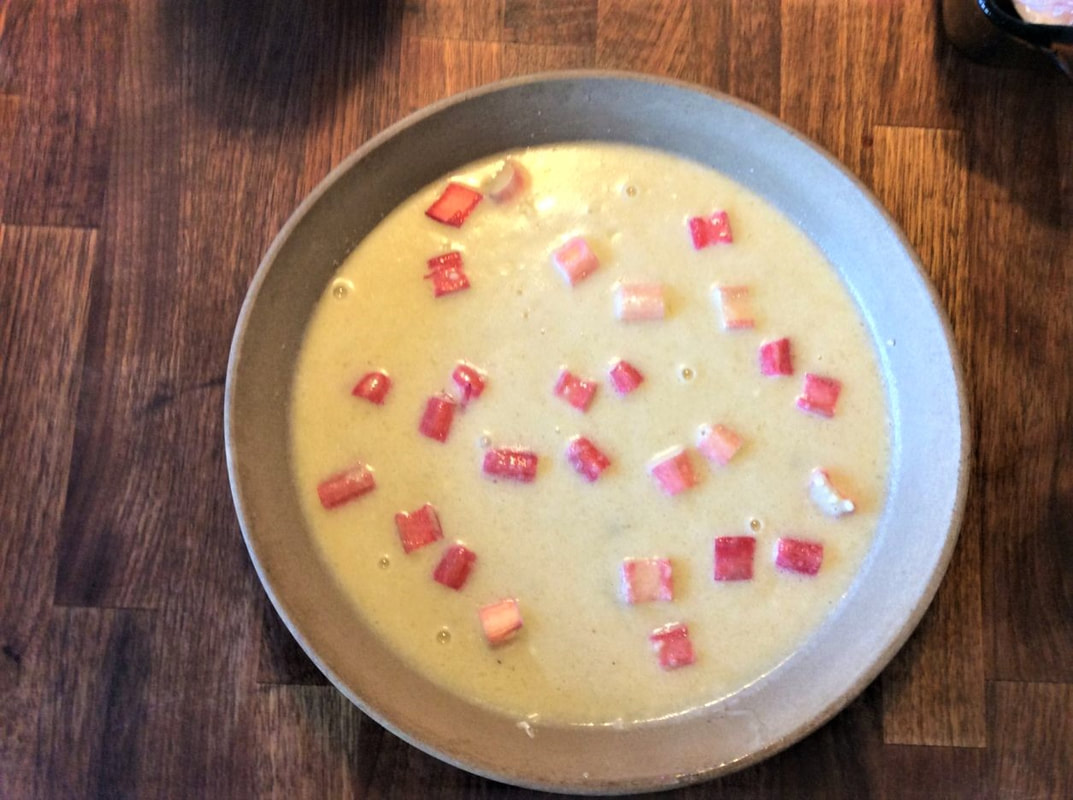
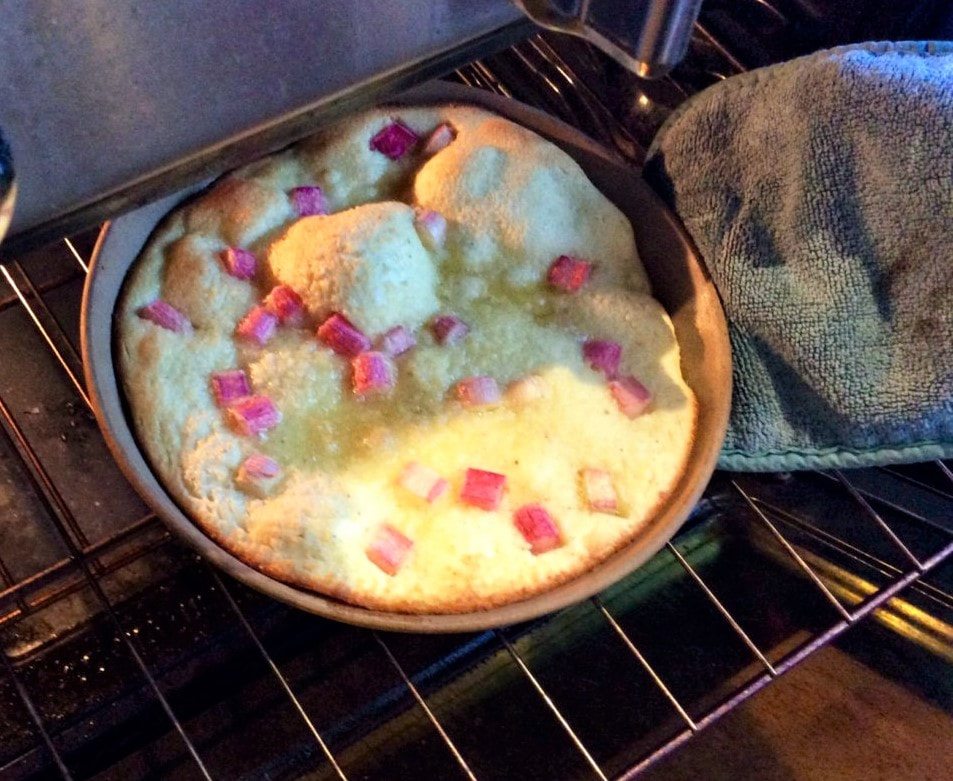
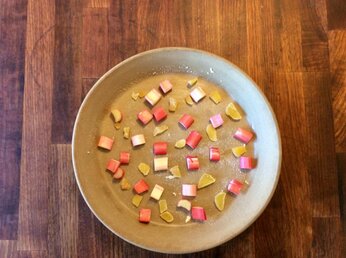 Preheat oven to 350. Prepare a pie or square baking dish: Butter & dust with sugar. Rough-chop your cleaned rhubarb & your candied ginger. Place the pieces in the prepared pan, spacing them evenly. In a mixing bowl, beat ½ cup of sugar with the eggs. Add milk, mix well. Slowly add the flour [sifting if desired,] stirring to incorporate. Stir in the Buttercup [or vanilla] baking extract & the melted butter. Pour your batter over the fruit; redistribute the pieces of rhubarb & ginger so they are evenly distributed if necessary. Bake until cooked through & a knife inserted in the center comes out clean, about 35 minutes. Sprinkle 1 TBS sugar on top & return to the oven for an additional 2 minutes. Your clafoutis will puff up beautifully as it cooks, but will settle as it is removed from the oven -- No worries though! It will still be delicious! Despite being crustless, slice it up like pie to serve. Serve it warm or cold, with vanilla ice cream if desired. Personally, I like to save a slice or two to eat cold the next morning with my tea! I hope you give this ridiculously easy recipe a try-- Clafoutis just may be your new, favorite thing! It is quick & easy to make, & I find it disappears just as fast! Truly one of the best ways to enjoy rhubarb, this recipe is just the thing to make if you find yourself with a bunch you're not sure what to do with! Do let me know if you give it a try & please share what you think! Until next time -- Take care & take time to #StopAndEatTheFlowers 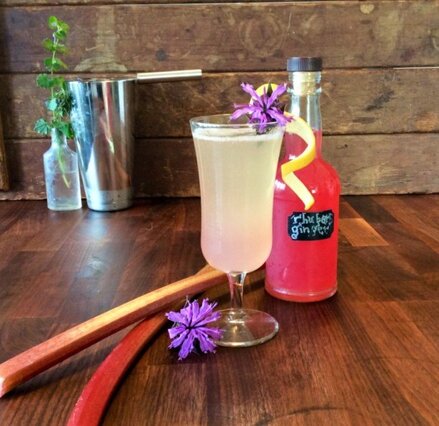 Click For The Recipe
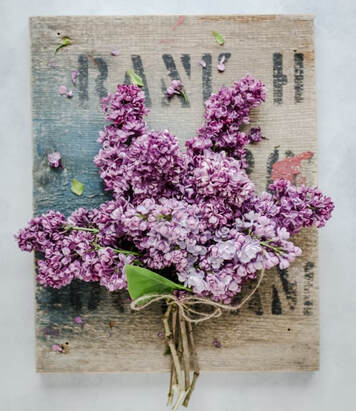
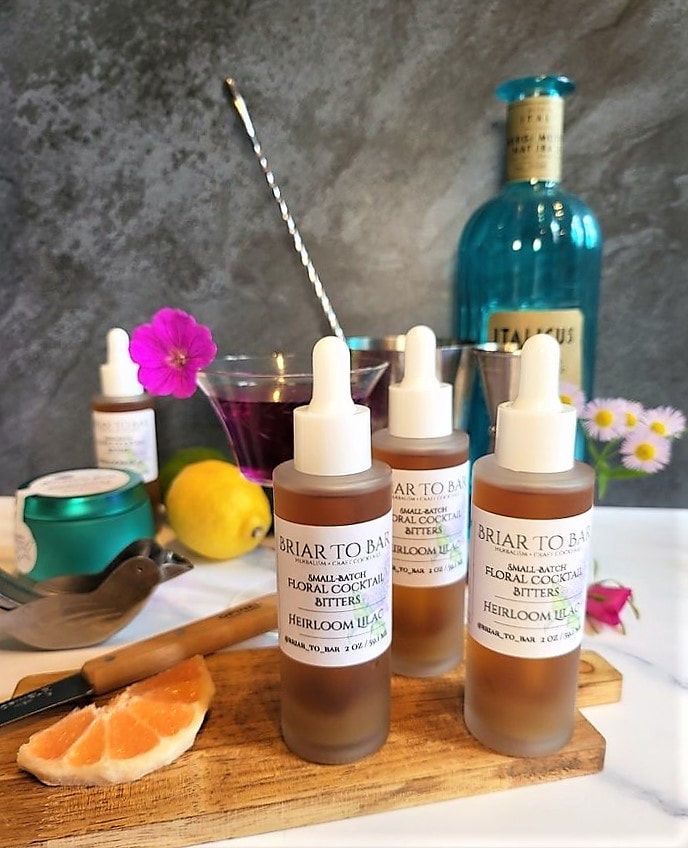
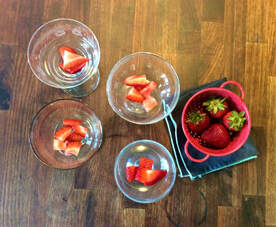
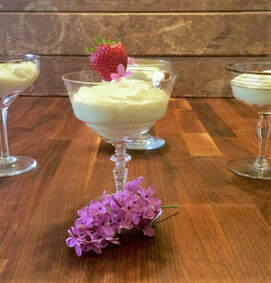
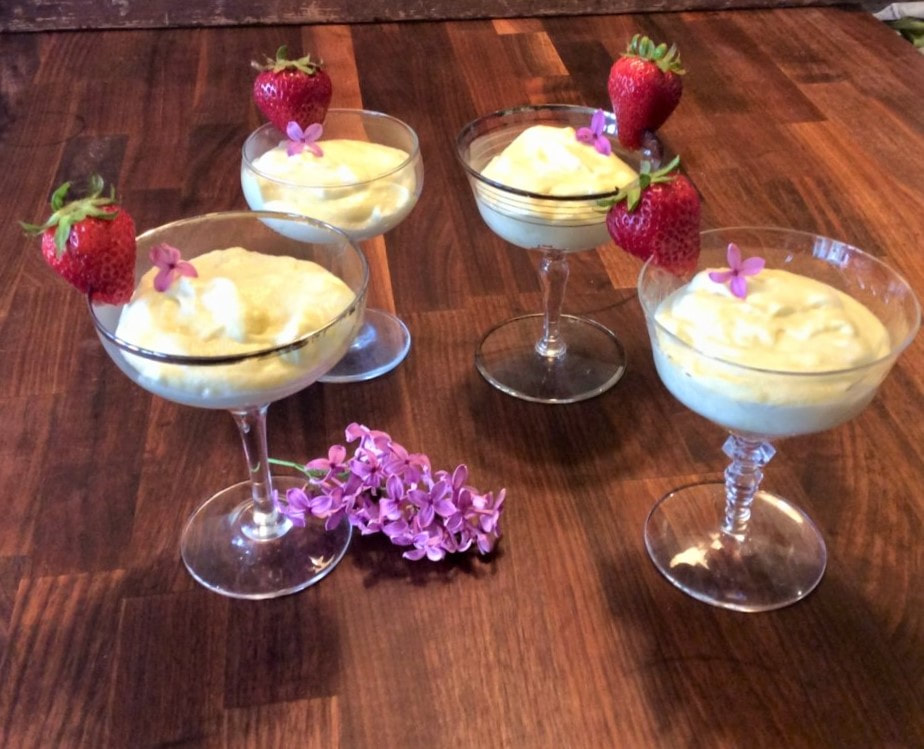
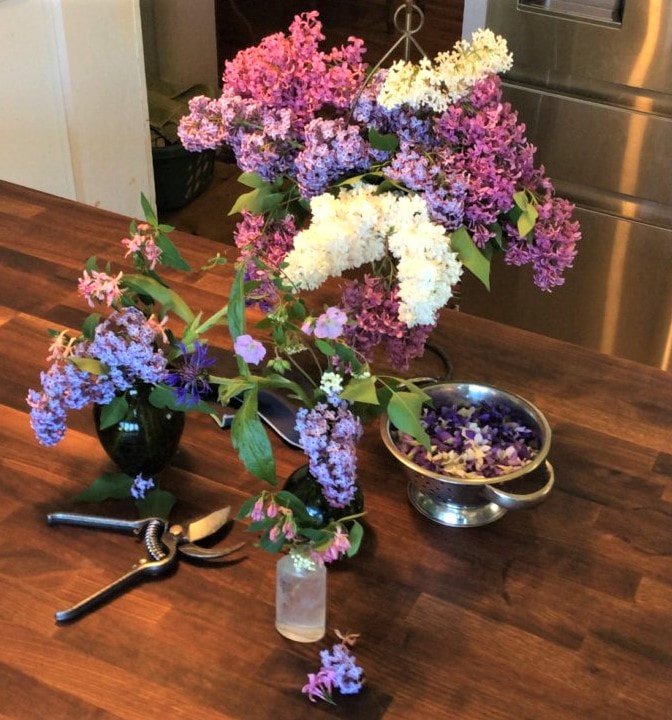
Lilac Honey Zabaglione [serves 4] 1 cup Heavy Cream 1 cup Lilac Flowers, removed from stems 4 Large Egg Yolks ½ tsp Vanilla Extract 1 tsp Almond Extract 1 ½ TSB Honey ¼ tsp Fresh Lemon Juice Pinch Coarse Sea Salt Strawberries, cleaned & sliced, a few whole for garnishes I like strawberries with mine; they compliment the honey & lilac flavors well
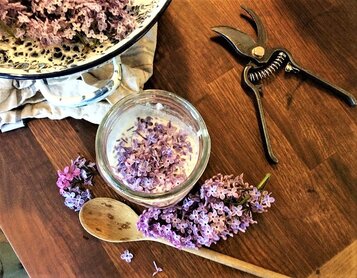
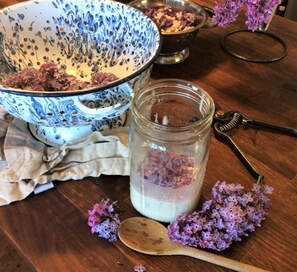
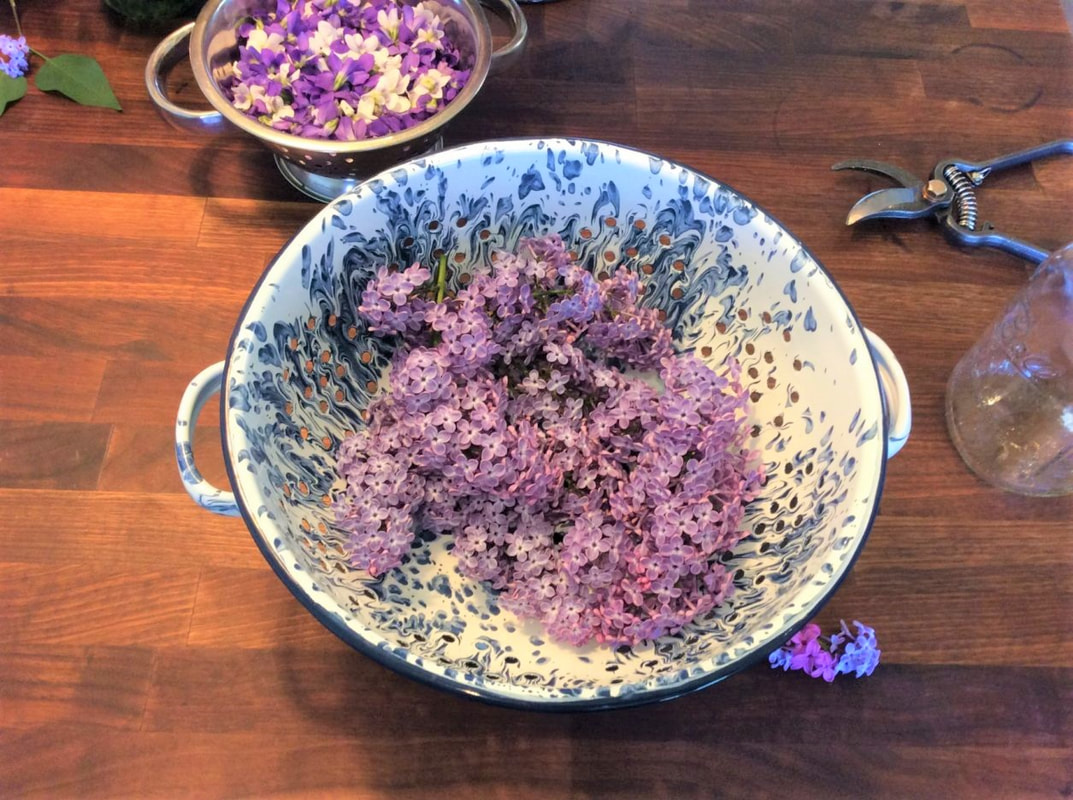
Next Day: Strain the petals off from your cream. Lilac petals can be rinsed with water & added to your compost. Your cream will now be flavored with the lilacs &, depending on the color blossoms used, it may also be a soft, pale purple. Pour your lilac-cream into the bowl of mixer with whisk attachment. Prepare your double boiler [or fashion one with a glass mixing cup or bowl & saucepan] with water on the stove. Bring water to a boil. Place the egg yolks, honey, lemon juice, & salt in the bowl over boiling water & whisk until doubled in volume, about 10 minutes. Keep it moving to avoid scrambling the eggs & it will easily double in volume. Add the baking extracts. Turn heat off.
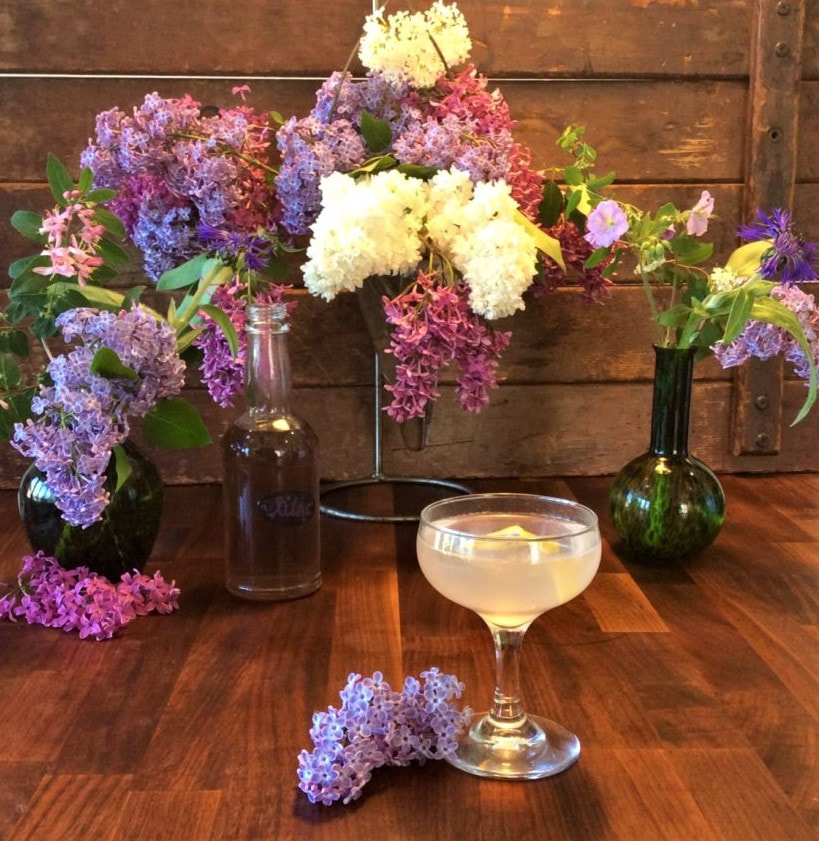
This is one of my favorite ways to use lilacs. I also love to infuse honey with them & make lilac syrup for use in drinks. This year, I just may add some to my witch hazel too--we shall see! I hope you give this recipe a try-- Please let me know what you think! Until next time -- Stay safe & take time to #StopAndEatTheFlowers
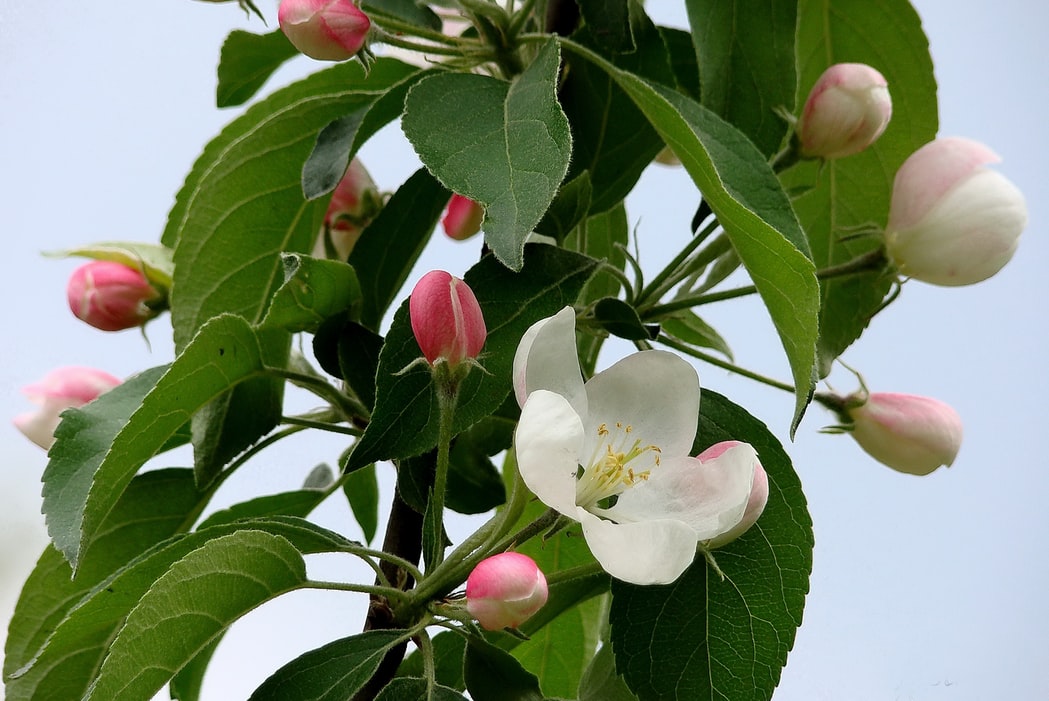
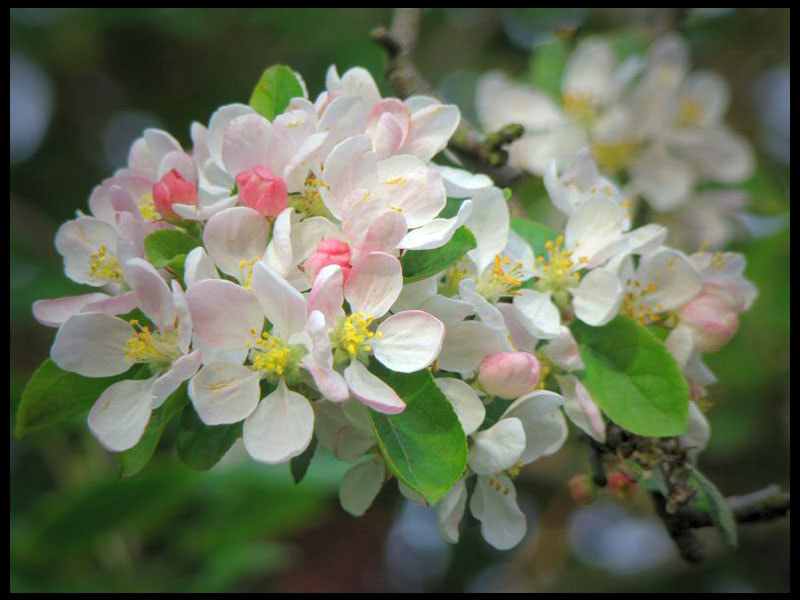
the cultivar, before the petals drop to collect any you’d like to dry or use. Here in Maine, that happens in the end of May, but full bloom can happen mid-April in more southern states like Virginia. Best to be prepared to ensure you don’t miss out of these delicacies!
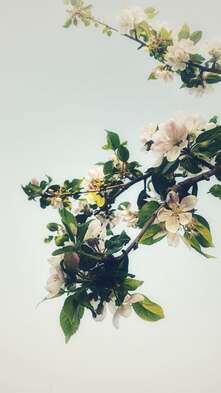
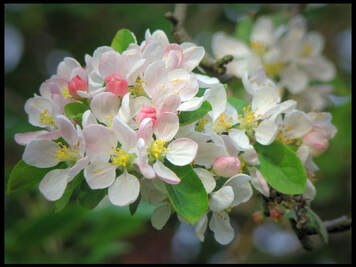
Both apple blossoms & apple leaves are wonderful in tea; this is a great way to incorporate their adaptogenic properties into your daily routine. Wilted & steeped in witch hazel, they make a fantastic facial toner & sunburn soother. The most delicious way to enjoy them though is to make some jelly with them -- Let me show you how!
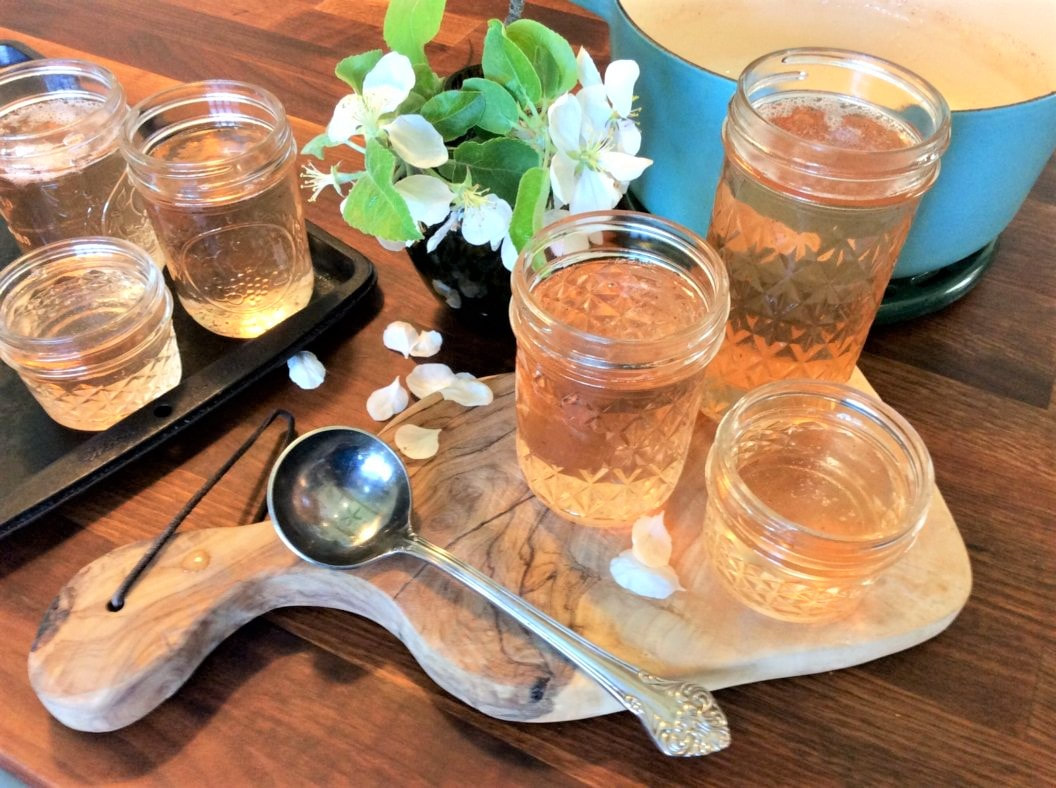
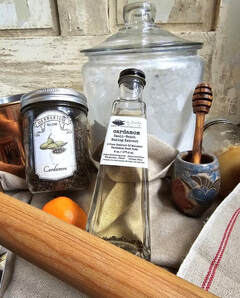
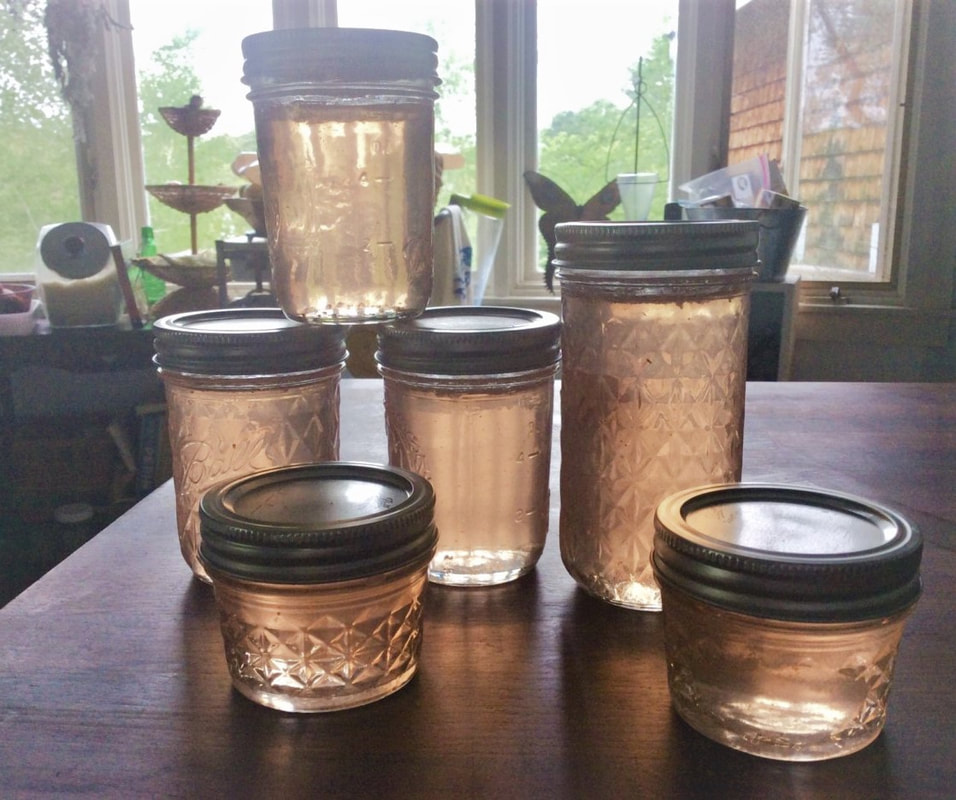
between two fingers & gently pulling toward yourself to pop it off the branch. The color of your jelly will depend on the color of your blossoms; the beautiful white & pink flowers have varying amounts of pink depending on the apple variety. Your jelly will range from pale yellow [completely white flowers] to vivid pink [darker pink flowers.] Our ancient apple tree gives us mostly white flowers with a fair bit of pink that creates the palest, most stunning colored jelly I have ever seen. The color is impossible to capture in pictures. It is breathtaking and just as delicious as it is beautiful. We like to take the flavor up a notch by adding cardamom to our batches-- It compliments the sweet, softly floral flavor of the jelly perfectly. Cardamom Apple Blossom Jelly
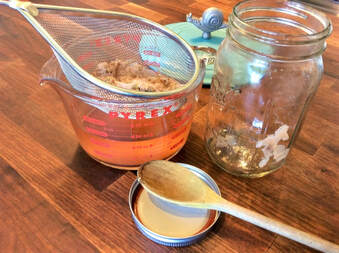
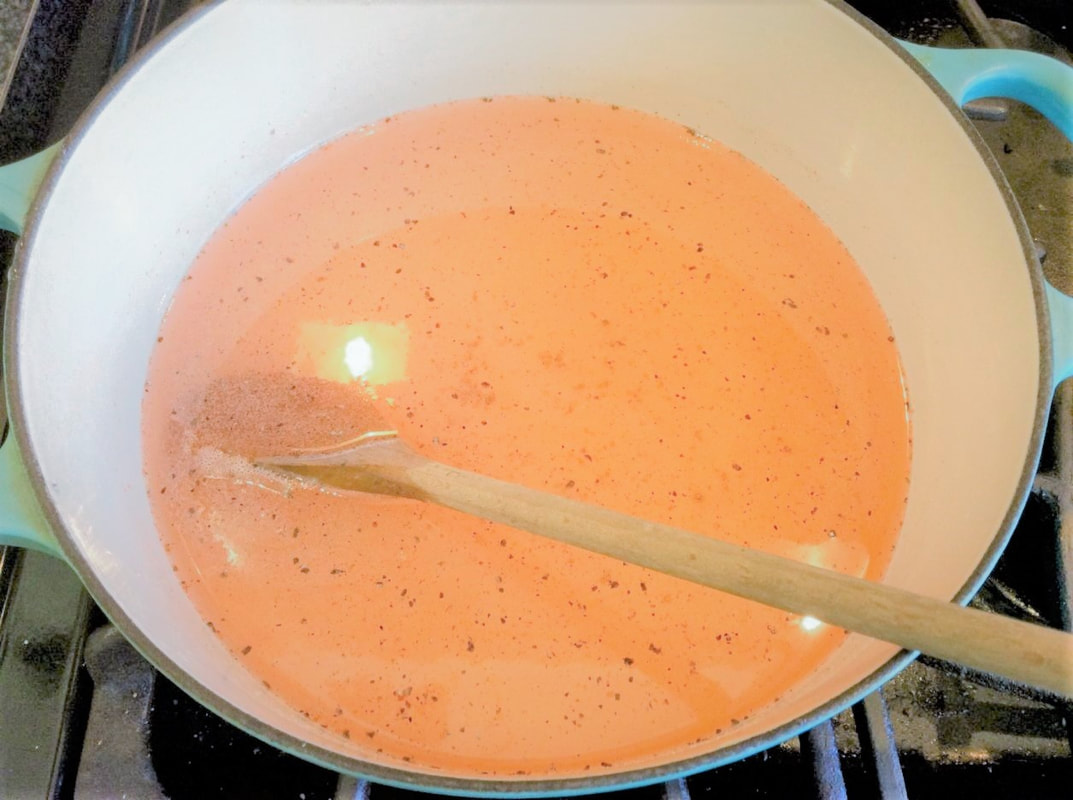
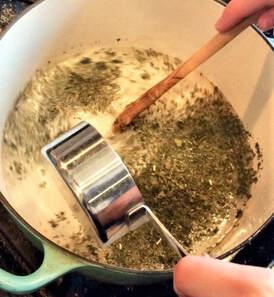
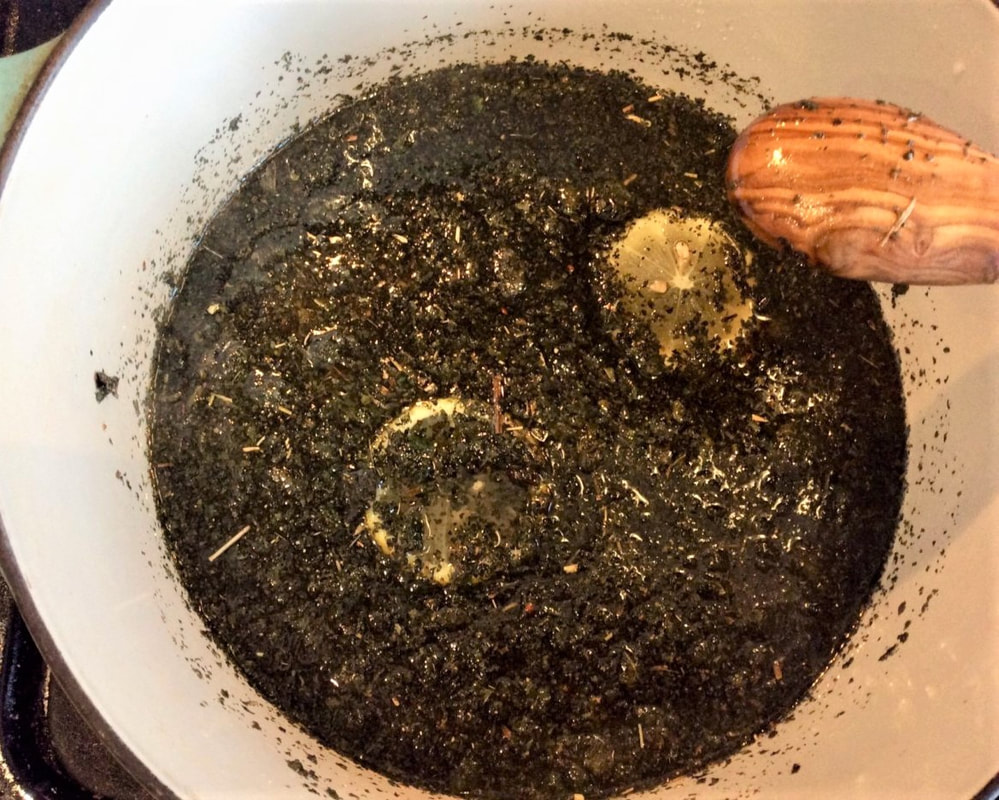
large pot on the stove & bring to a full boil. Reduce heat & simmer for about 15 minutes. Pour your infusion into a large jar, allowing it to steep. For best flavor, I let it steep overnight. The steeping petals resemble gari [ginger] as they float in your infusion-- So pretty.
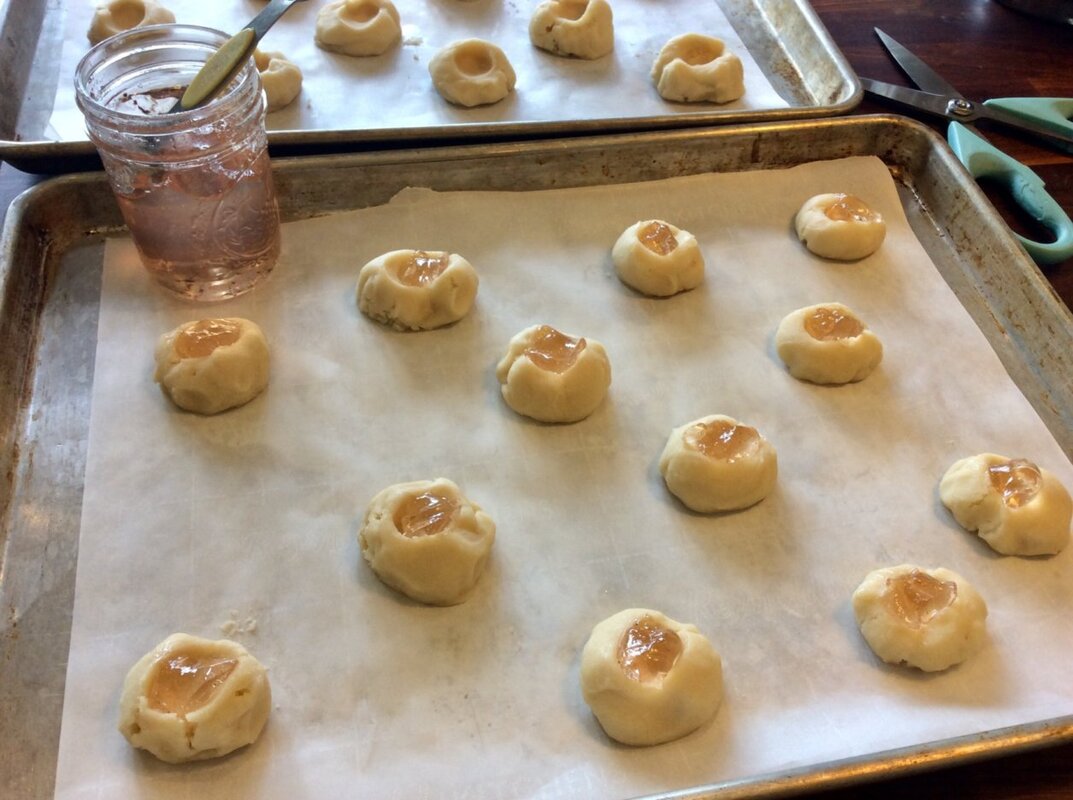
flavor bombs in ours--you can use finely ground if you prefer. The rough is quite visible in the resultant jelly as you can see. Bring to a full, rolling boil, stirring to prevent scorching.Keep at a rolling boil for a full minute, then add your pectin, stirring to incorporate, & bring the batch back to a rolling boil. Boil your jelly for 2-10 minutes until it is glossy & thick. Ladle into prepared jars & set aside to cool completely -- And there you have it! You can either keep your jars in the fridge or process them in a water canning bath for the proper time for your elevation. 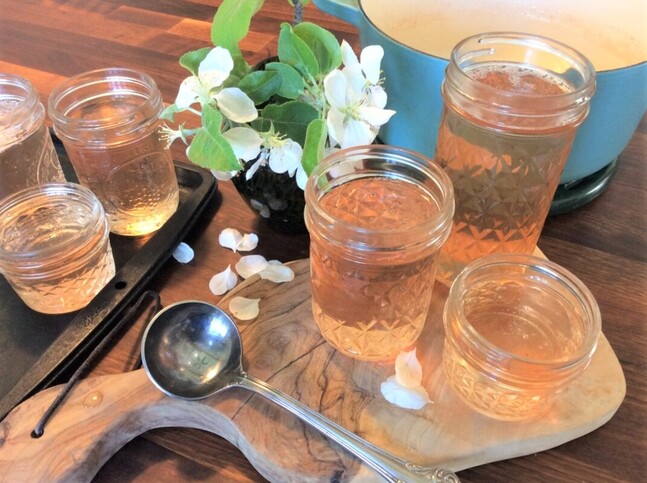 Prepare yourself--This jelly is absolutely AMAZING! Wonderful on toast, or crusty bread with some chevre. It is also my favorite for filling thumbprint cookies -- With almonds & apples coming from the same family, it isn’t surprising how well their flavors play together & these cookies really show off how gorgeous this jelly is! Here is my recipe for them: Almond Shortbread Thumbprint Cookies With Apple Blossom Jelly 1 c Unsalted Butter, softened 2/3 c Sugar 1 TBS Vanilla Exctract* ½ tsp Almond Extract* [*or just 1 ½ TBS Buttercup extract] 1 ½ c All-Purpose Flour ½ c Almond Flour Apple Blossom Jelly Note: This is a very soft dough & it must be refrigerated for at least 3 hours prior to baking.
Okay--that is all for this round! Don't miss the extremely short window of opportunity to try these recipes. Hopefully, I got this out in plenty of time for you to plan for harvesting apple blossoms this season. It really is worth the fuss! I do hope you enjoy these recipes -- Let me know how it turns out for you & share pictures! I love to see all the different shades of jelly nature produces! Until next time--Stay safe & #StopAndEatTheFlowers
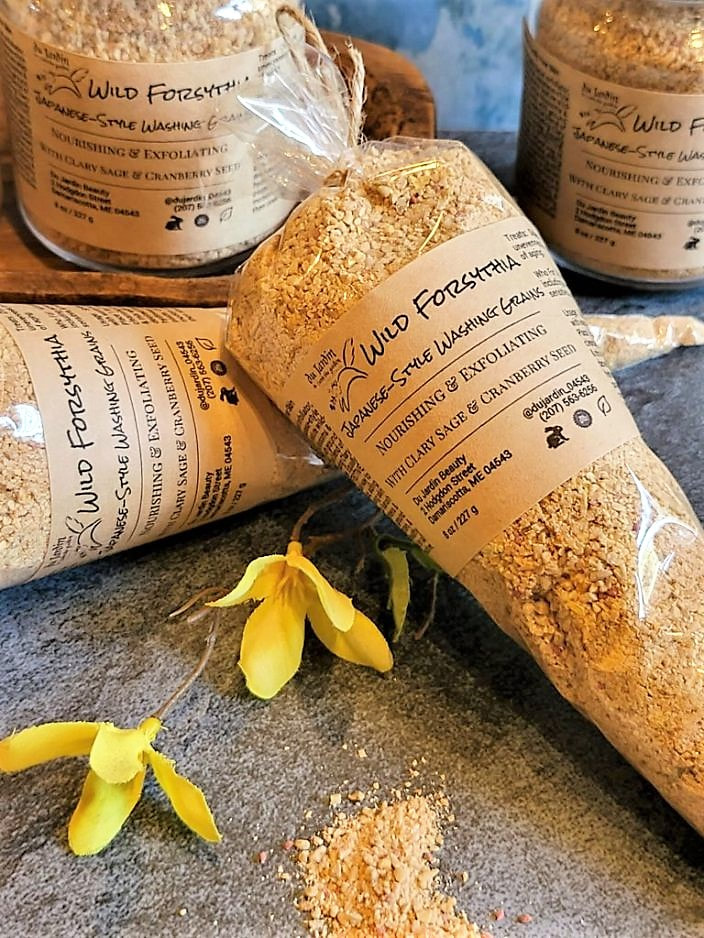
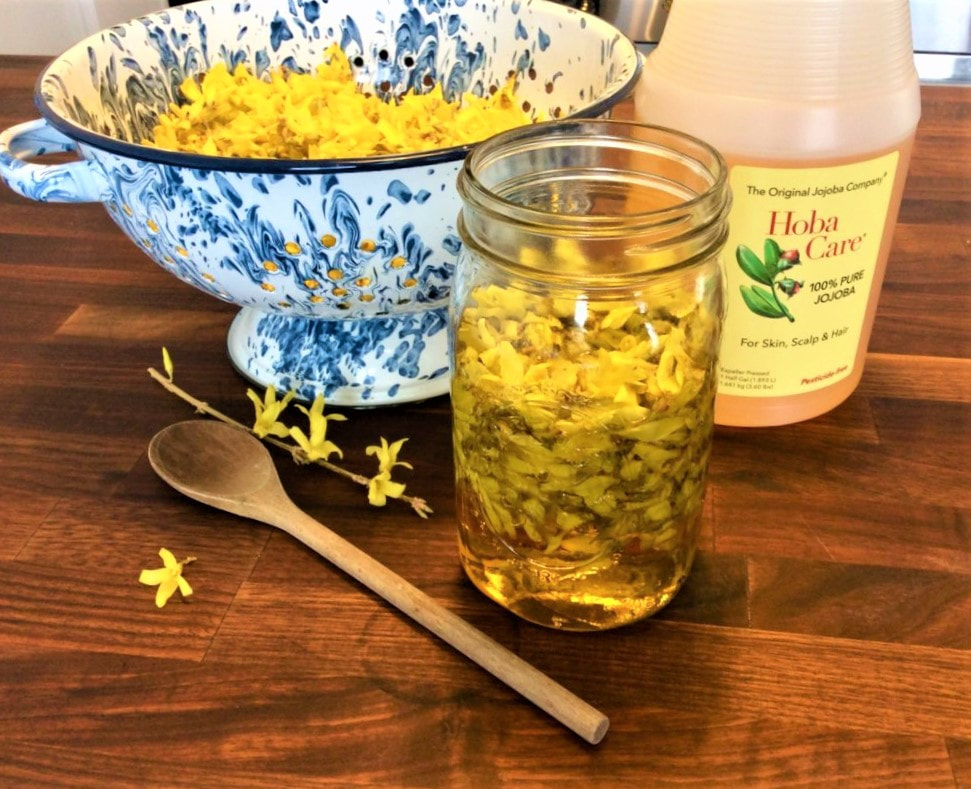
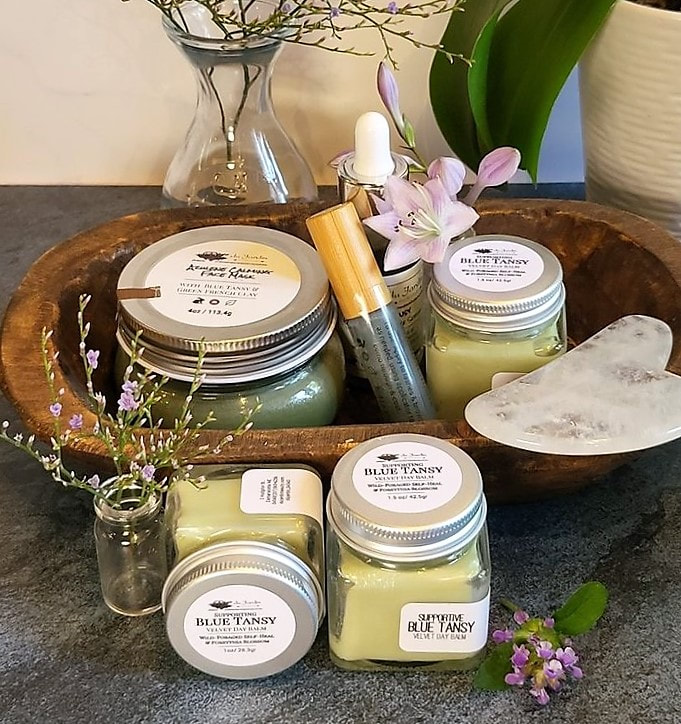
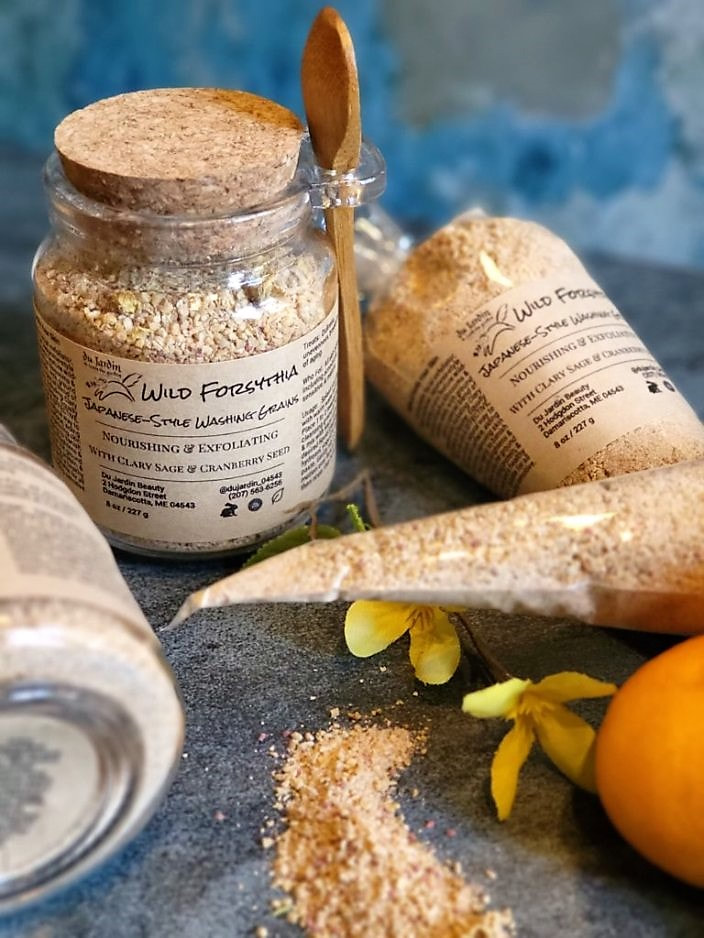
explore our forsythia skincare products
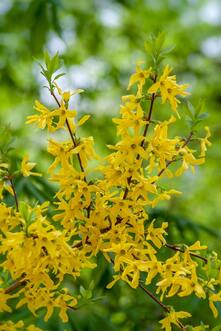
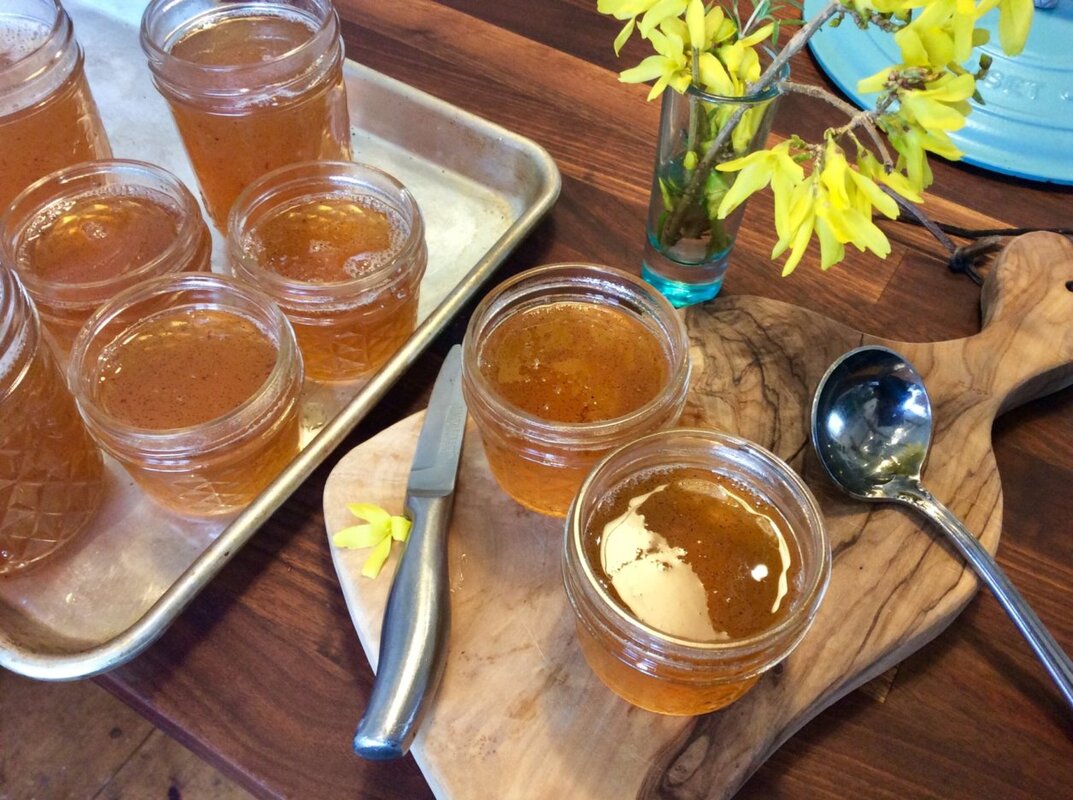
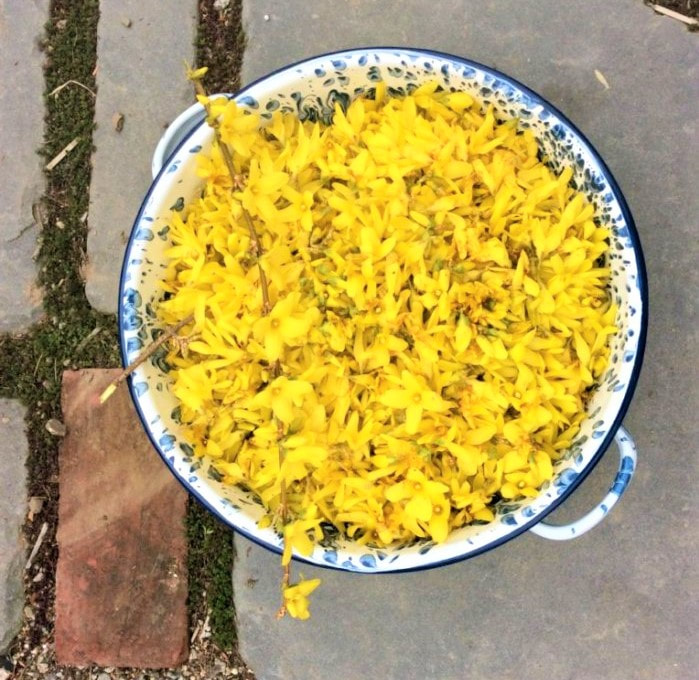
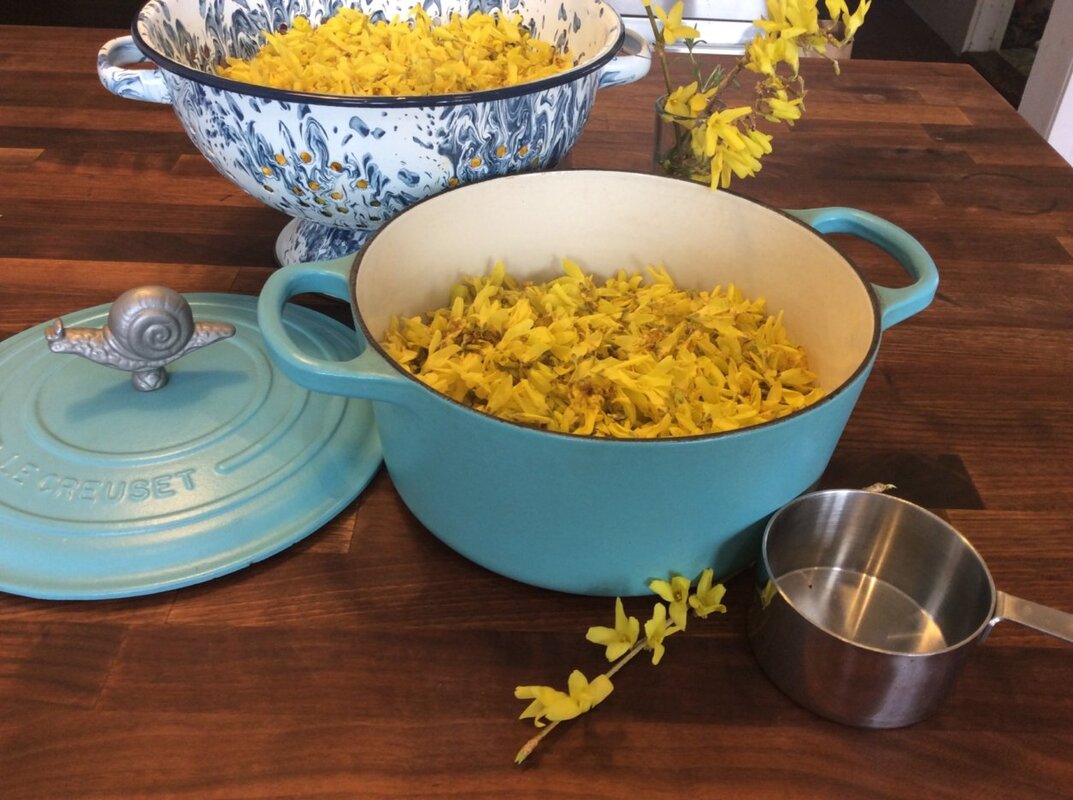
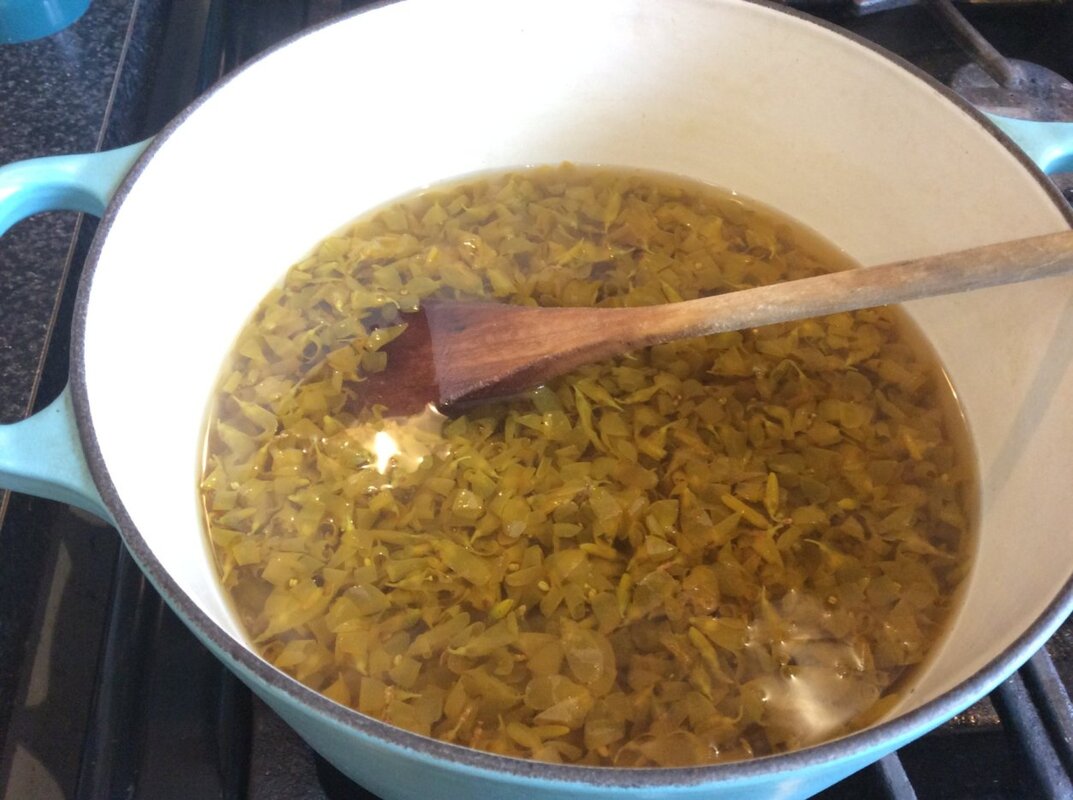
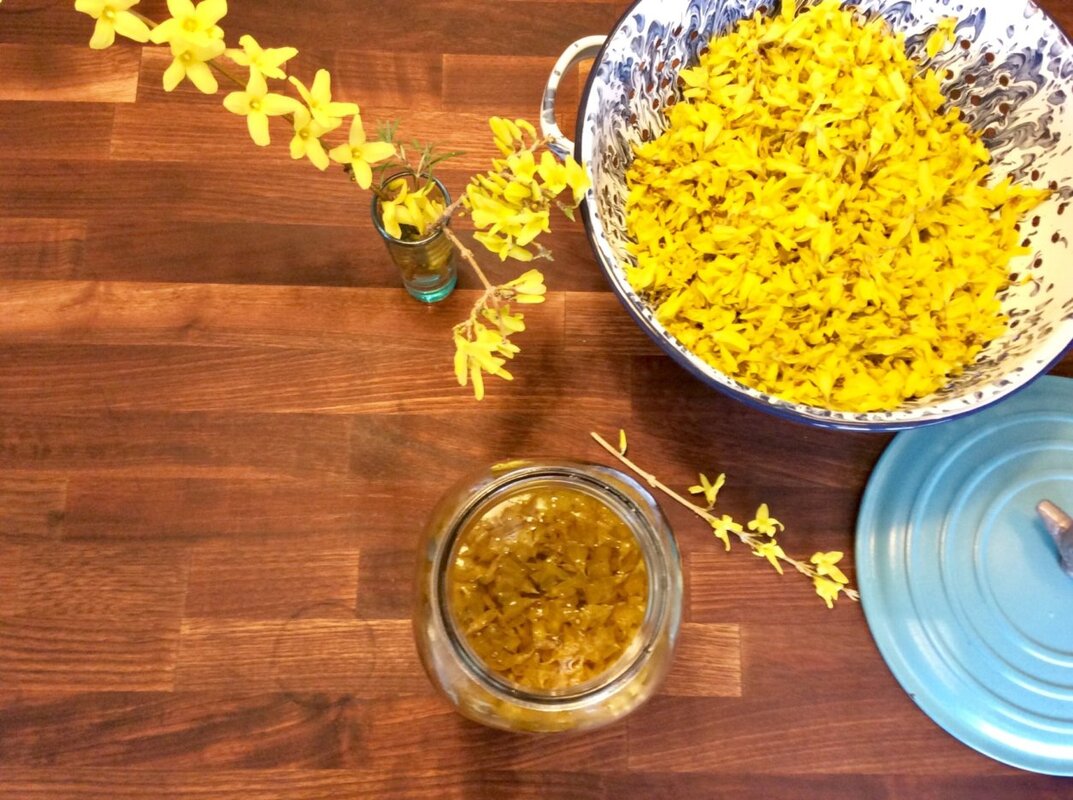
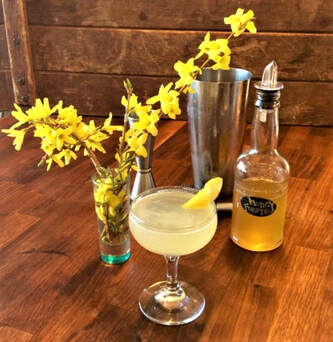
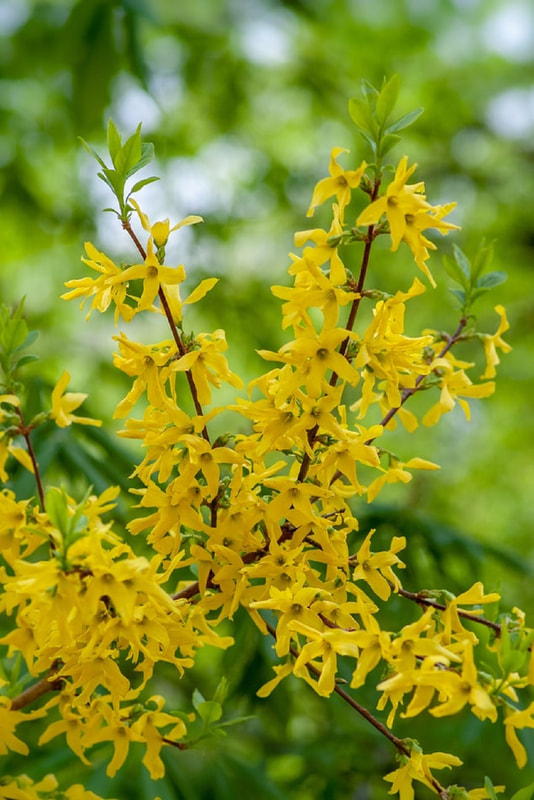
Forsythia Syrup 1- 1 ½ cups fresh forsythia blossoms 1 cup spring water 1 cup pure honey [*for raw honey, see note at end of recipe] Sort your blossoms, taking care to remove any hitchhiking bugs; there is no need to remove their green bases, but some people do. Removing the bases will enhance the floral aspect of your syrup’s flavor, while leaving them gives a more herbaceous/floral combination that I enjoy. Add your forsythia & water to a pot; bring to a full boil, stirring occasionally. You'll notice the flowers begin to darken & lose their color to the liquid. Boil for 3-5 minutes, then turn your heat down to simmer & add the honey, stirring to dissolve & incorporate. Once fully dissolved, remove the pot from heat & strain out the spent blossoms with a fine strainer or cheesecloth. You can compost or toss the forsythia. *IF USING RAW HONEY: to protect the beneficial qualities of raw honey, remove your forsythia tea from heat & strain out the blossoms, allowing the tea to cool a bit BEFORE stirring in your honey. It’s a bit harder to incorporate, but still gives you a lovely syrup, while protecting the raw-honey benefits that would be damaged by heat. Allow to cool completely & pour into a sterile bottle for storing. This syrup will keep for 3 weeks or so in the refrigerator. Try it over pancakes or vanilla ice cream for a real treat! Add a spoonful to a cup of Earl Grey tea or add a splash to homemade lemonade. Or use it is cocktails, like this one: Forsythia Bees Knees 2 oz Gin ¾ oz Fresh Squeezed Lemon Juice ½ - ¾ oz Forsythia Honey syrup Lemon Peel Twist for Garnish
That’s it for this post. I hope you give these recipes a go -- they are so easy to make & so very tasty! Forsythia’s bright flavor is the perfect way to Welcome Spring. Until next time--Stay safe & remember to #StopAndEatTheFlowers
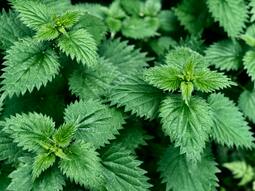
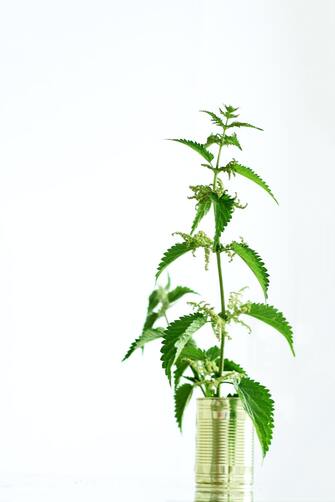
find nettles in these popular products:
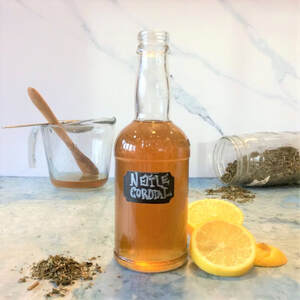
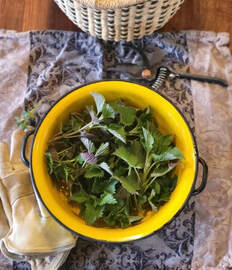
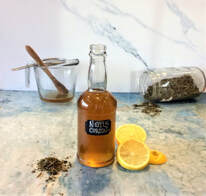
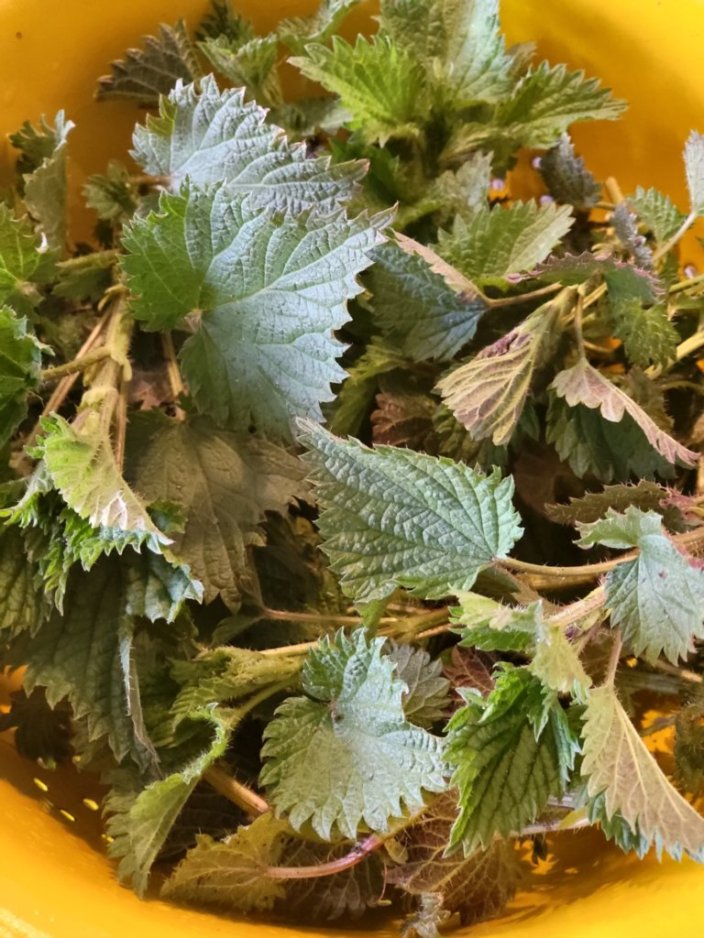
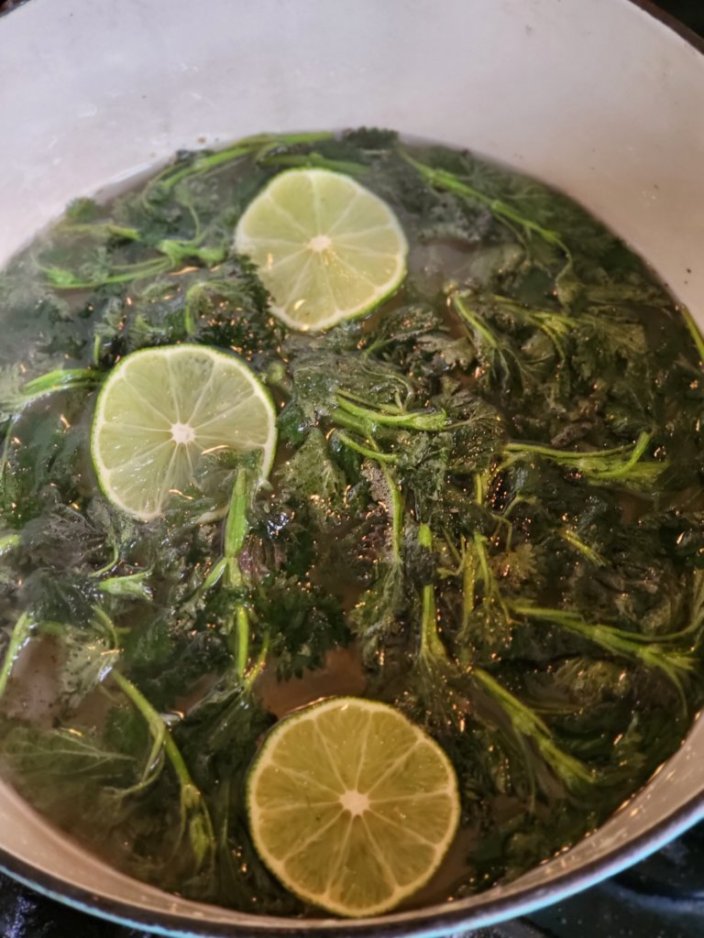
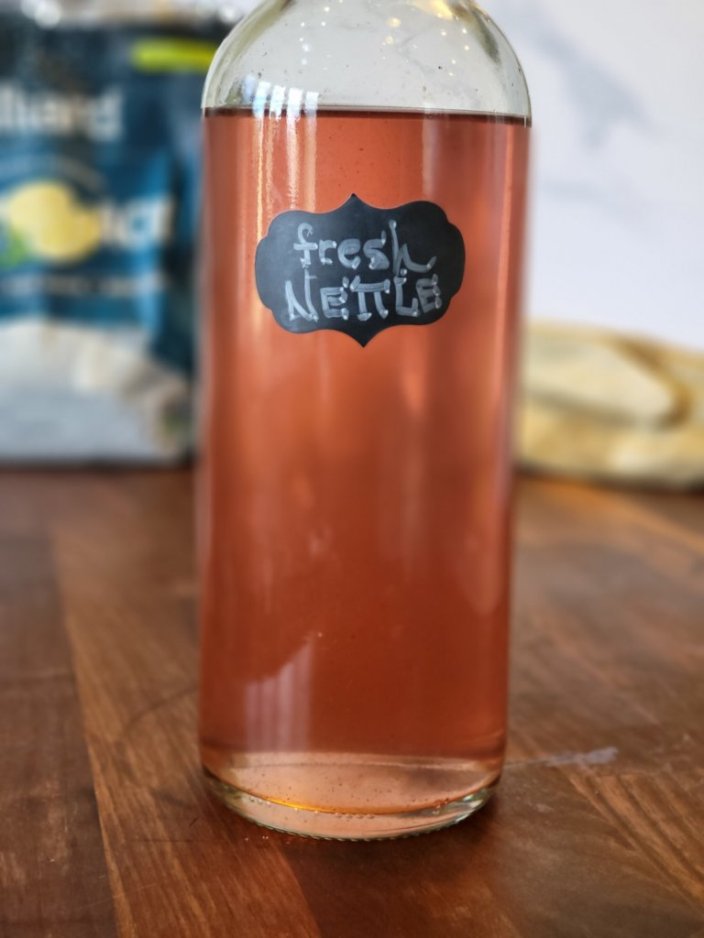
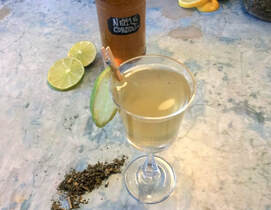
Another delicious way to reap these benefits is in using nettle to make syrups & cordials. You will find them to have an absolutely delicious & completely unique flavor when used this way. The flavor is quite impossible to describe-- rather vegetal & green with strong apricot-peach notes. It’s AMAZING! Its adaptogenic properties make it a natural for relaxing, end-of-day drinks, both with or without alcohol. Fresh or dried nettle can be used, with fresh cordials often turning a pinkish shade [similar to how Queen Anne’s Lace turns color.] I like it best as a British-style, non-alcoholic cordial [similar to an herbal syrup with citric acid added] & will share my recipe for that here, as well as Zero-Alcohol & Craft-Cocktail recipes made using it. 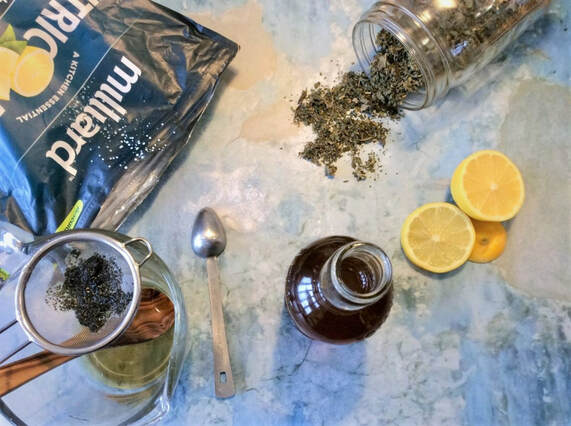 Gather your ingredients and let's do this! Nettle Cordial [non-alcoholic cordial]
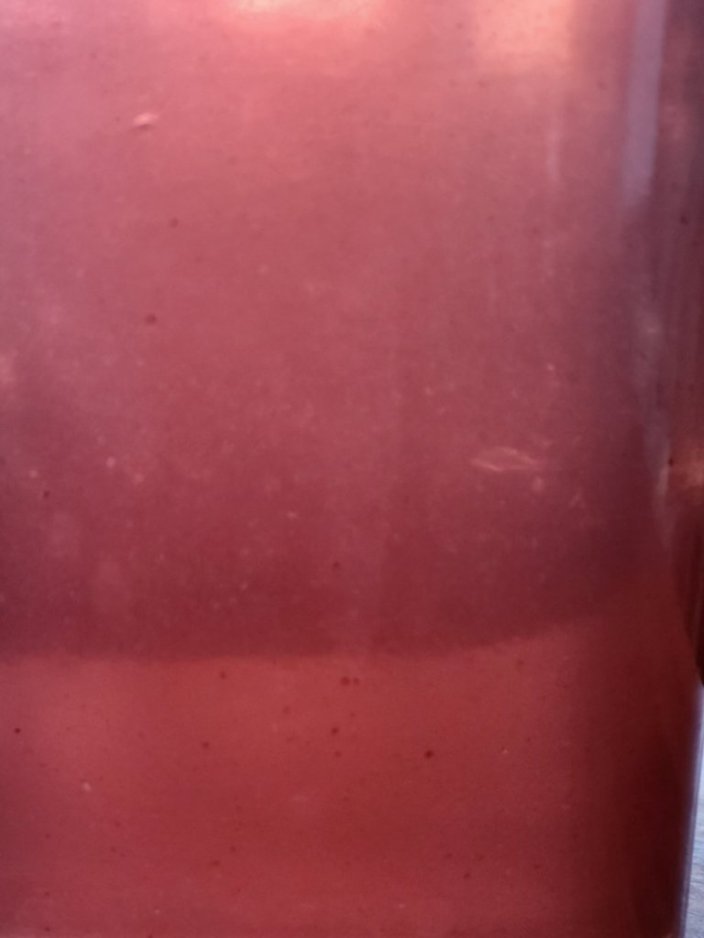
Now that we have our cordial-- Let's make some tasy drinks with it!When using fresh instead of dried nettles, your cordial will be a stunning pale pink color like this! Sparkling Prick Cocktail 2 oz Gin ½ fresh lime juice 1 oz nettle cordial Splash soda water
Nettle Refresher [Zero-Proof] 2 dashes Bitter Housewife Grapefruit Bitters 1 oz nettle cordial Lime wedge Soda water or sparkling water
That is it for this week! I hope you enjoy these recipes & get some use of them. Nettles are a really wonderful herb to add to your diet, even simply enjoying them in tea.
They are loaded with flavor & amazing benefits. Scoop them up in premade teas like we offer or dried at herb houses if you aren’t feeling brave enough to harvest them yourself -- just don’t pass them over for fear of a sting or you will truly miss out! Take care until next time -- & don’t forget to #StopAndEatTheFlowers
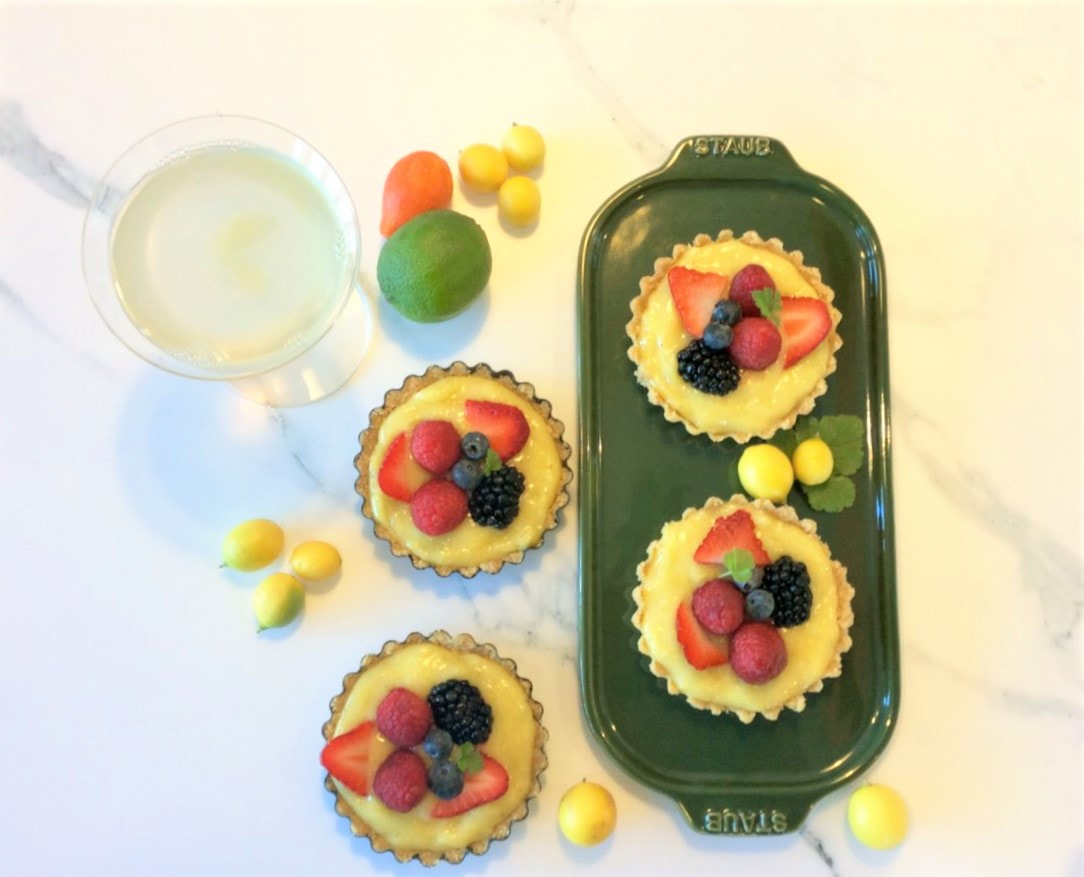
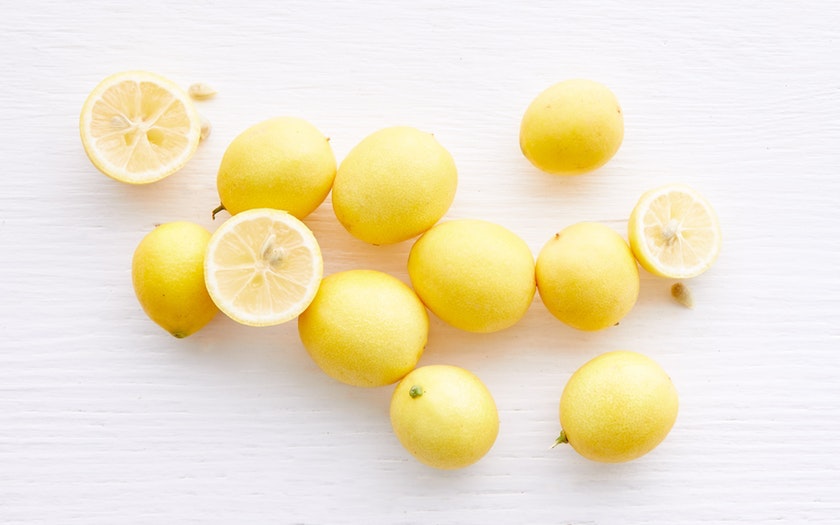
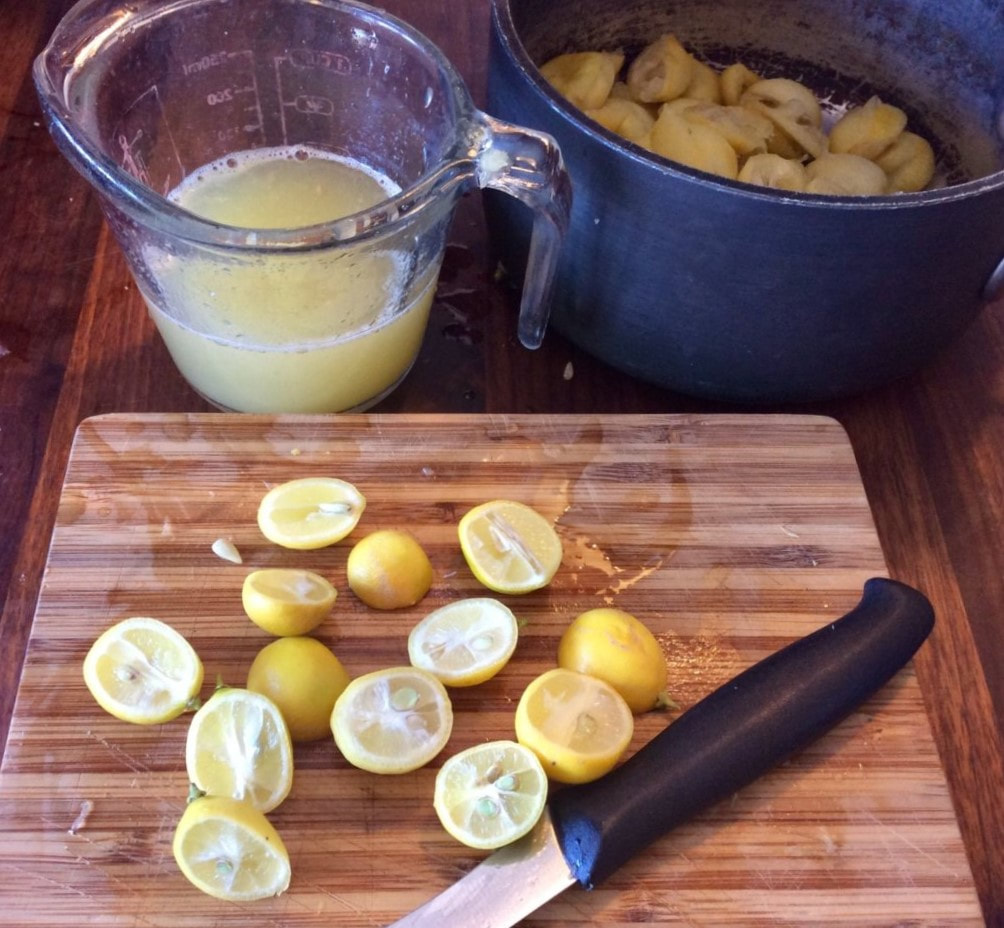
They are entirely edible like kumquats--seeds, peel, & all. [Most people find the seeds to be bitter & discard them] They are loaded with Vitamin C & folic acid, & have wide use applications. They can be eaten raw or cooked & work well in savory & sweet dishes & drinks, as do most citrus fruits. In our home it is a scramble to secure as many as we can each Winter & preserve a bunch to extend the season for our family. I make marmalade, curd, & syrups, being sure to freeze quite a bit in an attempt to last us the year. You can usually find them with the other Winter Citrus in specialty markets & maybe even your local Whole Foods -- We are very lucky indeed to be able to source them at our local Co-Op, Rising Tide.
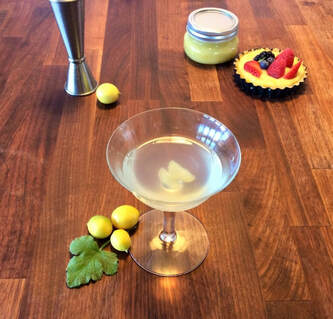
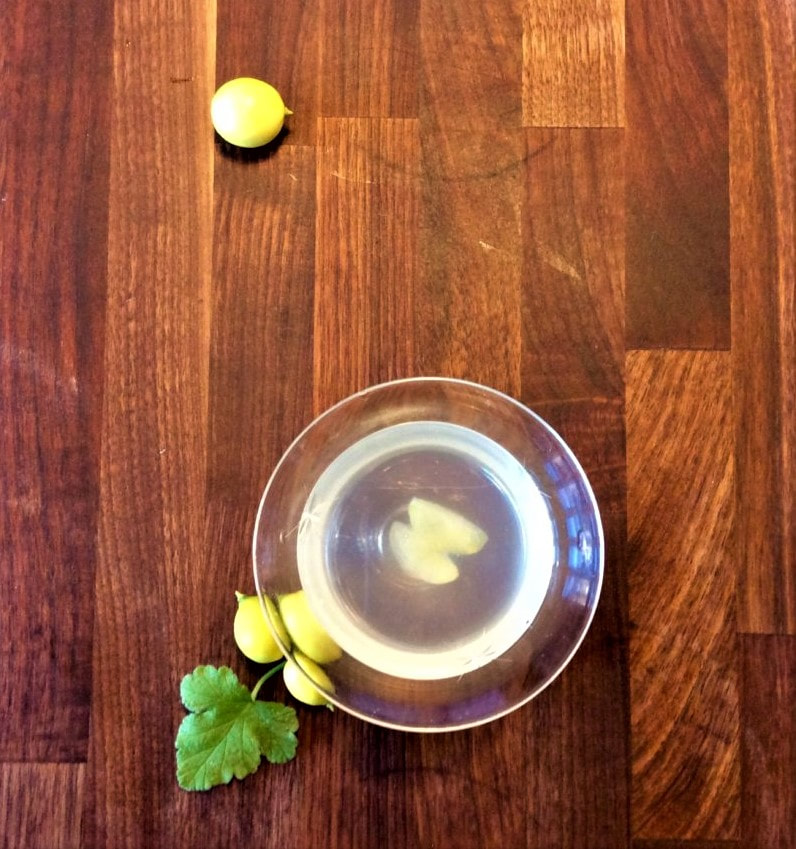
handful in half & squeeze the juice in, AND add the halves as well to 1:1 water & sweetener. This method really makes the most of their amazing flavor. Once you strain off your syrup, simply pick out the seeds & let the fruit pieces cool-- then enjoy candied limequats on salads or as cocktail garnishes! Limequat syrup plays well with gin, tequila, & vodka, & it is particularly thirst-quenching in bubbly soda water as well for a simple, exotic homemade soda.
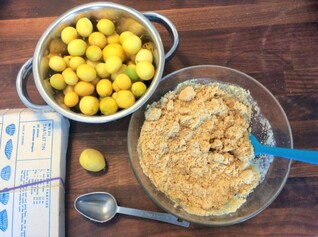
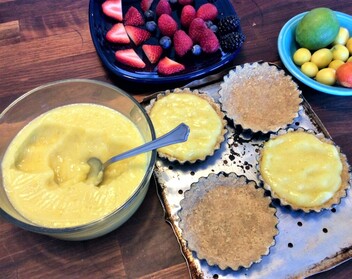
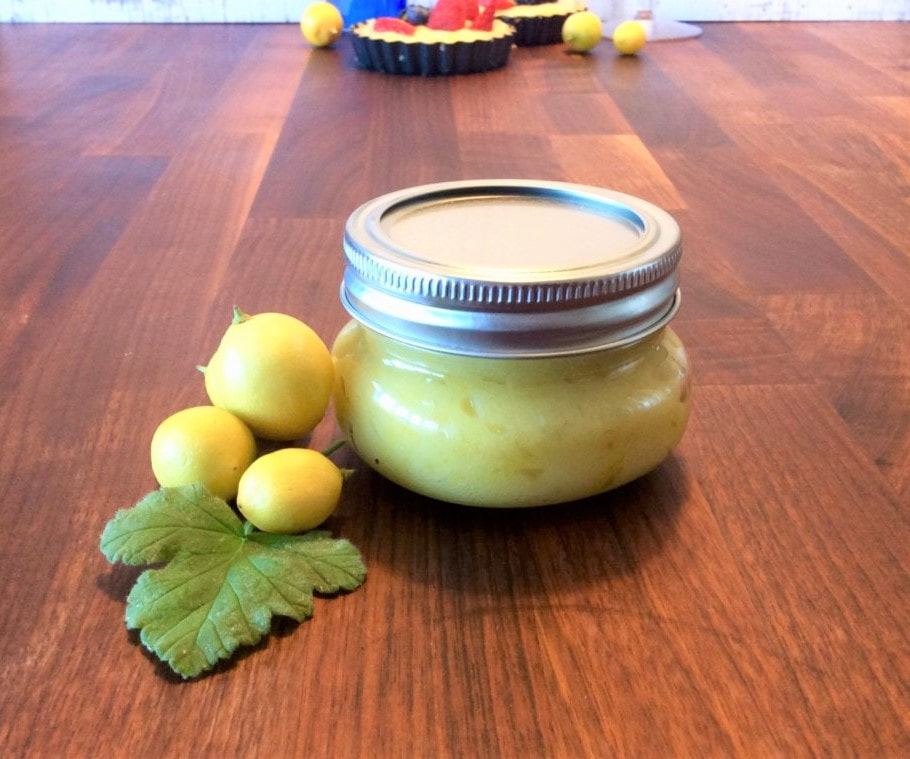
the curd is the way to go if you plan to only make one limequat recipe. Enjoy it on scones & toast [with or without clotted cream] or use it to fill tarts with my super quick [CHEAT!] sablée crust. You’ll be so glad you did! Here’s how: Super Easy, No-Bake Sablée Crust for Tarts 10 oz Shortbread Cookies 6 TBS Unsalted Butter, melted 2 TBS Light Brown Sugar 1 TBS Refined Sugar
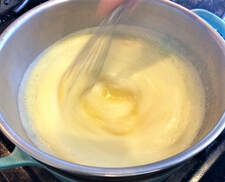
Refrigerate for at least 10 minutes before filling & you are all set! Seriously, no blind baking, no pie weights. You are good to go. This is enough to make a nice, thick crust for a large 9” tart or many smaller tartlets. Now on to the CURD! Limequat Curd 3 Large Eggs 1 cup Sugar ⅔ cups Limequat Juice* 2 TBS Limequat Zest* 4 TBS Unsalted Butter, small diced & chilled Pinch Sea Salt * Feel free to add some regular lime juice &/or kumquat juice if you don't have enough limequats. For the zest, I highly recommend mixing in a little lime & kumquat zest with your limequats as the blend of yellow, green & orange is very pretty in the finished curd.
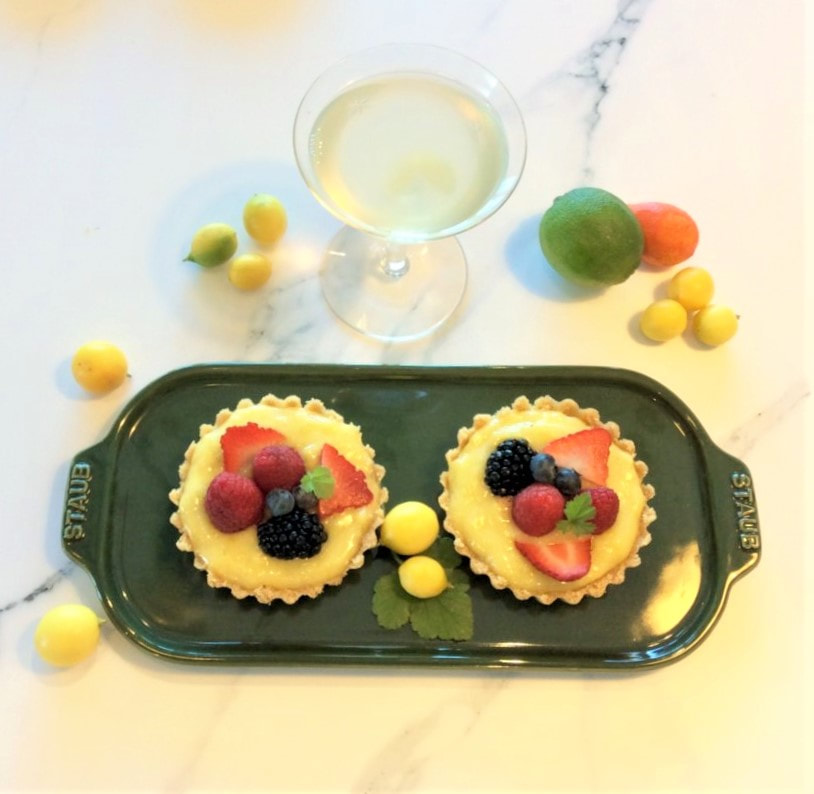
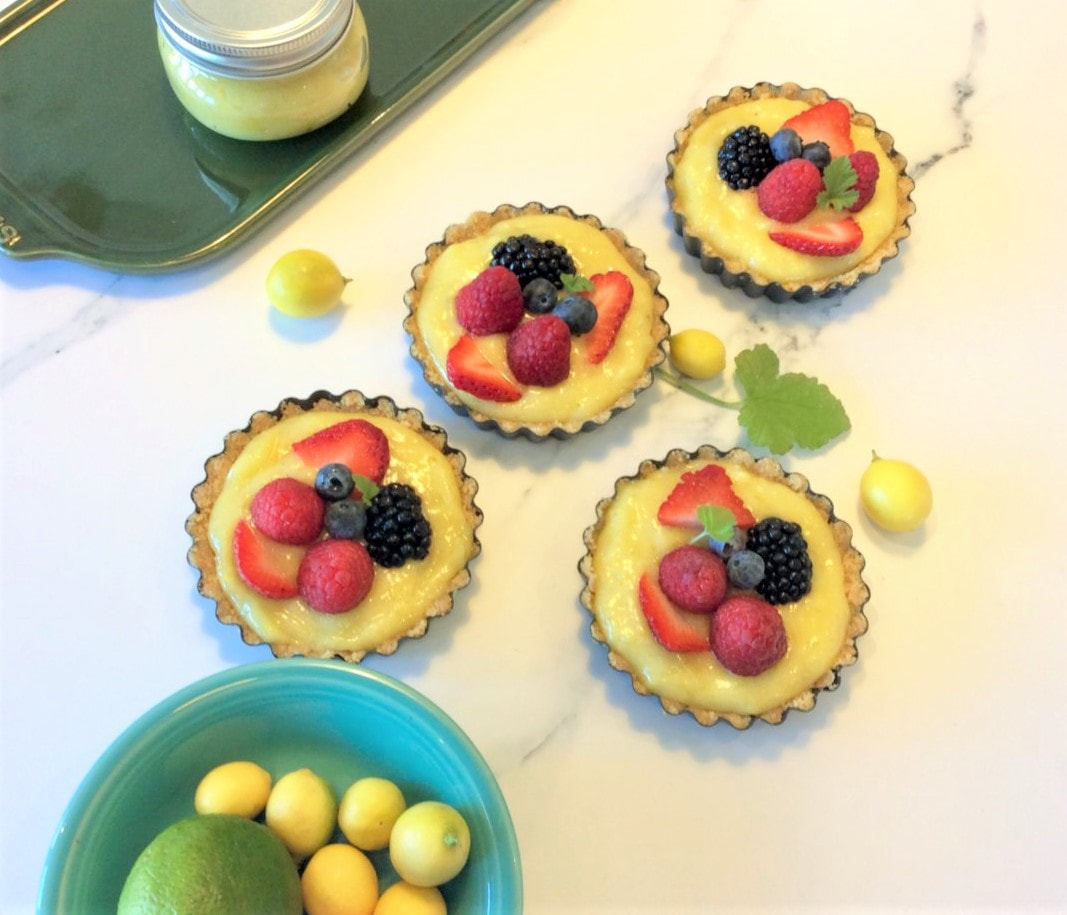
There it is-- A pretty spectacular result from very little effort! I hope you enjoy the post & give the curd a try. It is always a hit. The tarts are so pretty too-- Please let me know what you think if you make it & share PICTURES! Until next time -- Remember to #StopAndEatTheFlowers |
Categories
All
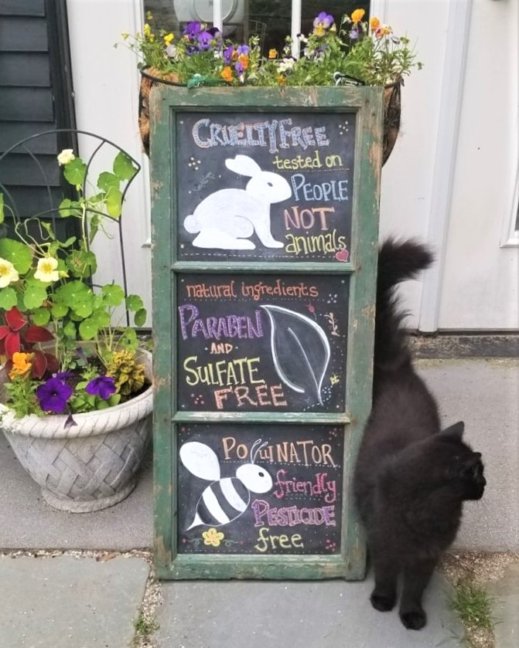
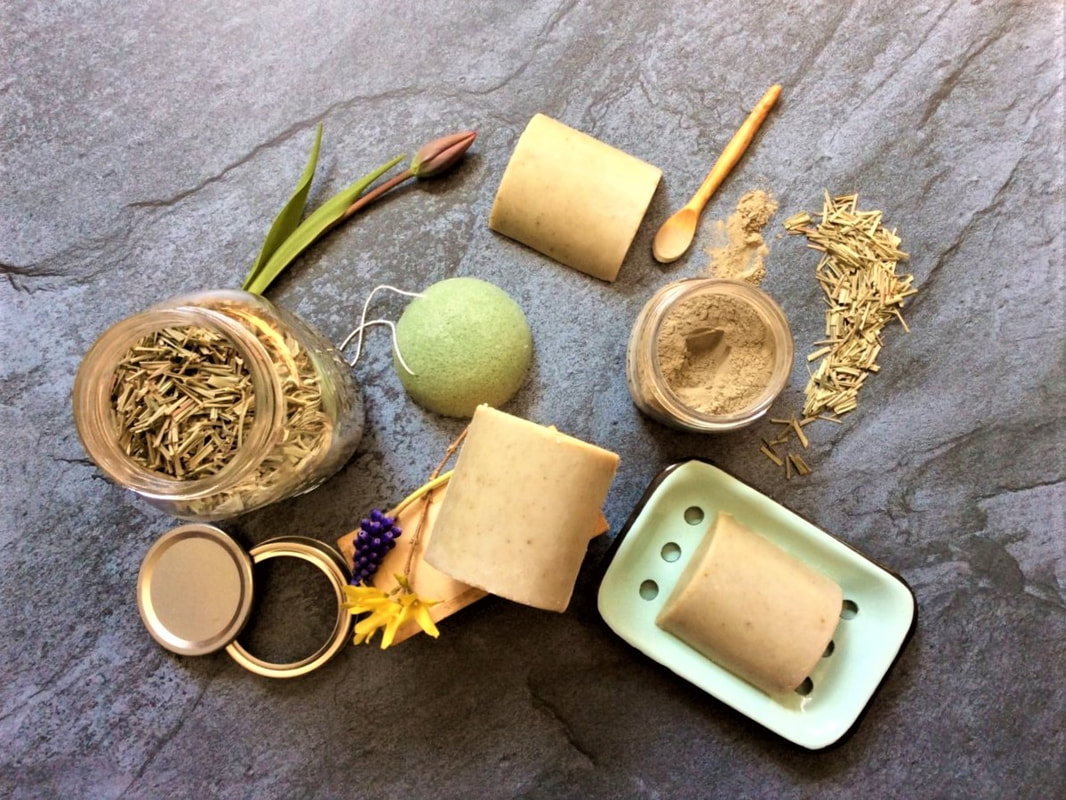
Beautiful AND Responsible
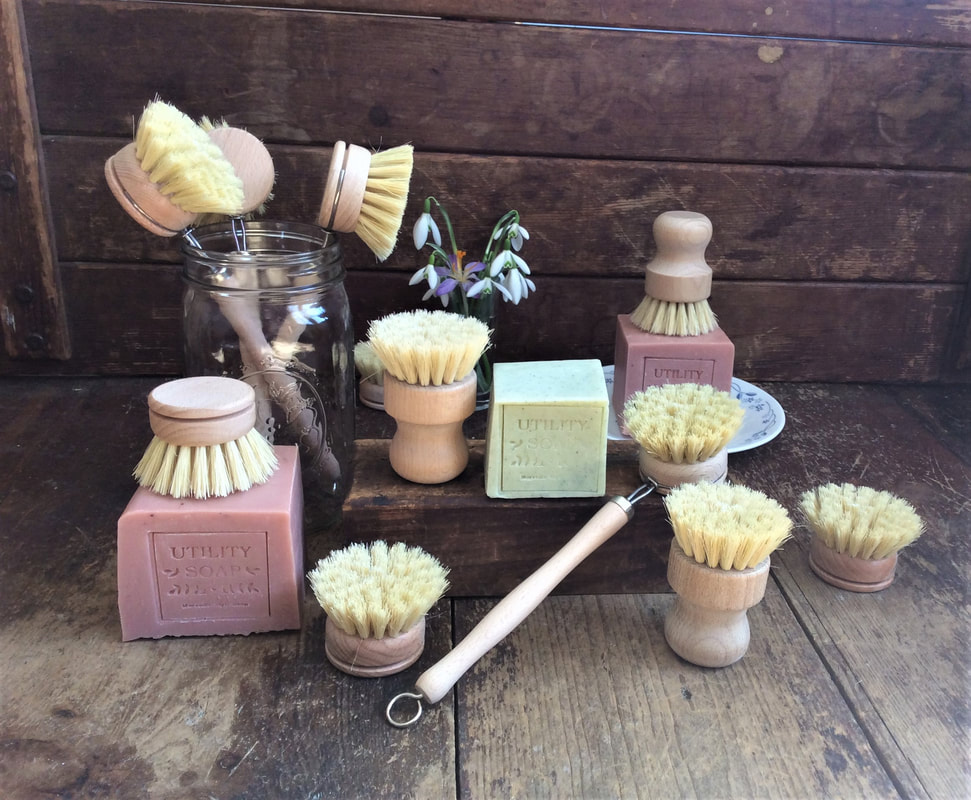
Meet the Centuries-Old, French Cleaning Classic with A Modern Twist
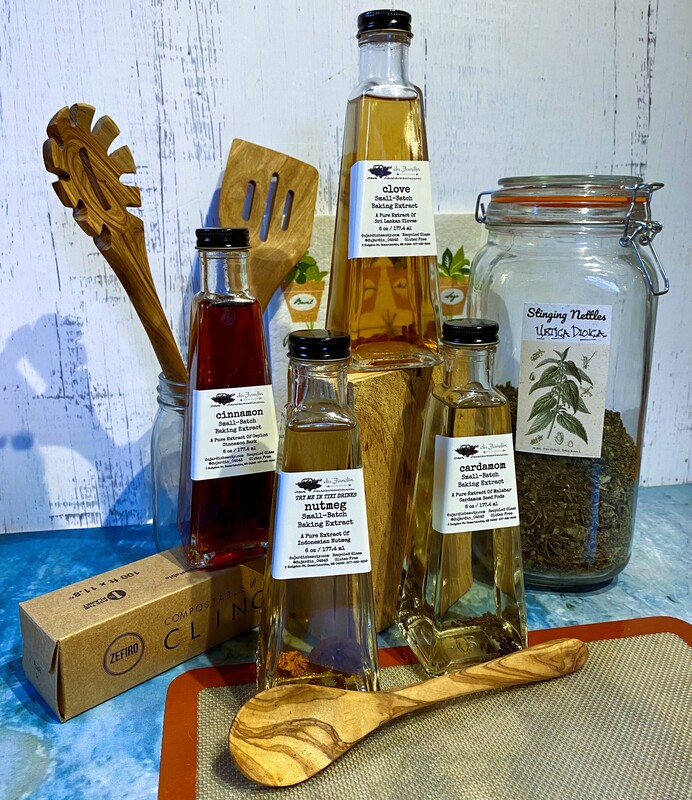
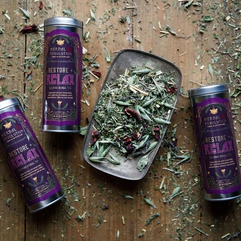
Treat Yourself To Our Amazing, Handcrafted Extracts
Archives
March 2024
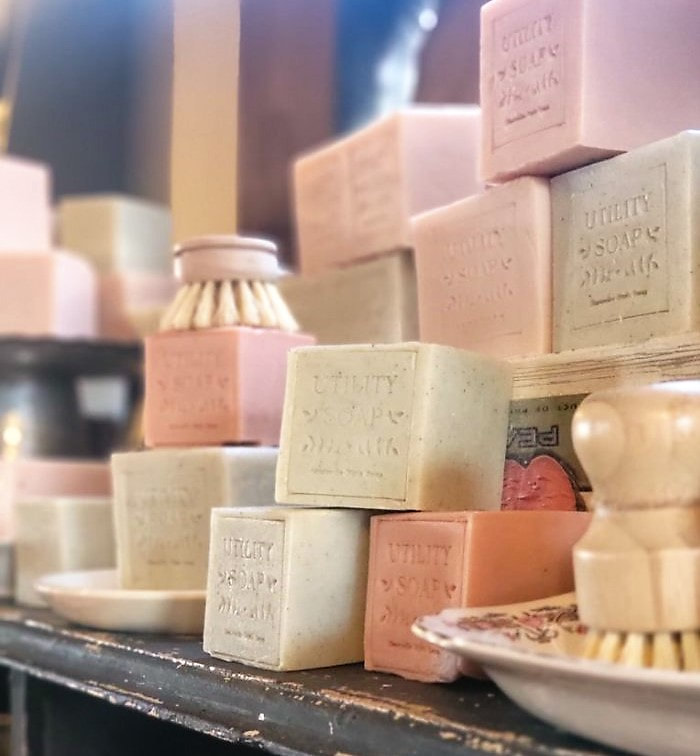
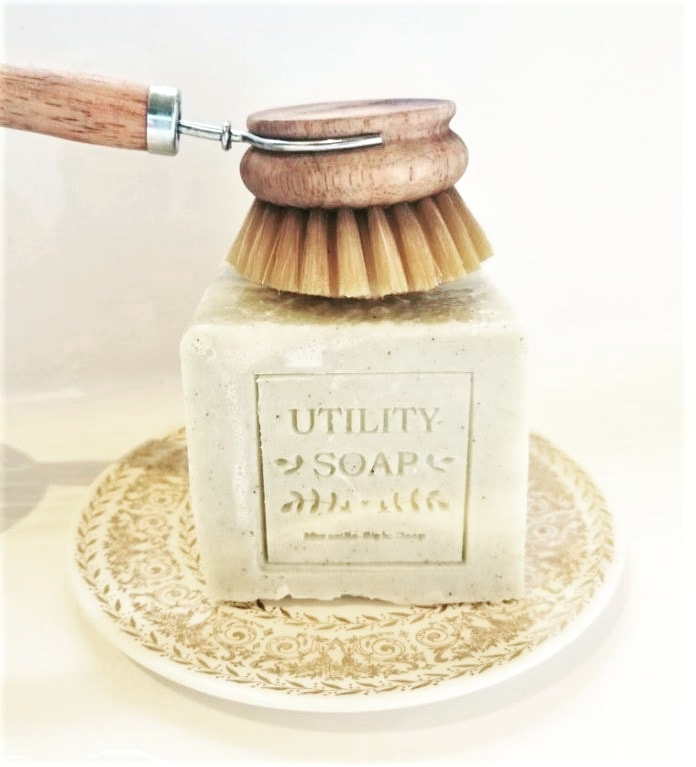
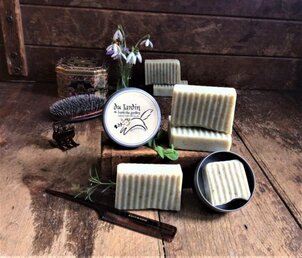
Our Multi-Purpose Utility Soaps Are Our Best Sellers For A Reason! Find Out For Yourself!
|


|
|
'Beautiful & responsible' Online: Ship or Pick-Up
Store Hours: Wednesday 11 am - 4 pm Thursday 11 am - 4 pm Saturday 11 am - 3 pm Damariscotta Farmers Market: May 17 - Oct 25 2024 |

|
207-563-6256 Dujardin.me@gmail.com © Du Jardin 2019
In the Smitten Barn - 2 Hodgdon Street - Damariscotta, Maine 04543